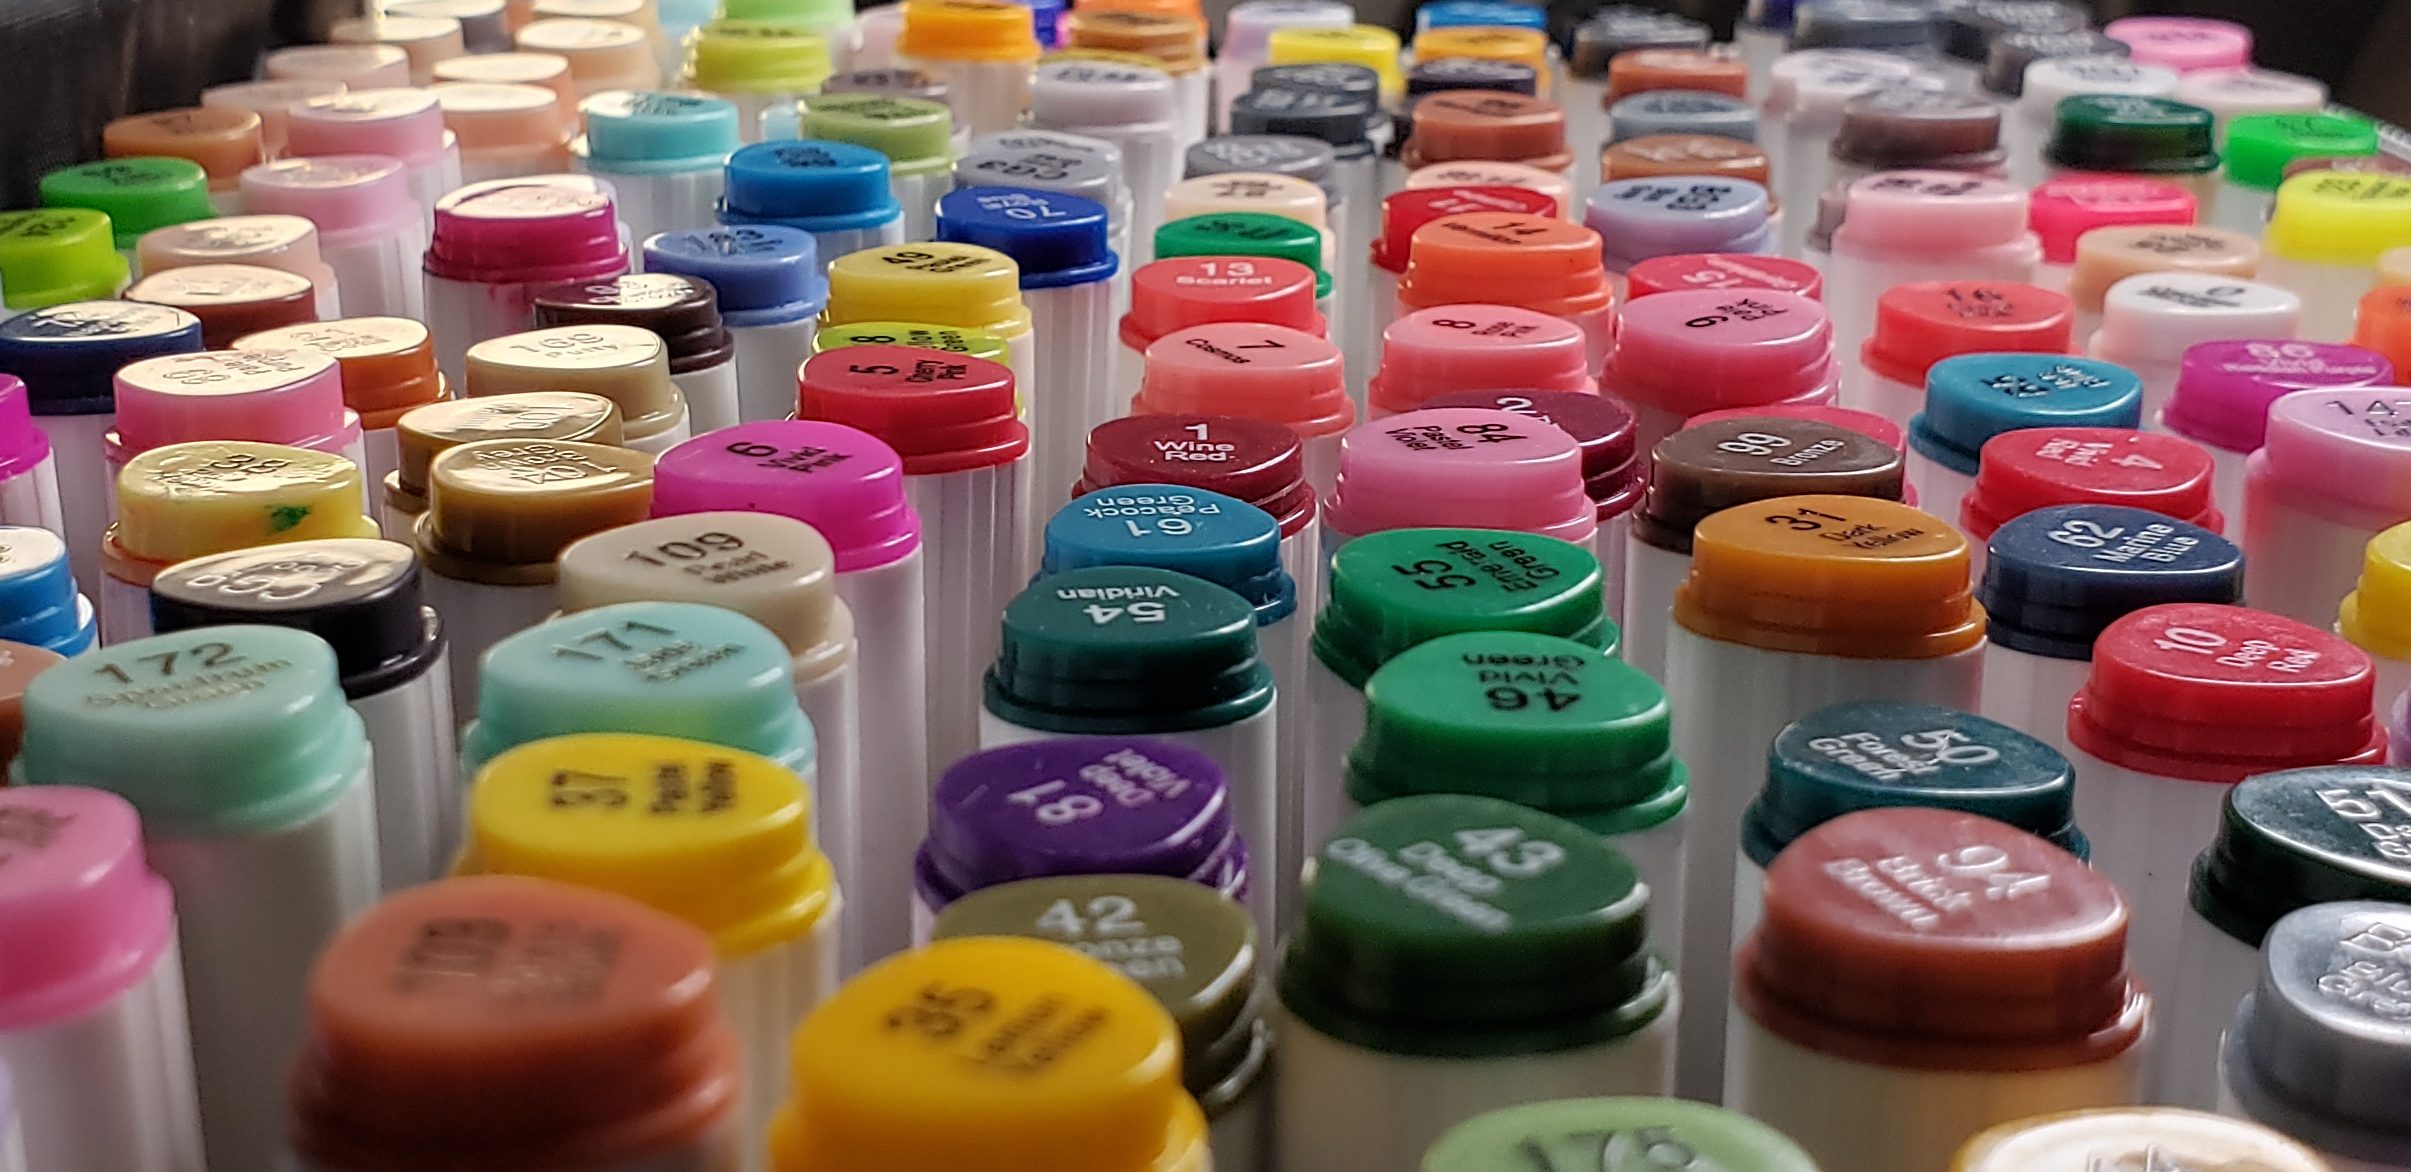
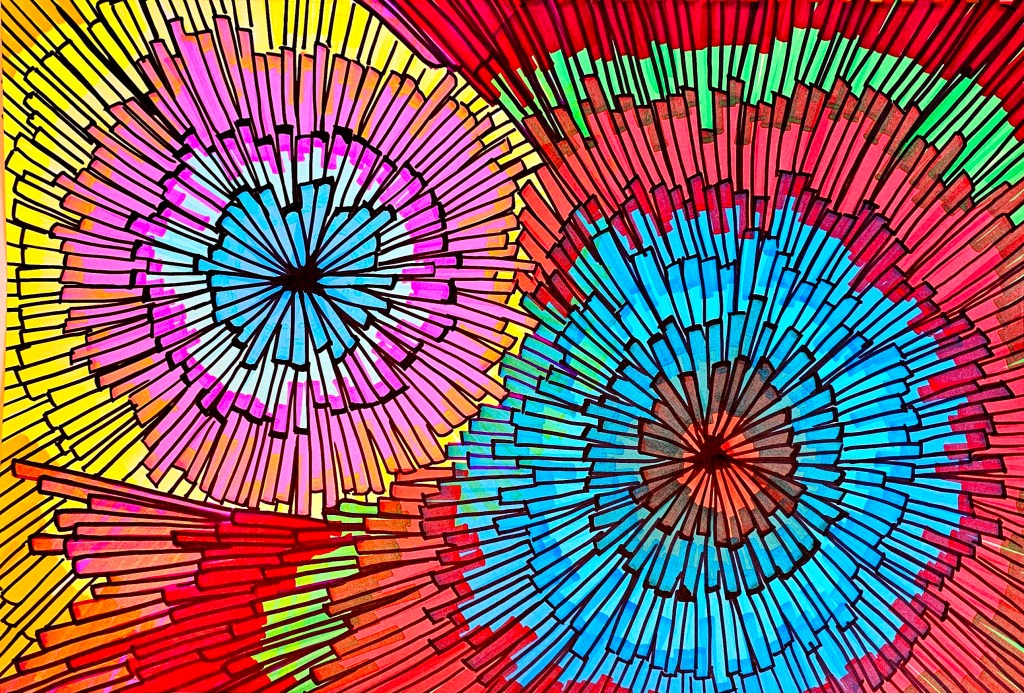
The fun thing with alcohol ink markers is the variety of colours. I bought a 168 marker set for relatively cheap off Amazon. I never knew the possibility of having so many neutral and subtle shades, as well as the dozens of greys and off-whites. Wow. It’s seriously like a candy store feeling when I open the case and I’m greeted with all the colour and potential of what I could do!!
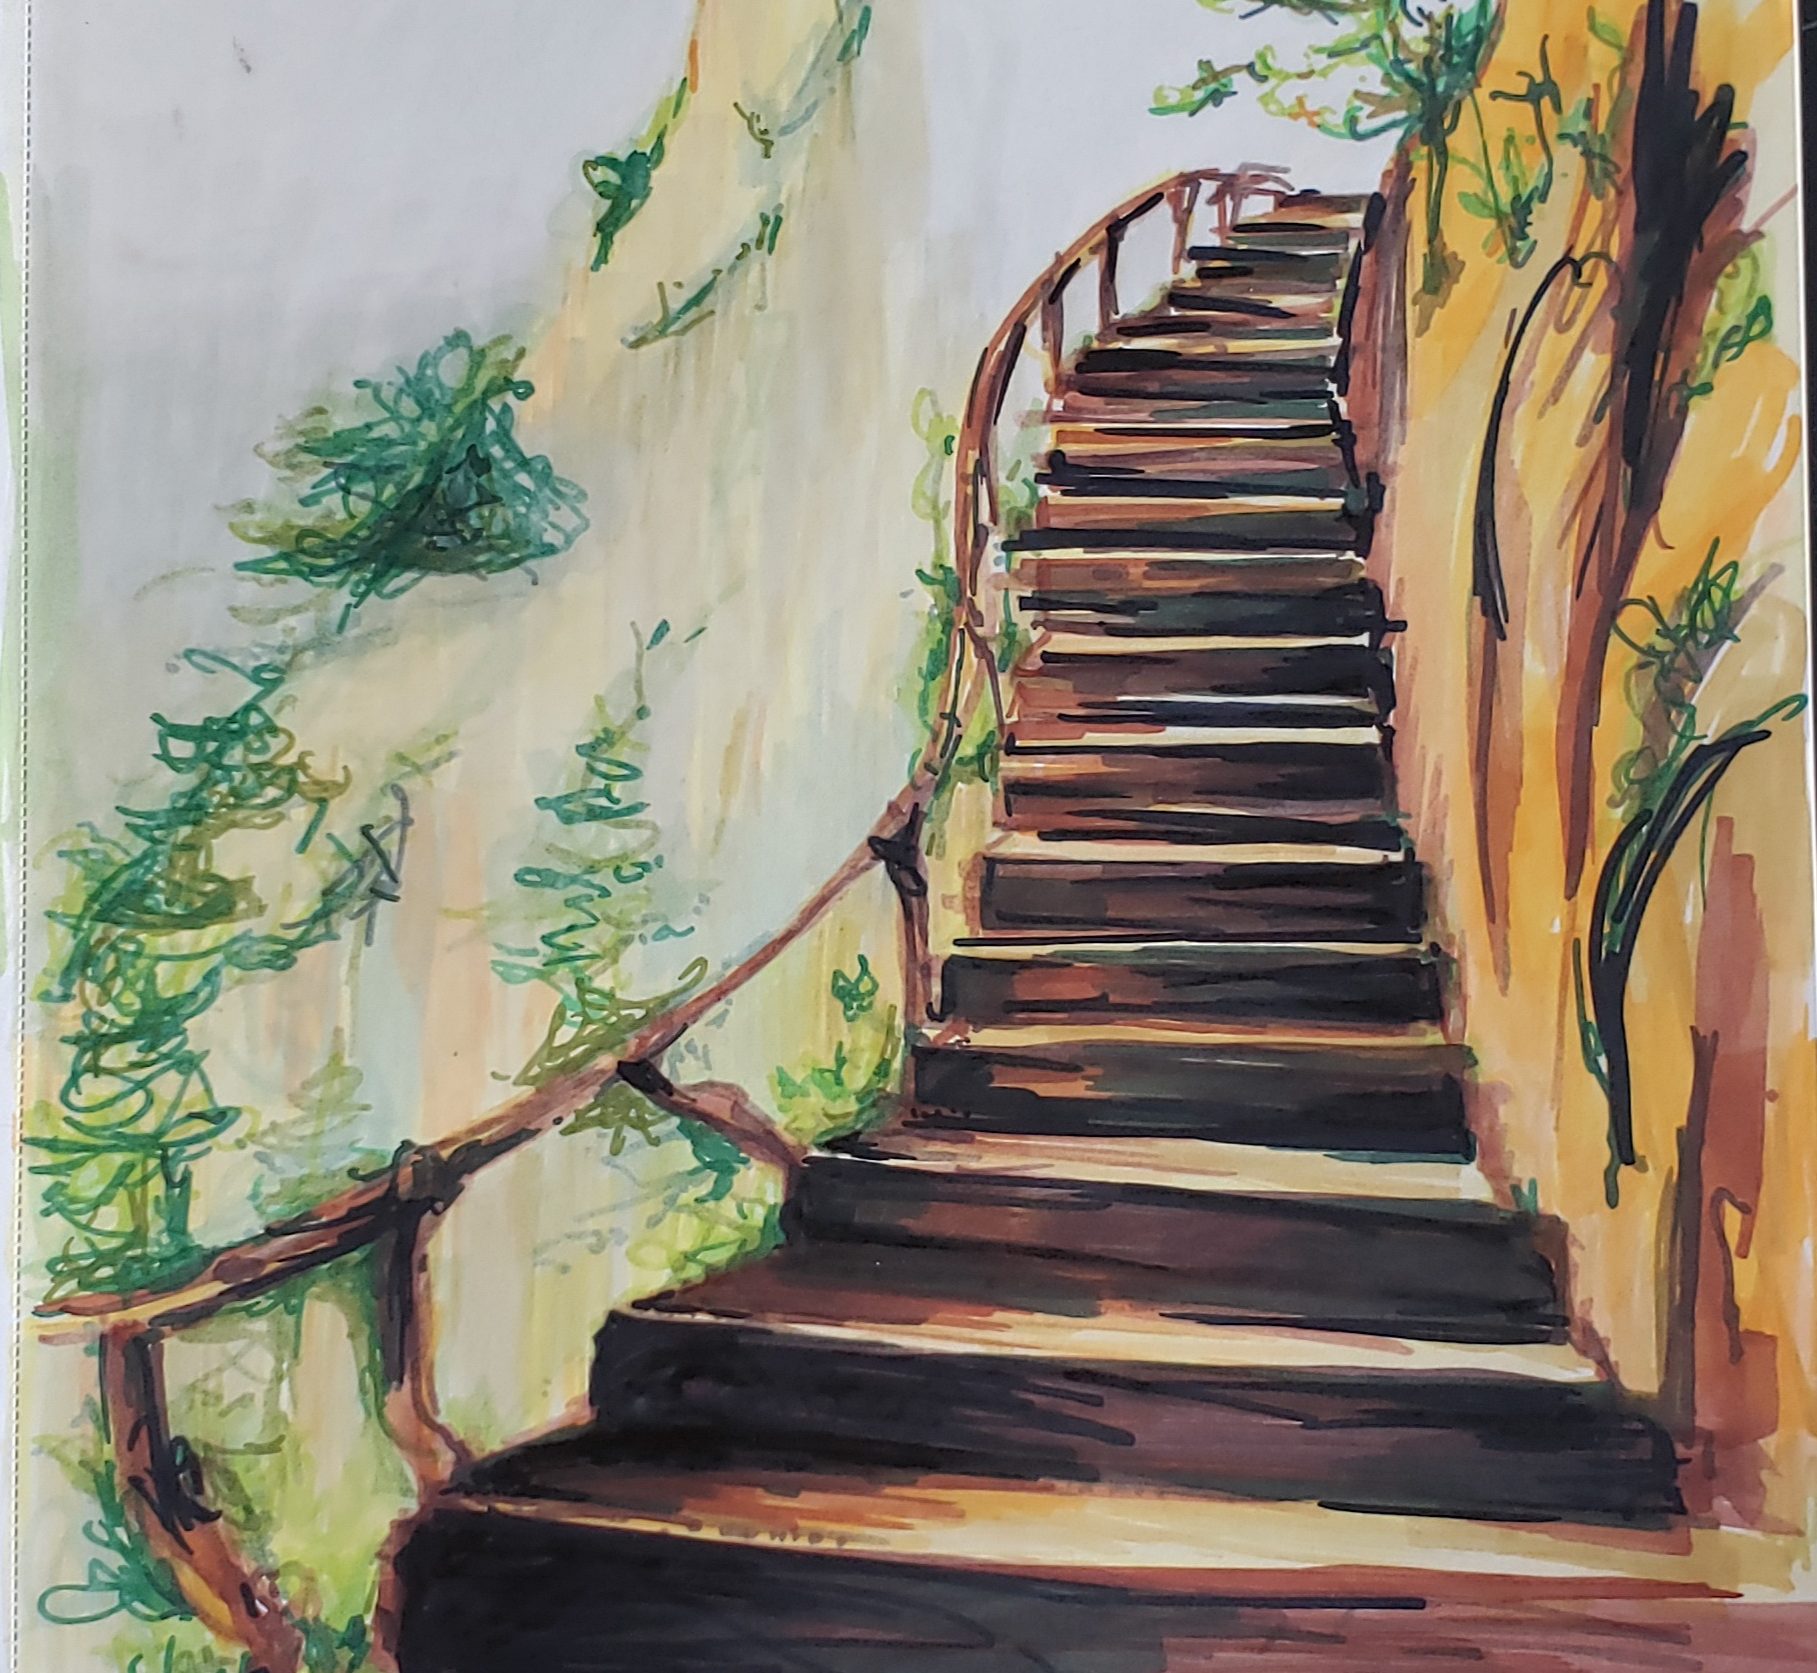
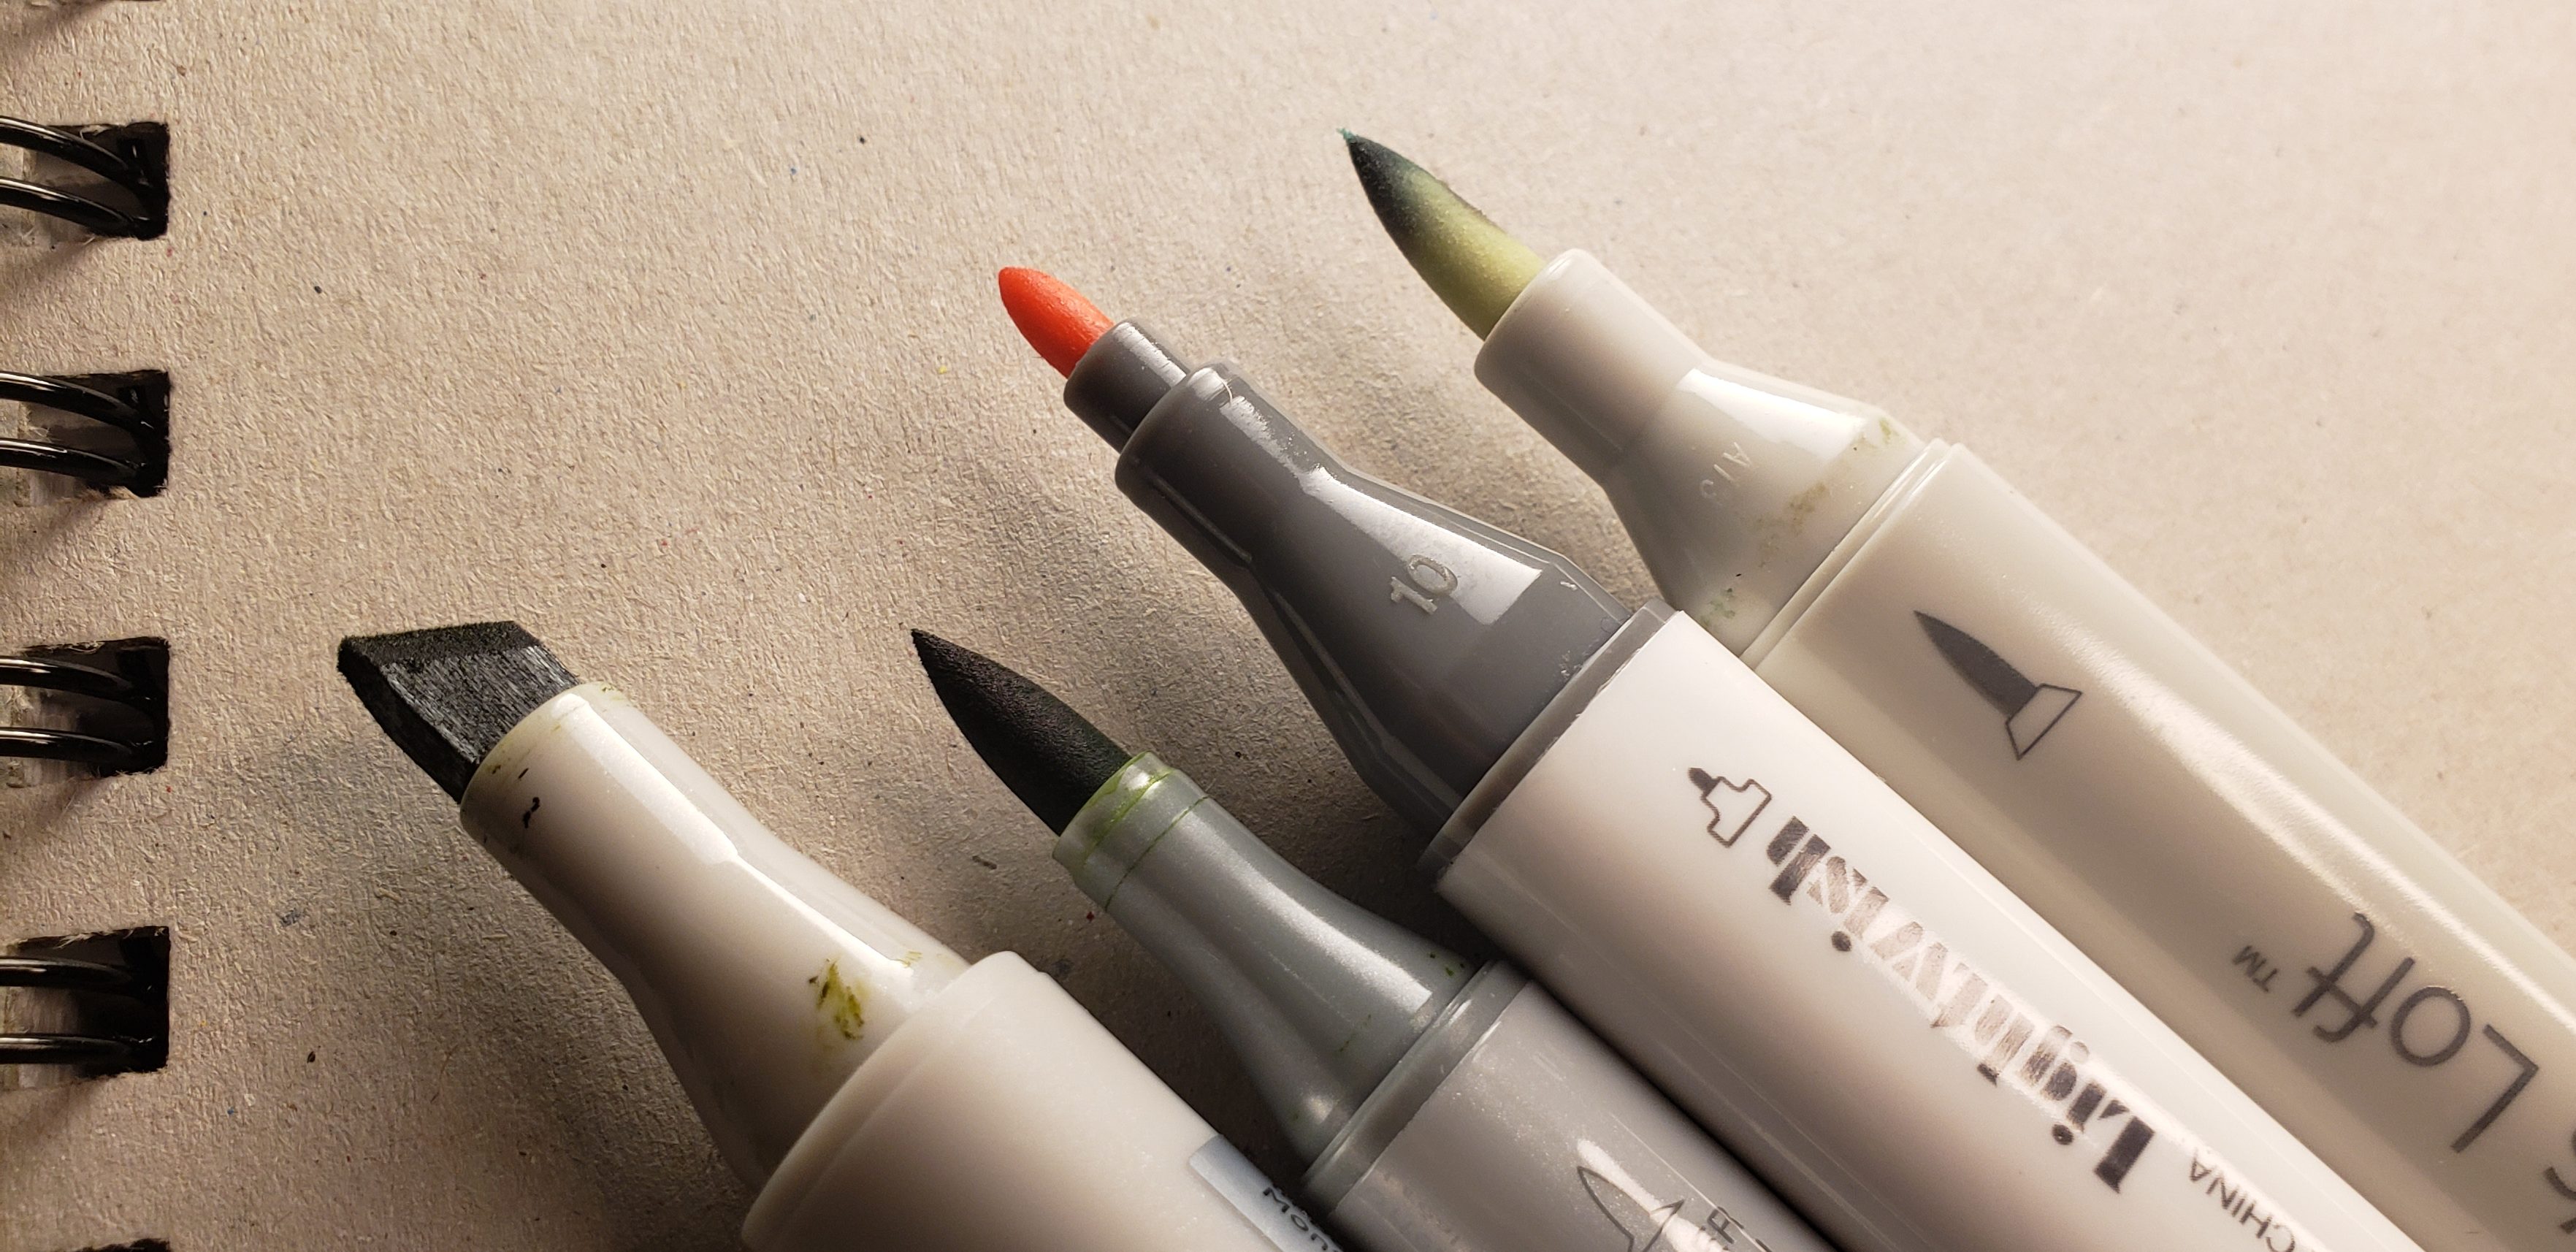
You’ll definitely need a heavyweight paper for these babies though. You know what it’s like handling a Sharpie? Same thing here. They’re permanent, they will seep through paper, and they dry instantly, so no smudging! In addition to the set I originally purchased, I also bought a bunch of green shades from the art store. The ones I chose have a really nice brush tip that make corners and plant drawing easy and natural, they’re incomparable to any other markers I’ve ever tried. Well, close to watercolour marker application, but the difference is in the ink.
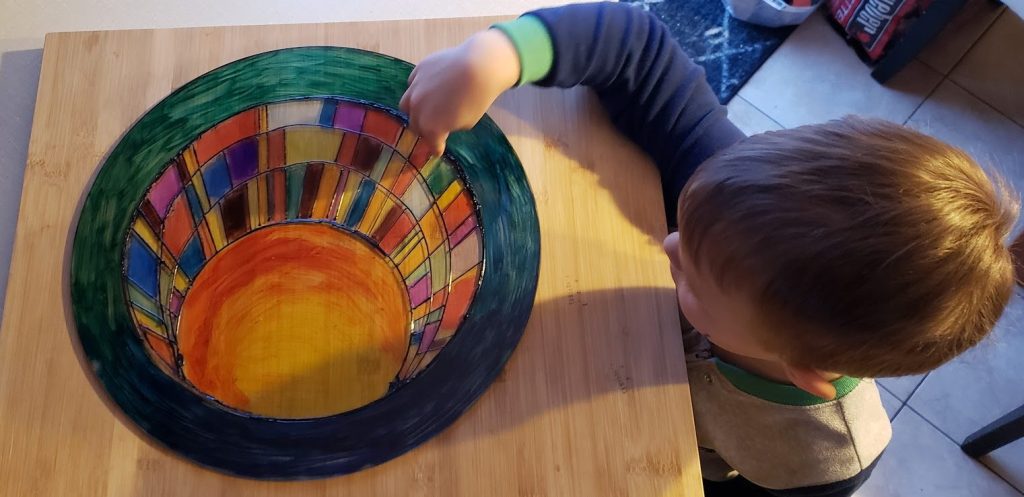
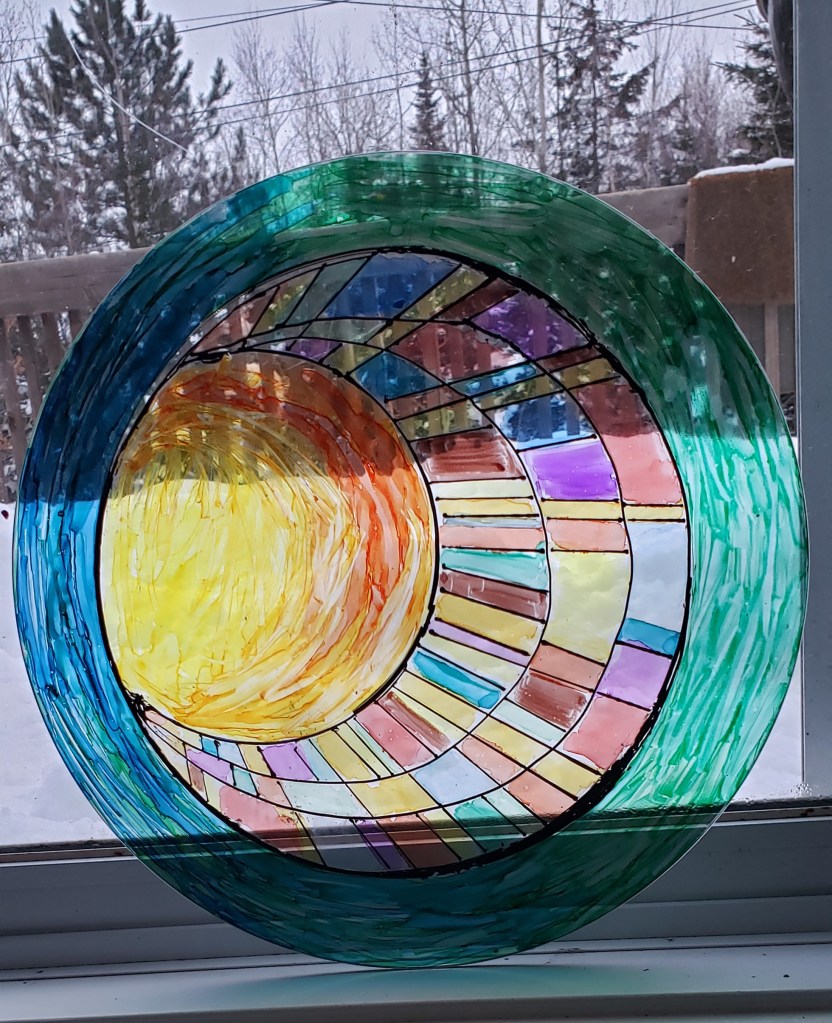
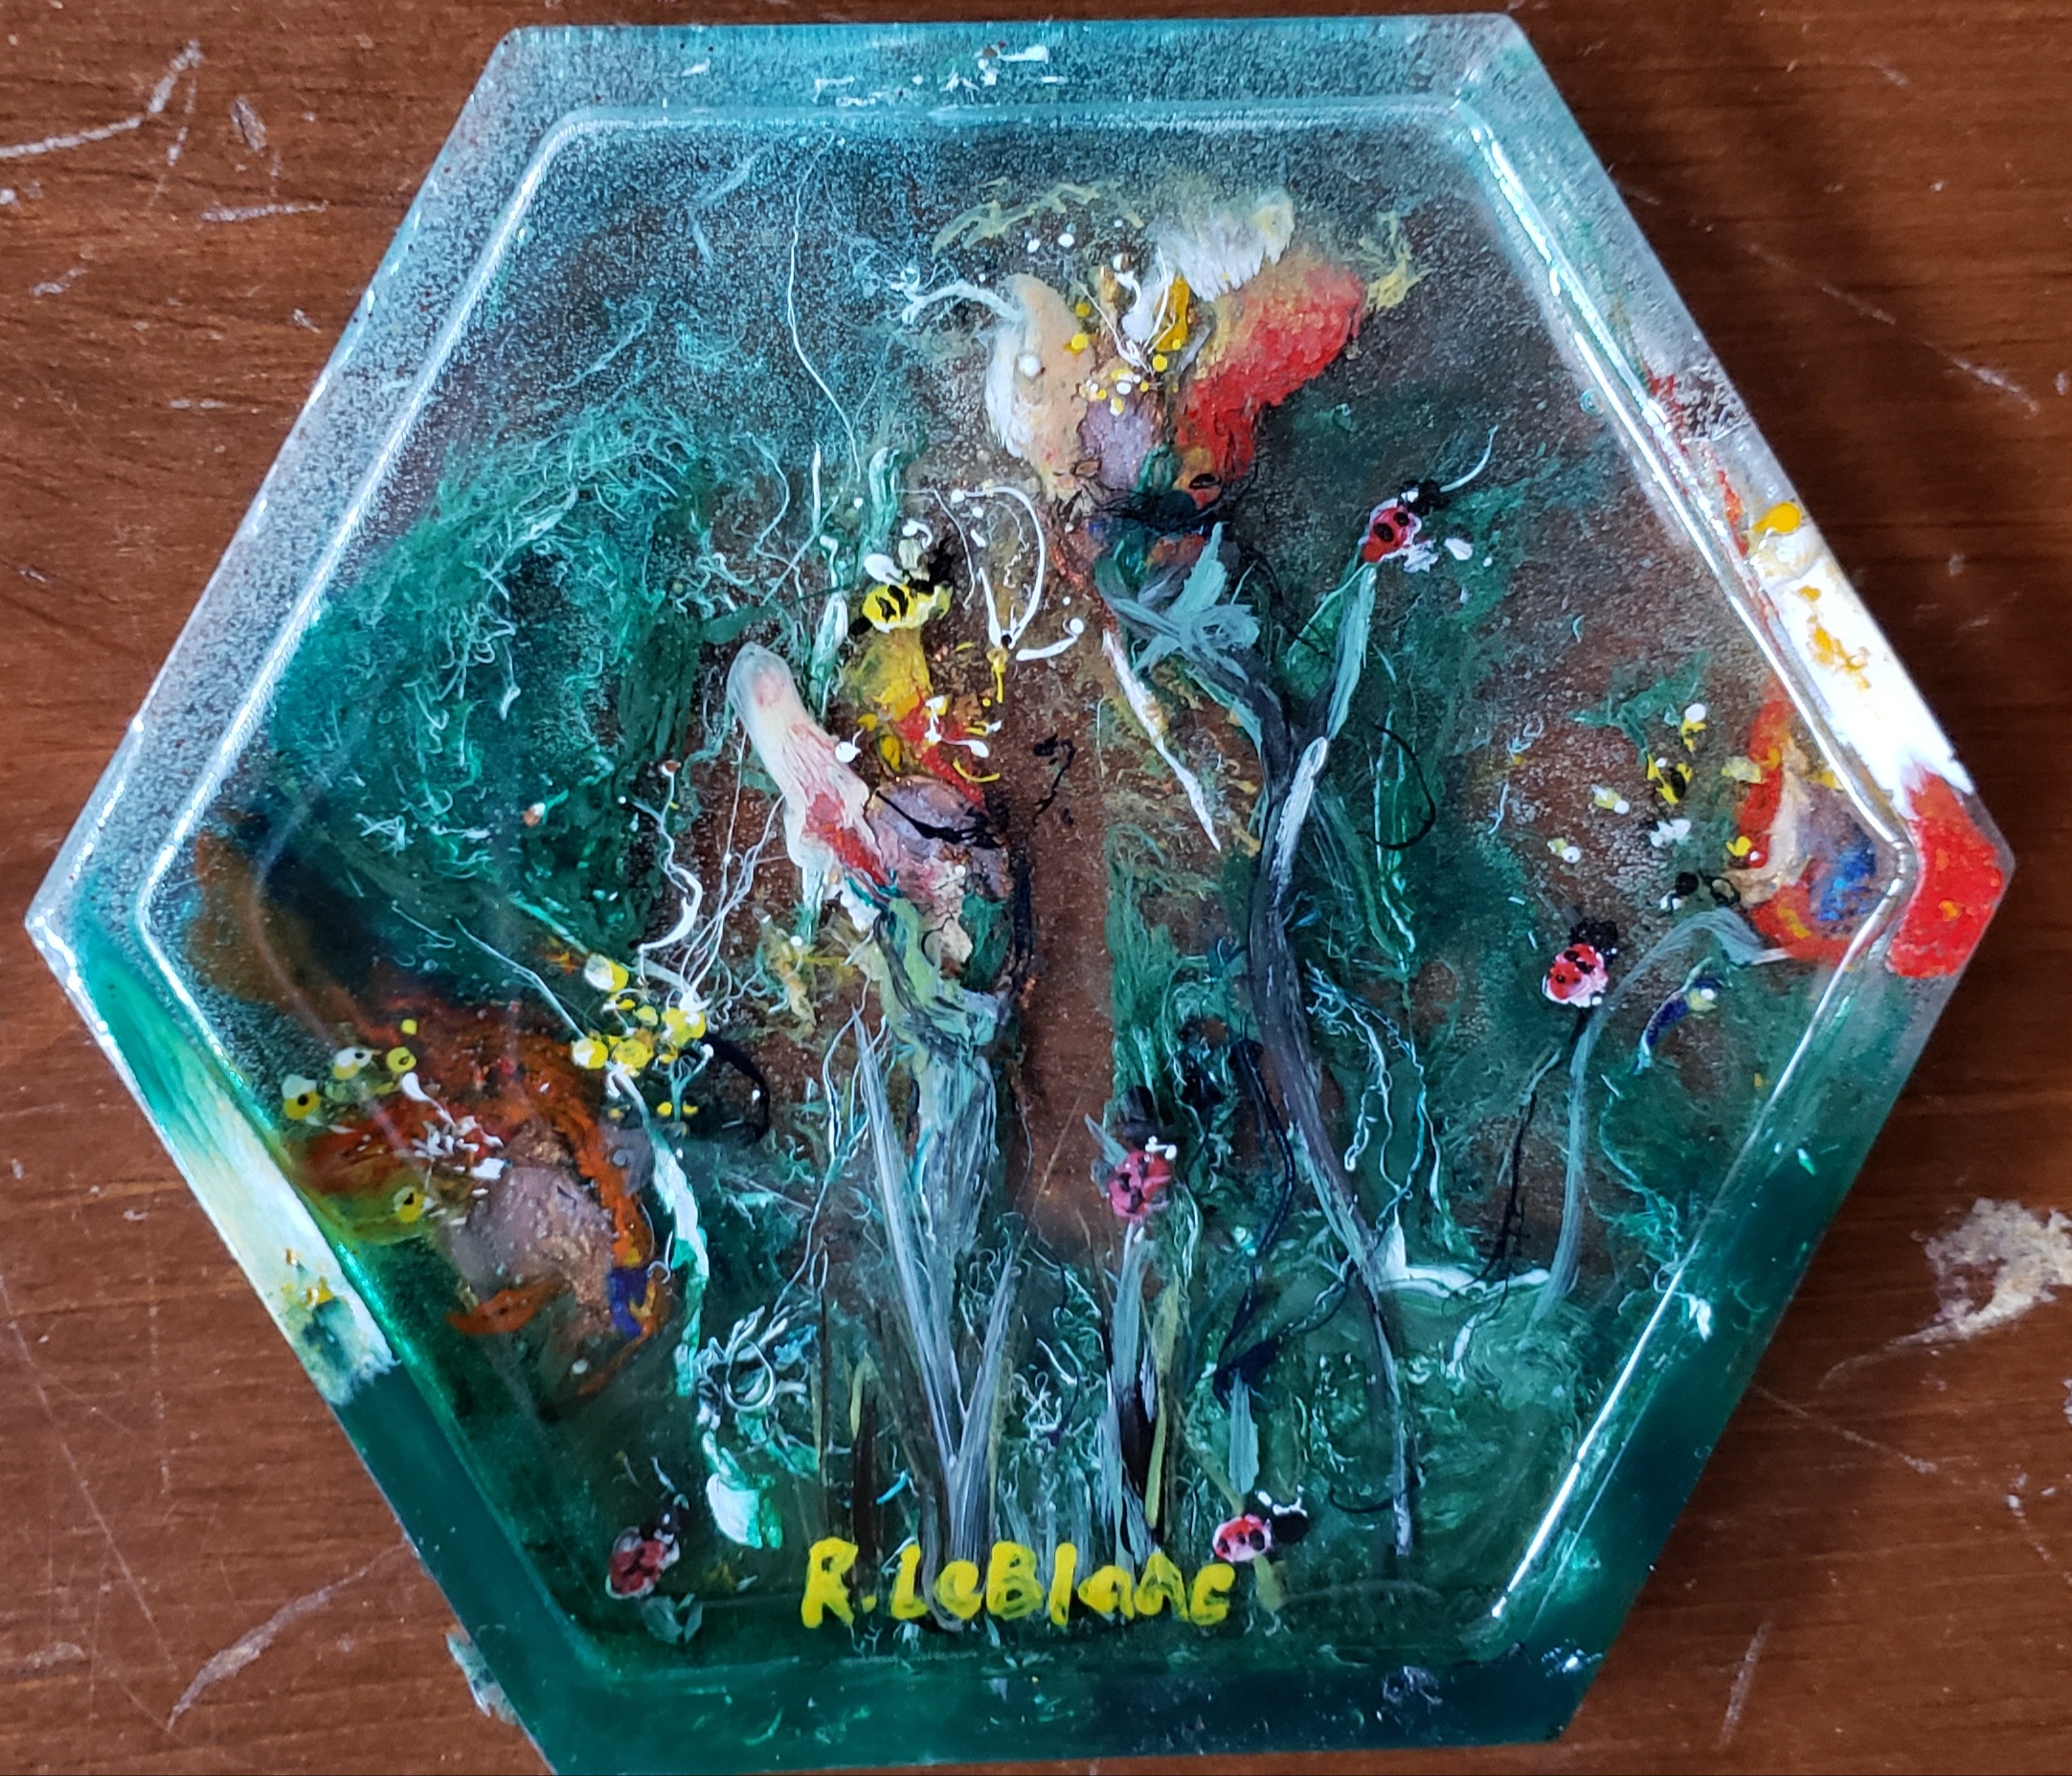
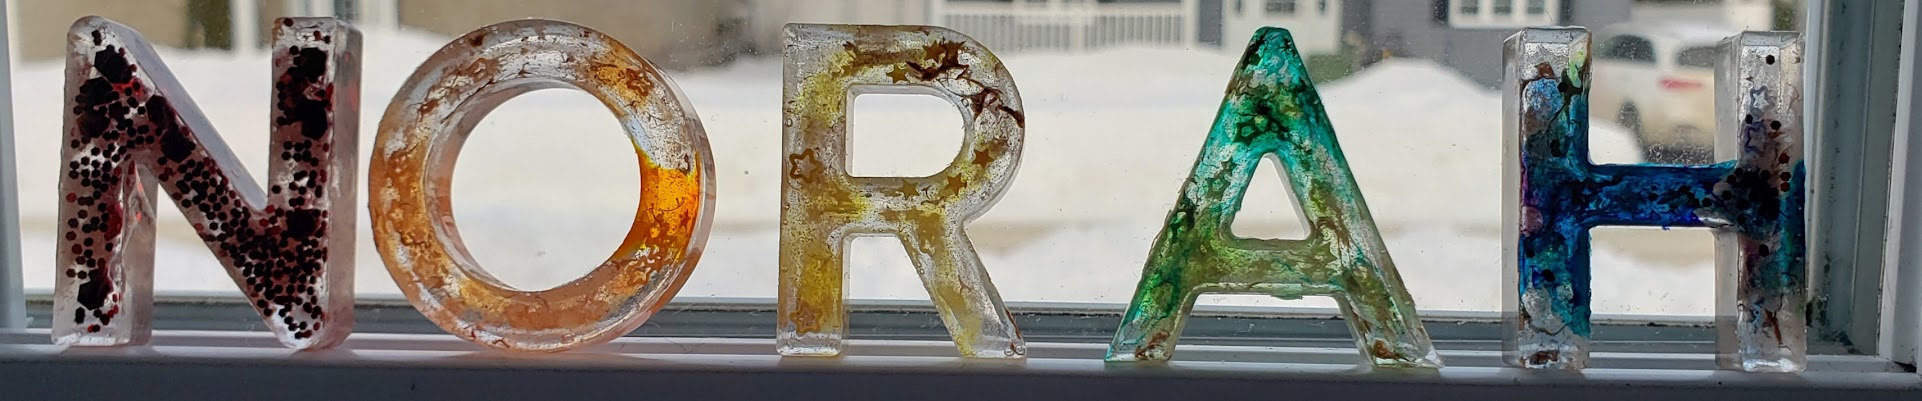
Did you know alcohol ink markers can be applied to other surfaces than paper? This versatile medium can be used on metal, glass (see example, above), plexiglass, jewelry, resin, fabric, added to clay, and many more contexts. Side note on the stained glass effect, if I were to do it again, I’ll just draw straight on a home window. If you want to remove what you’ve done, just scrub it with rubbing alcohol. I bought a small tube of black “cure” from the art store, it’s the raised black borders that really give it a more authentic look and feel. If you use cure, you’d be best to apply it first.
Alcohol Ink in Liquid Form
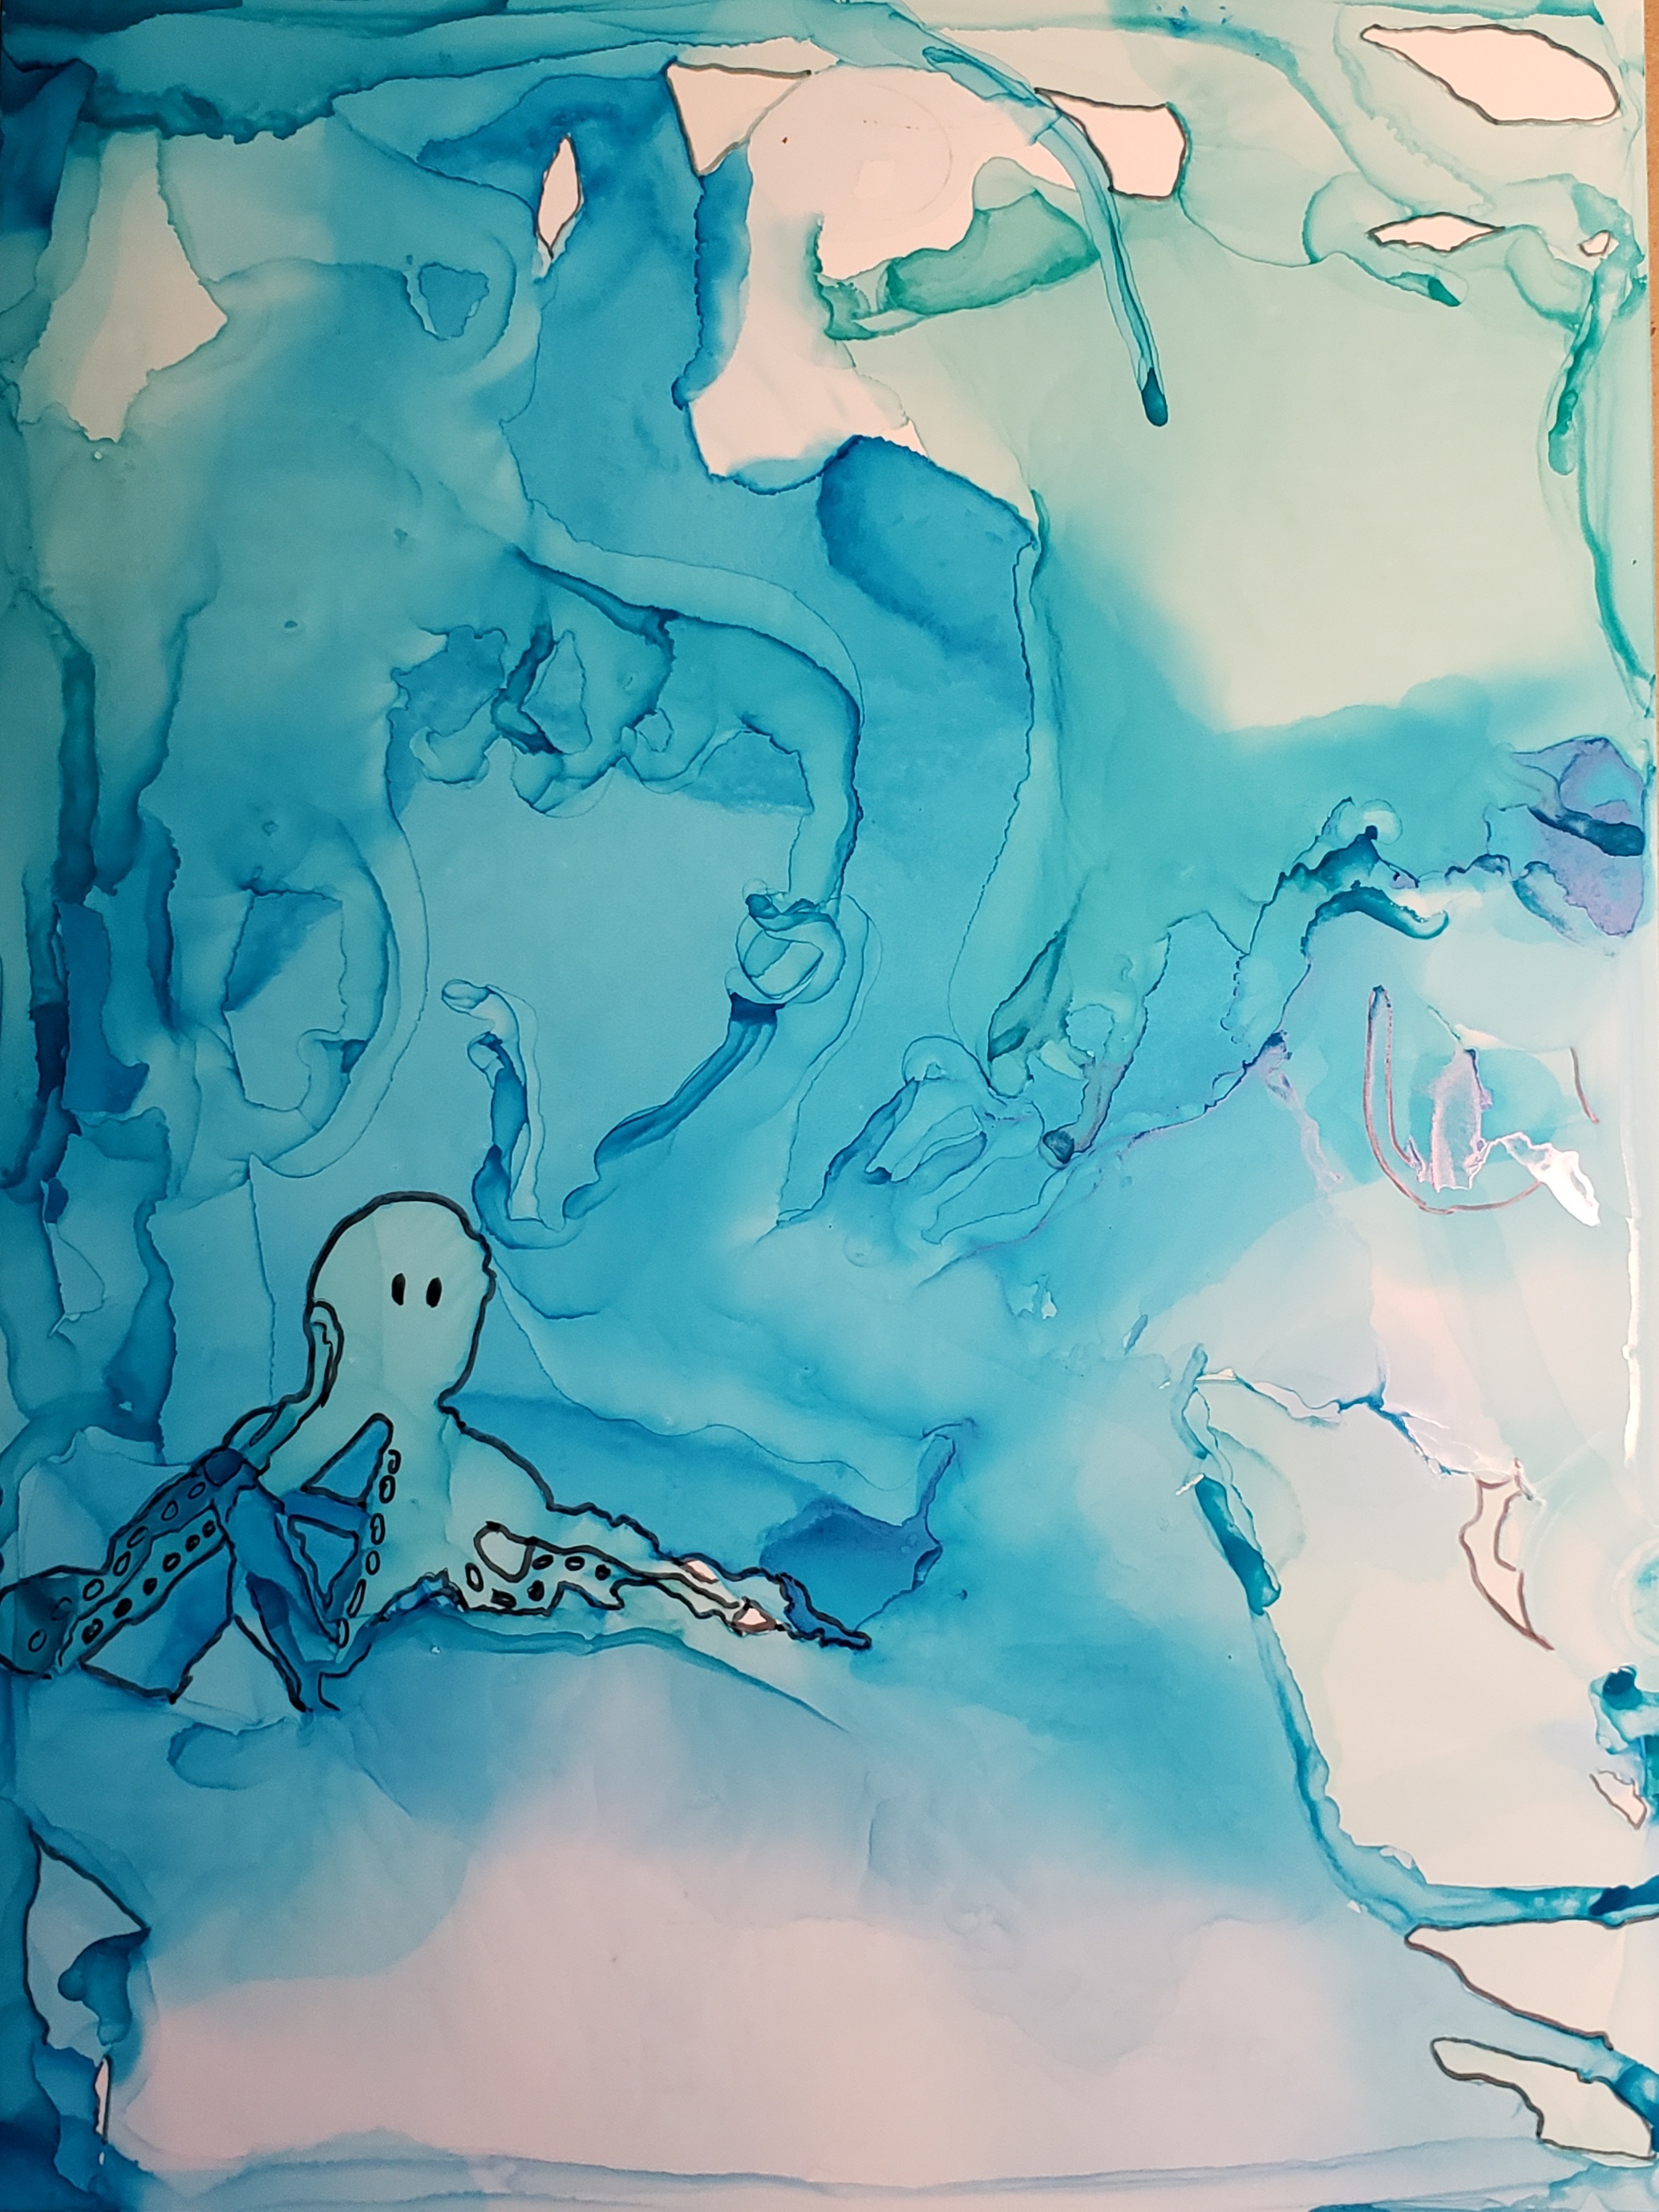
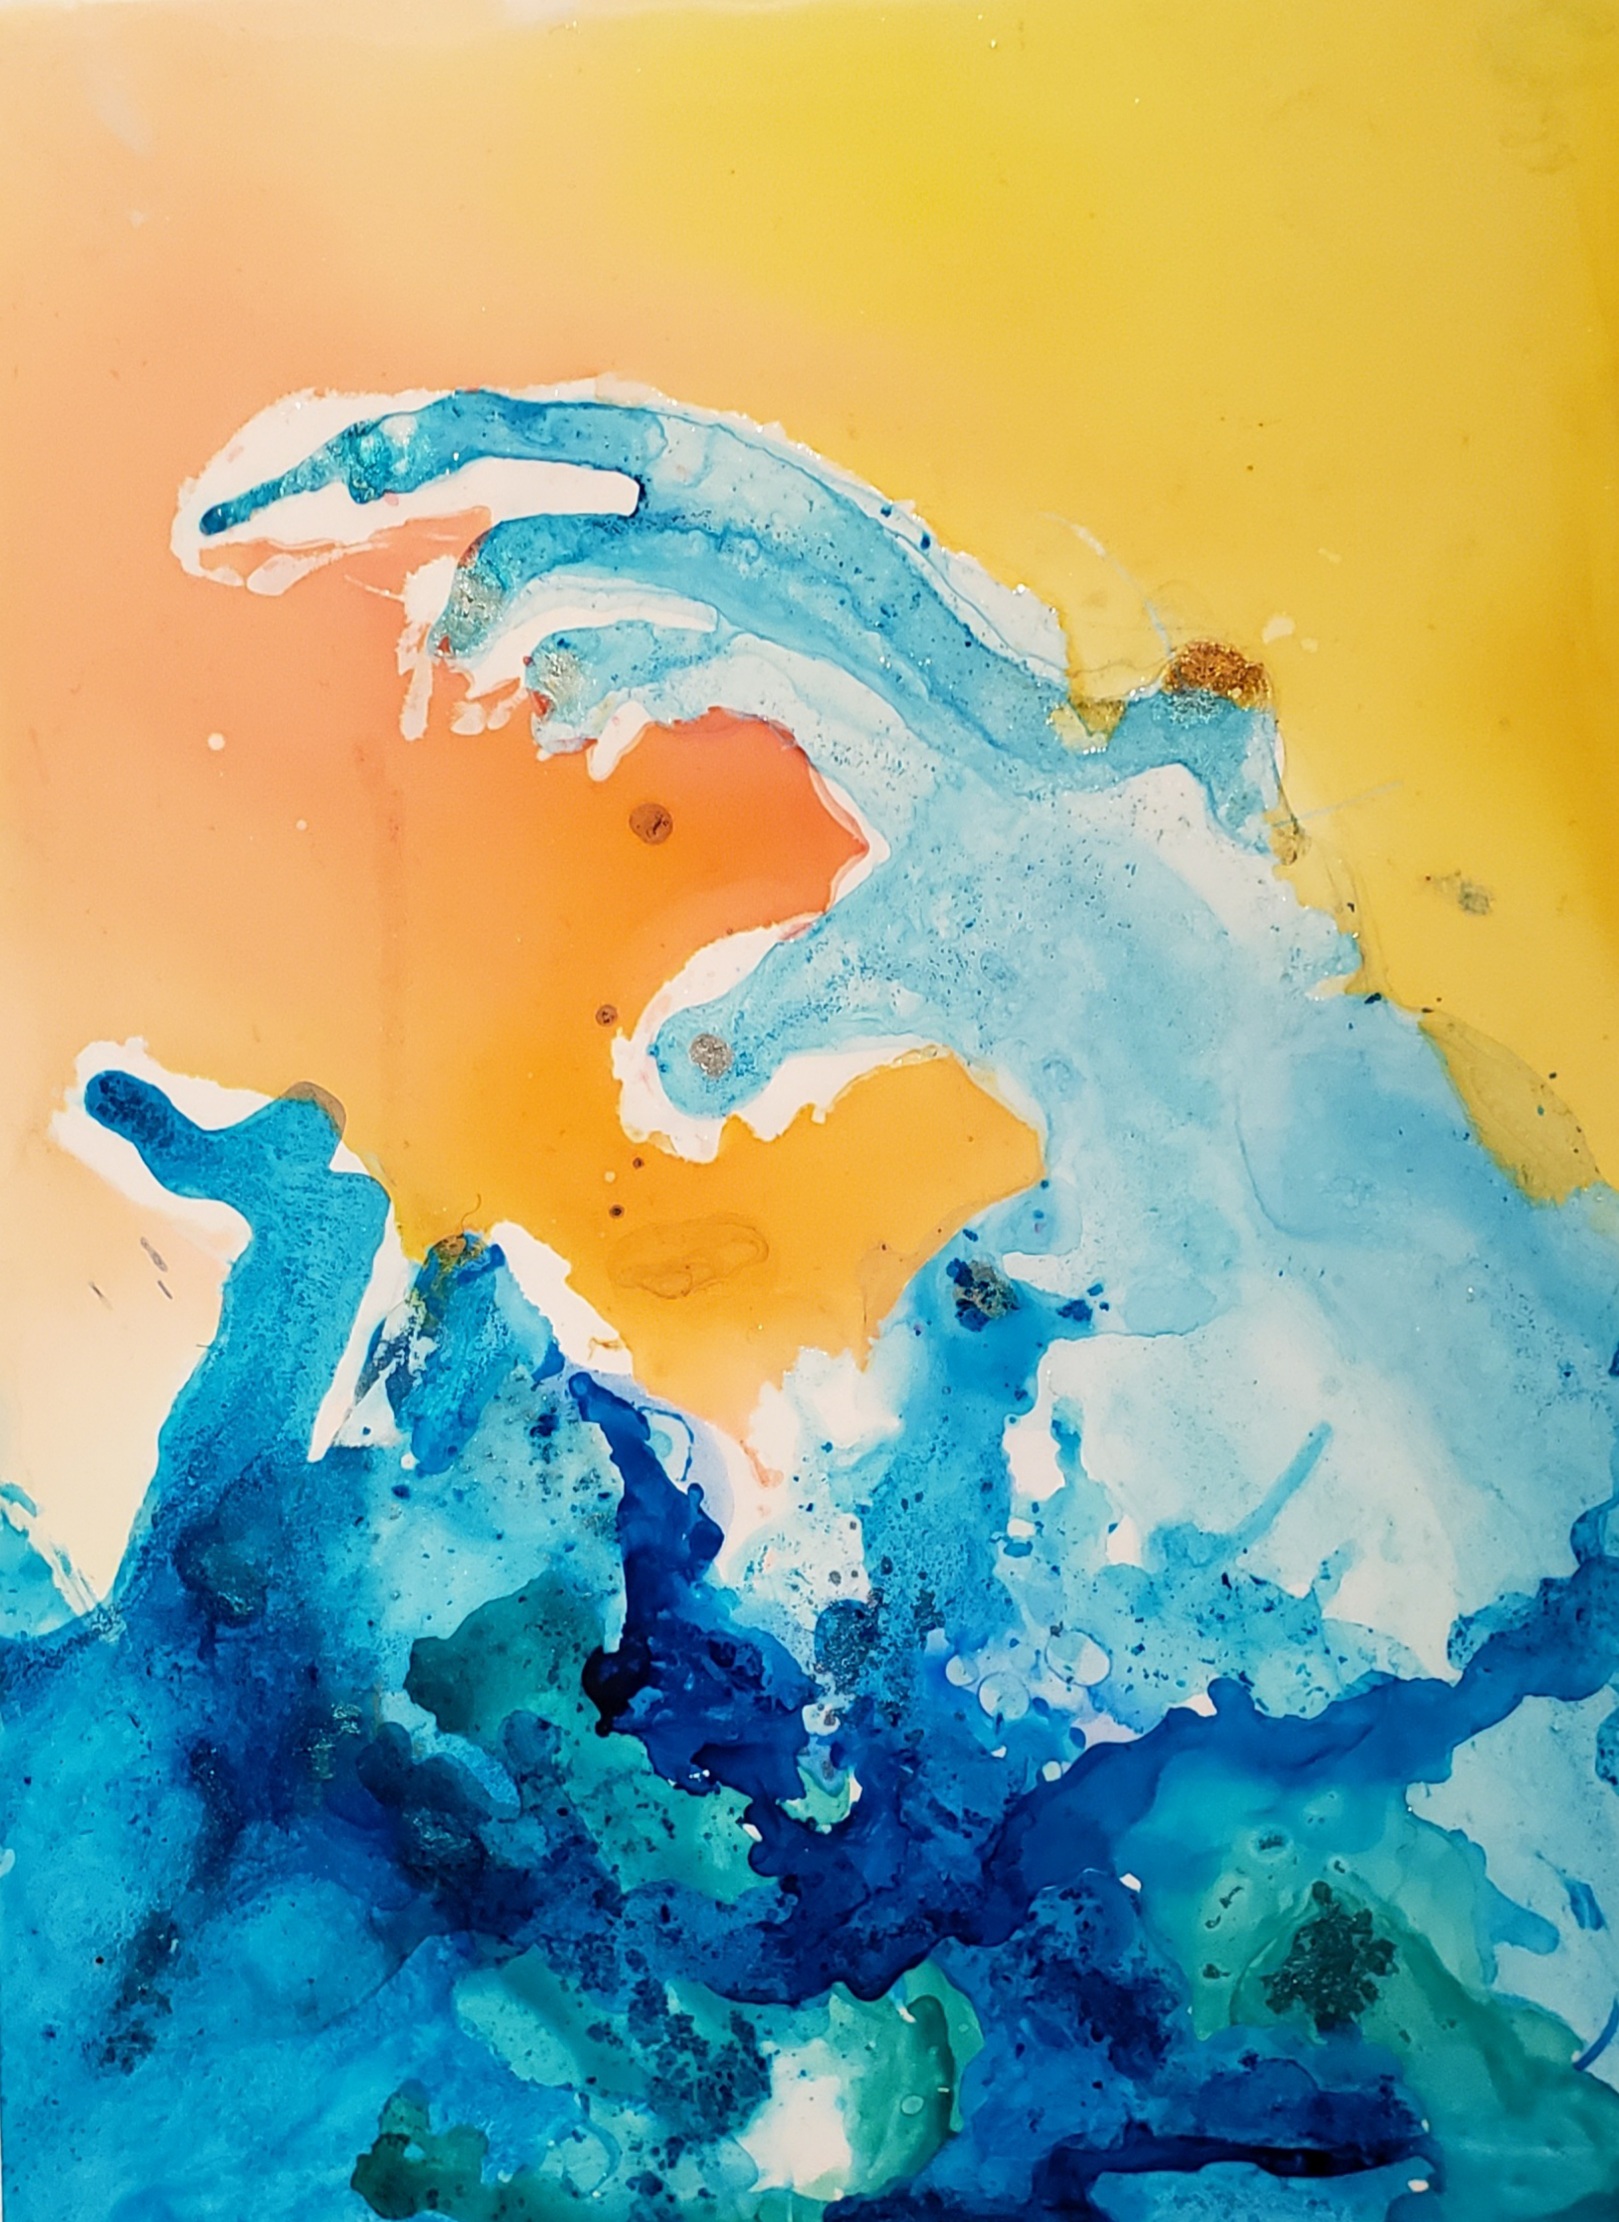
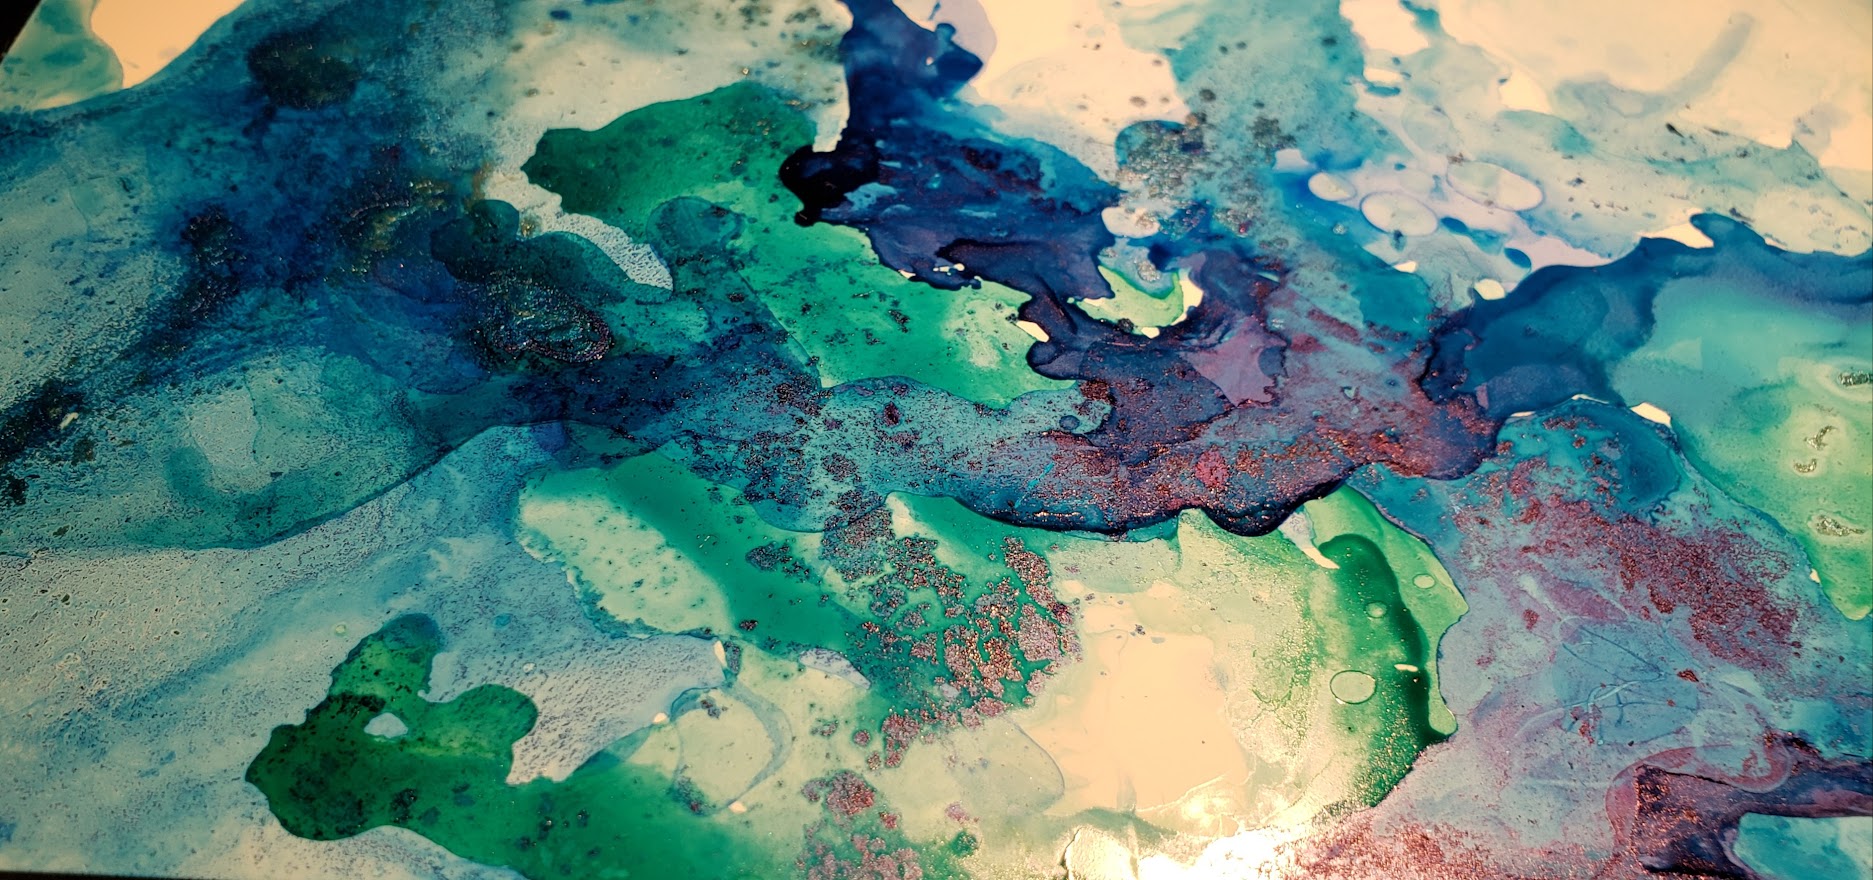
Alcohol ink can be used as a fluid painting technique. The ink I bought came in small dropper-style bottles. This highly pigmented ink splashes and stains easily, so grab a pair of gloves for the sake of staying clean. Amongst the various inks in the set I bought, some are transparent and some are opaque. I saved the opaque choices for some of the resin projects – quick note – it doesn’t blend as much as it “drops” because it’s a heavier substance. Back to the ink on paper, it’s not really just “paper”, as the heading may suggest. Polypropylene is a synthetic, thin, flexible non-porous and non-absorbant plastic. It has a kodak paper feel to it. Since it doesn’t absorb, you can keep adding layers to it.
How to actually do it? As with most projects, preparation is primordial. Here’s a list of things you’ll need and want handy:
- Alcohol. I’ve just gone with the 70 or 90% rubbing.
- Small dixie cups, or shot glasses.
- Vinyl-type gloves.
- Ink.
- Some kind of background surface you don’t mind getting dirty.
- Hairdryer.
A quick note on the ink – I’ve actually unscrewed a few of my markers to remove the core (gloves are a must here), and I squeezed drops from the wadding into one of my cups. Add a few drops of the rubbing alcohol to the pigment and slowly pour it onto your paper. You’ll see how this is a random art in many ways. You can tilt the paper to guide where you want the ink to go, it dries pretty fast so you’ll see results quickly. Here’s where you can add layers. If you make a small puddle, you can guide it around the paper with a hairdryer with very pleasant results as well. Experiment with letting the ink drop and splash and bleed into each other – it’s a distinct look and it’s just plain fun!
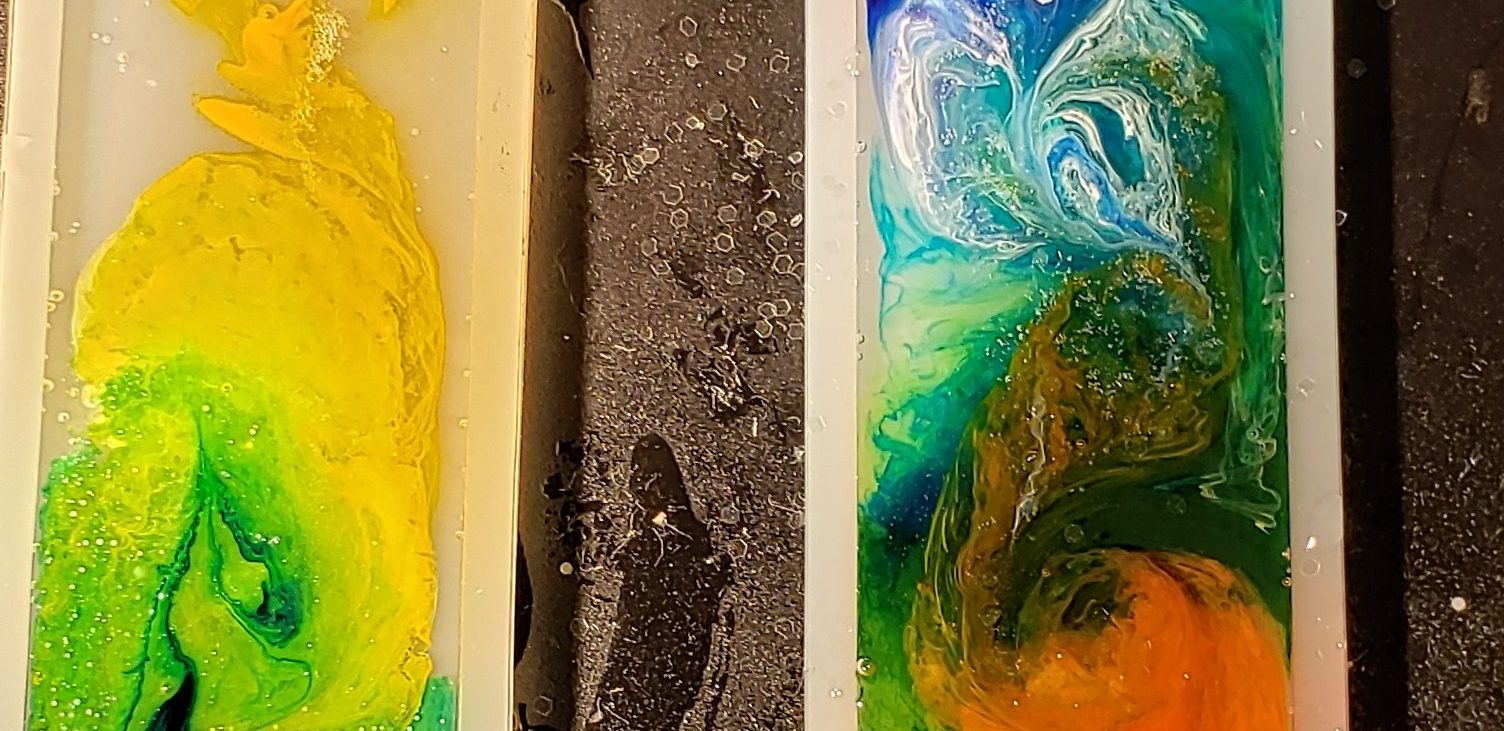
As if alcohol ink wasn’t messy enough on it’s own, let’s add another level of OMG I’m so glad I brought gloves to the mix! Epoxy resin, which I’ve described how to handle and create in its own post, marries so well with the ink. I’ve tried my hand at a few crafty projects, particularly enjoyed the bookmarks and sun catchers.
You’ll need the same list of preparations as previously mentioned above, plus that of the resin. To keep it simple, prepare your resin first and add the ink as desired as the second step. I found that if I added the ink while the resin was still very fresh, the shape that I was aiming for shifted and changed more than what I wished for. Note to future self – wait for the resin to set a bit longer. Also, I found that in the absence of a blowtorch (see resin tips), adding drops of pure rubbing alcohol to the surface of the resin made any bubbles disappear! Go figure!

Leave a comment