-
Oil Paint
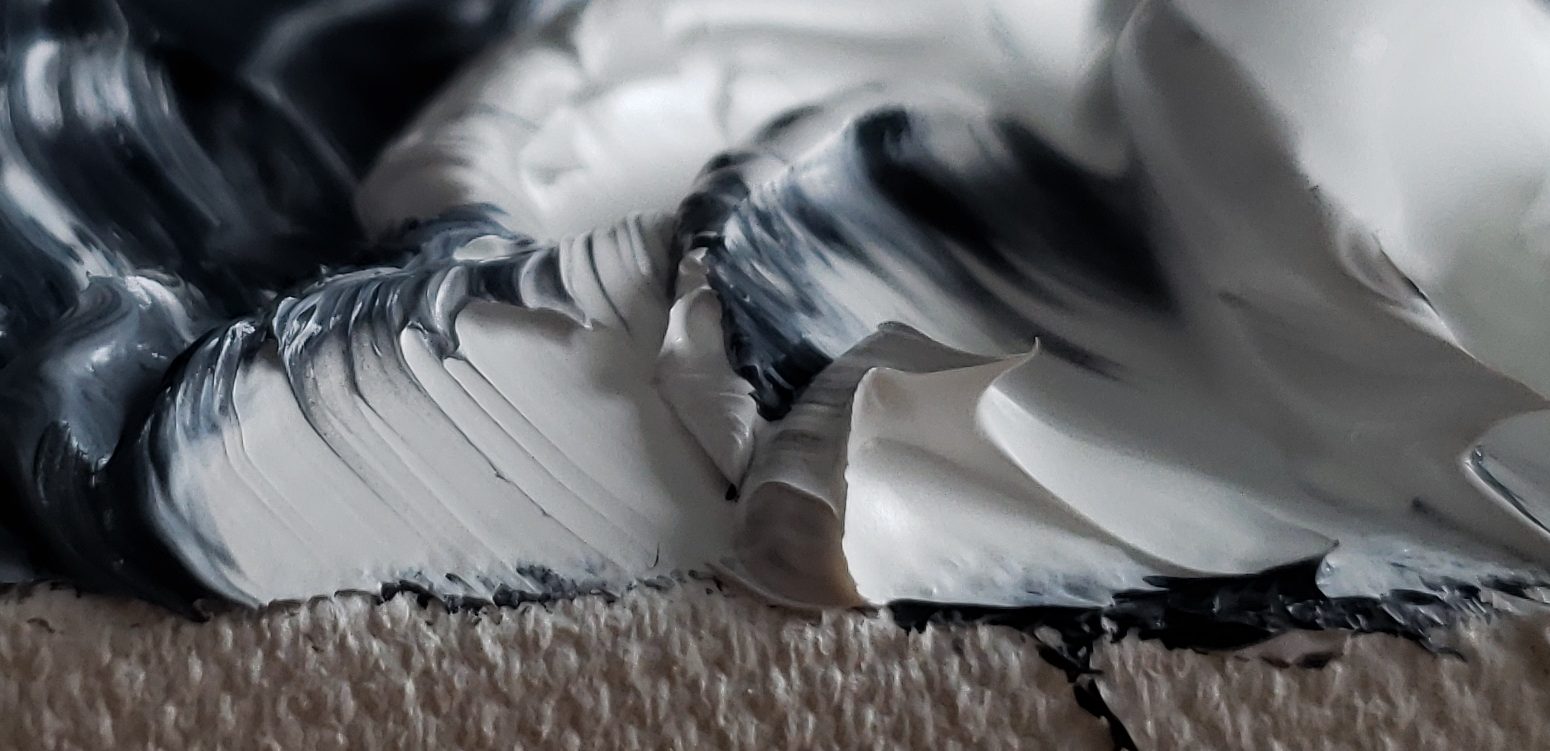
Oil paint, the King of paints. -
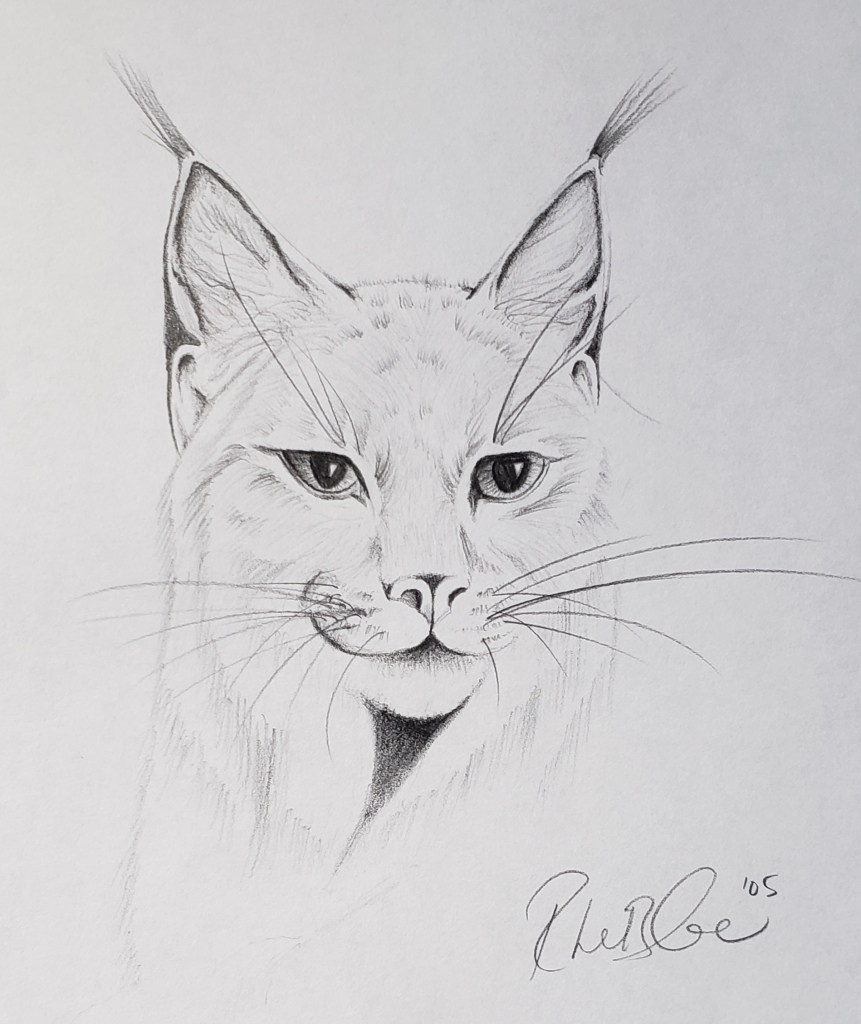
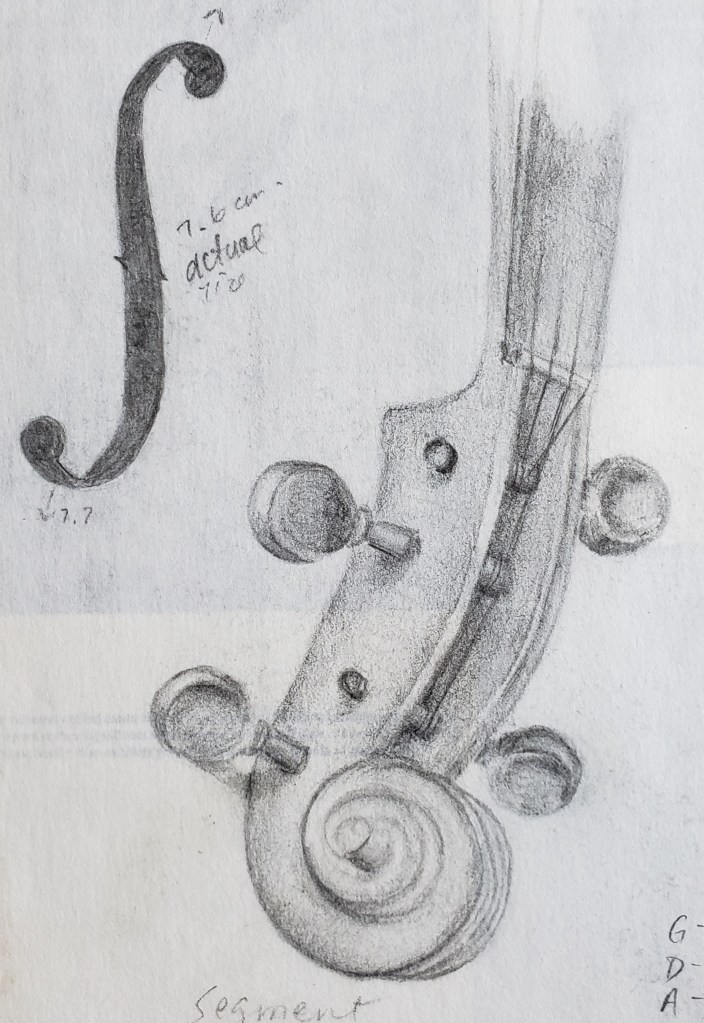
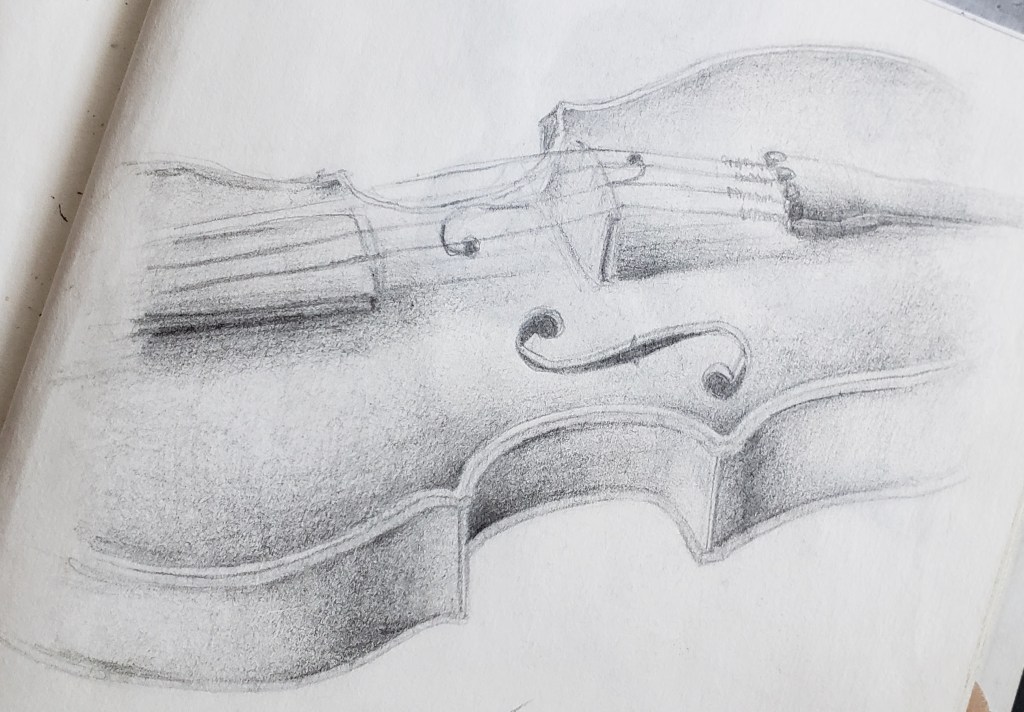
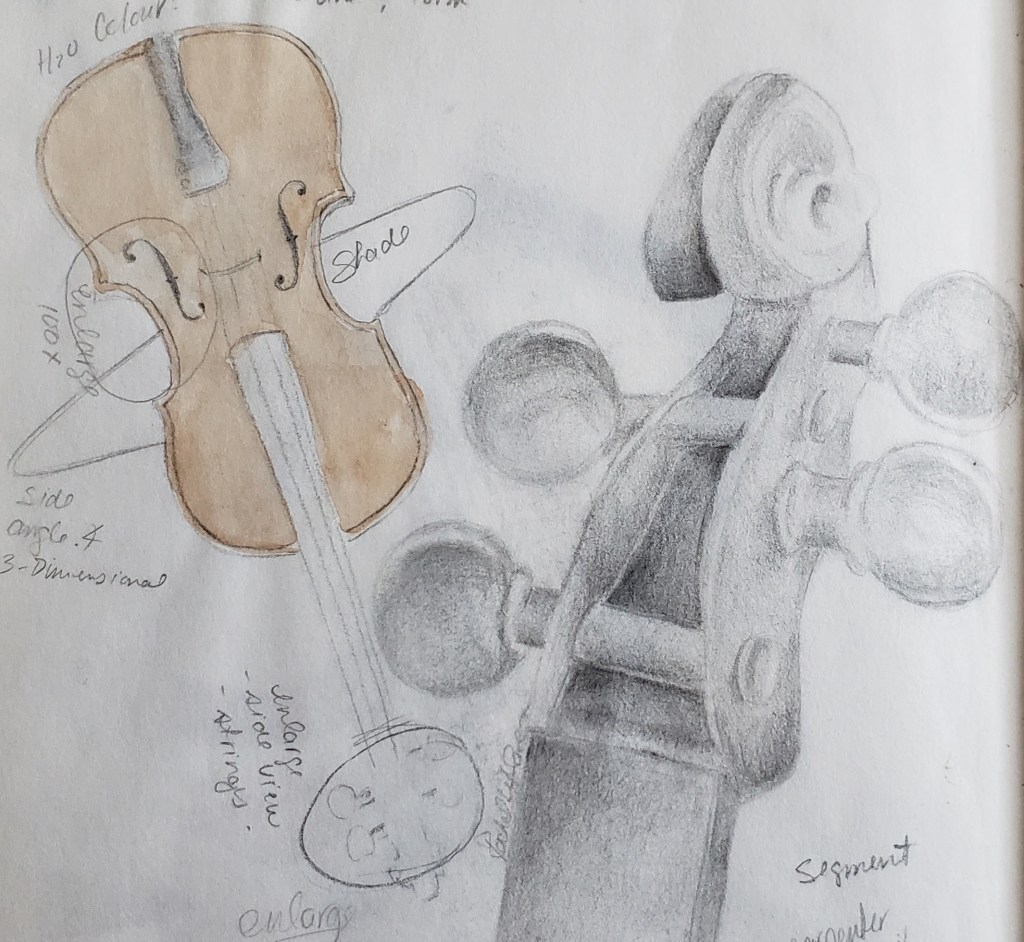
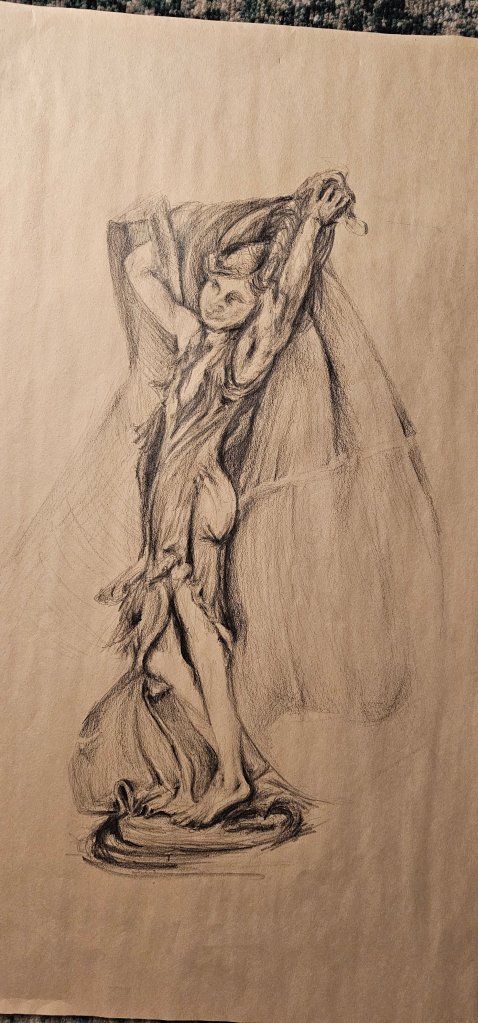
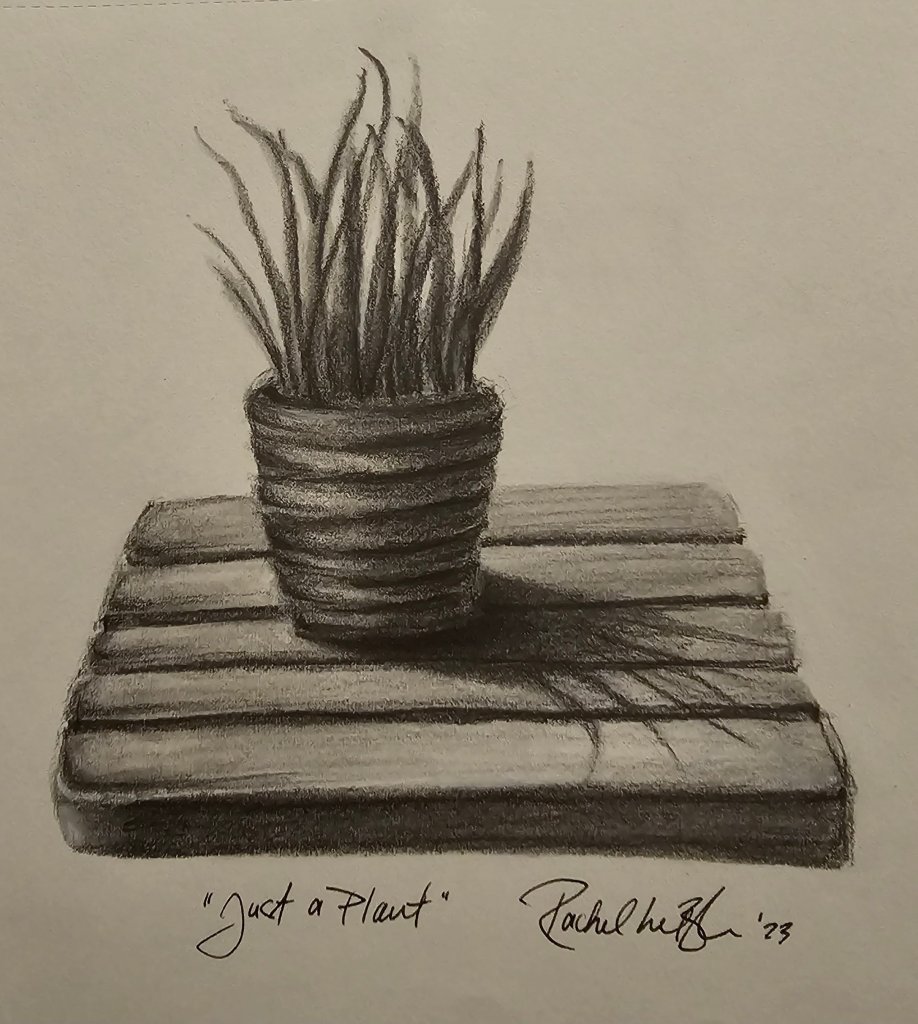
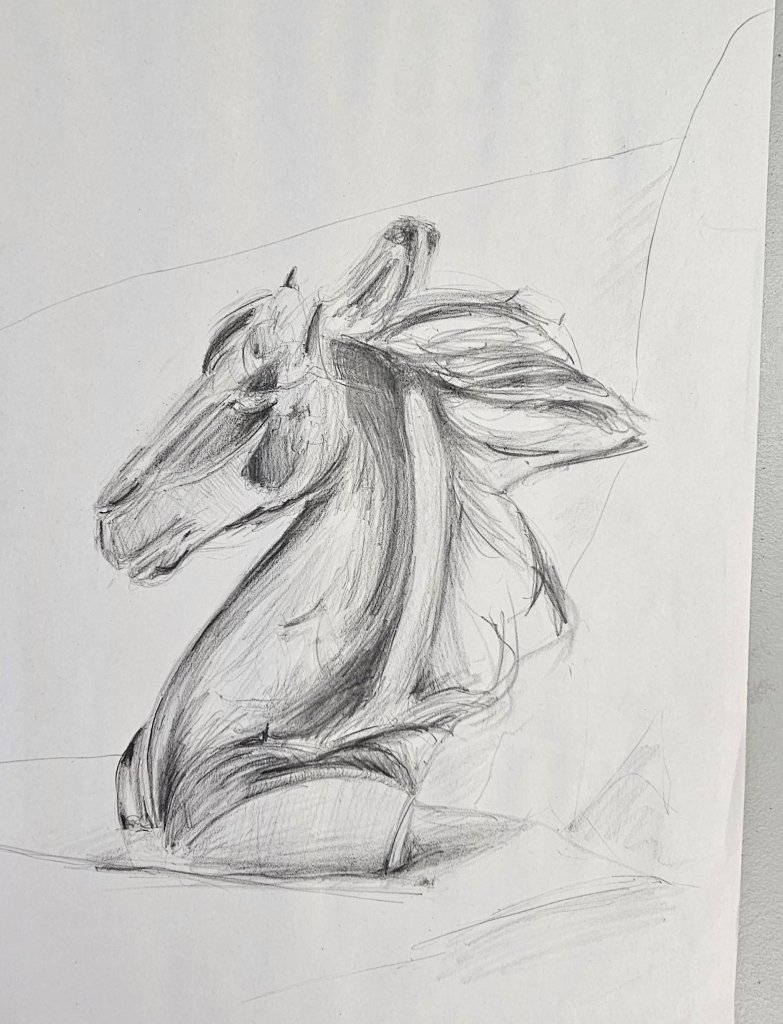
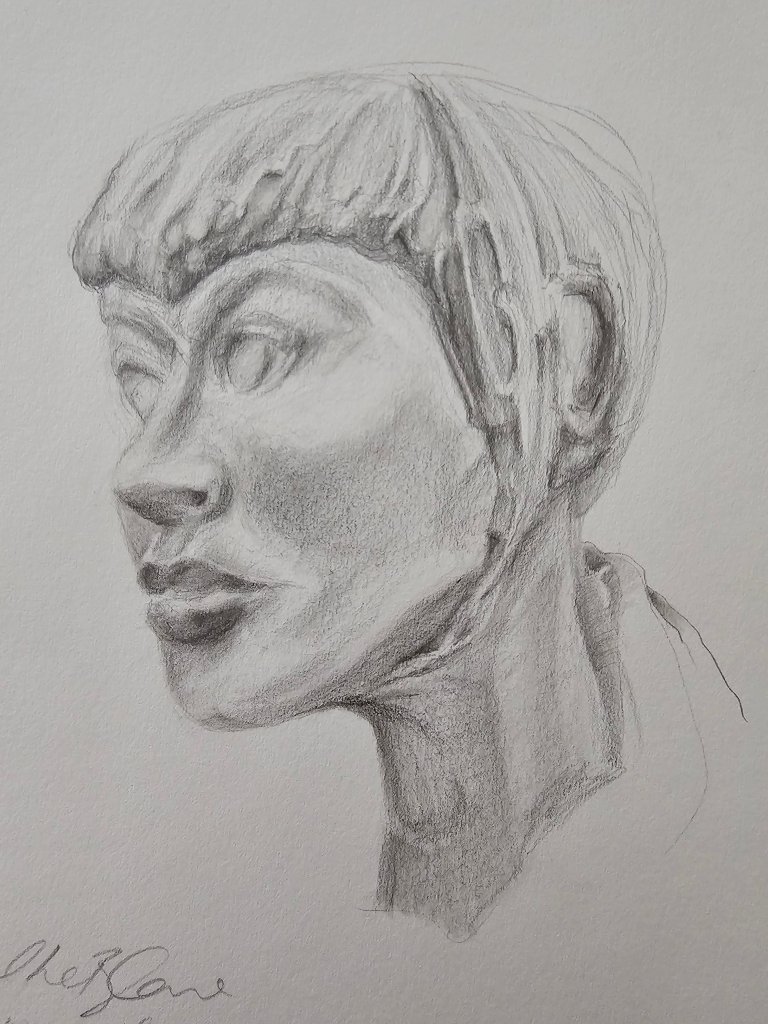
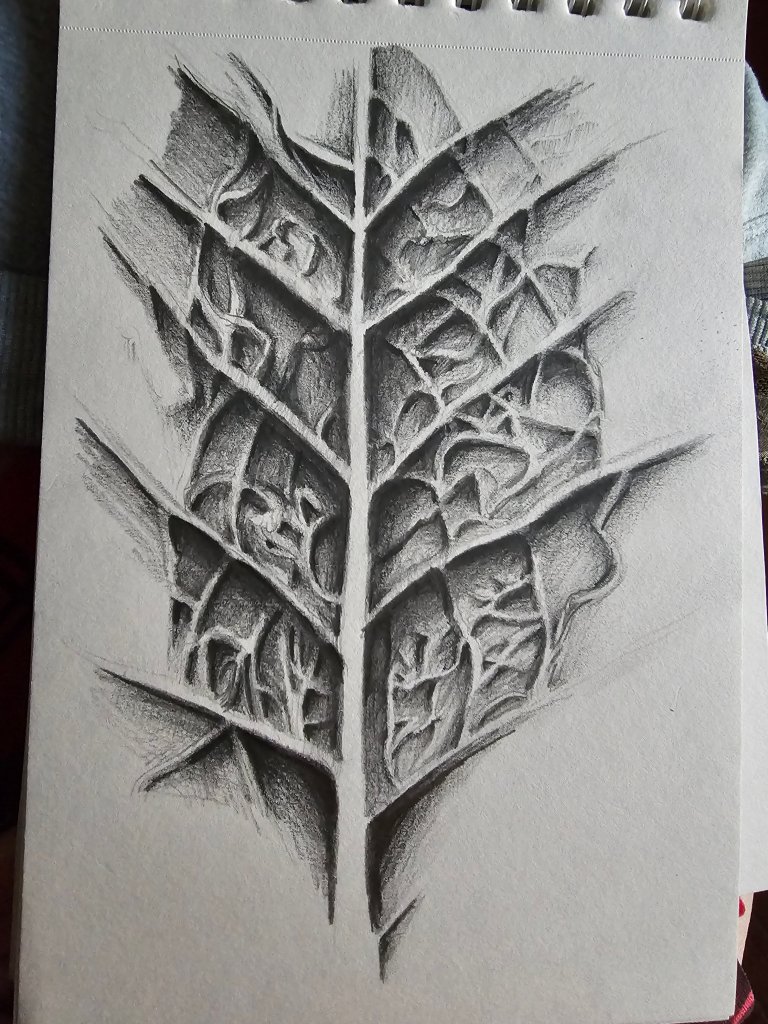
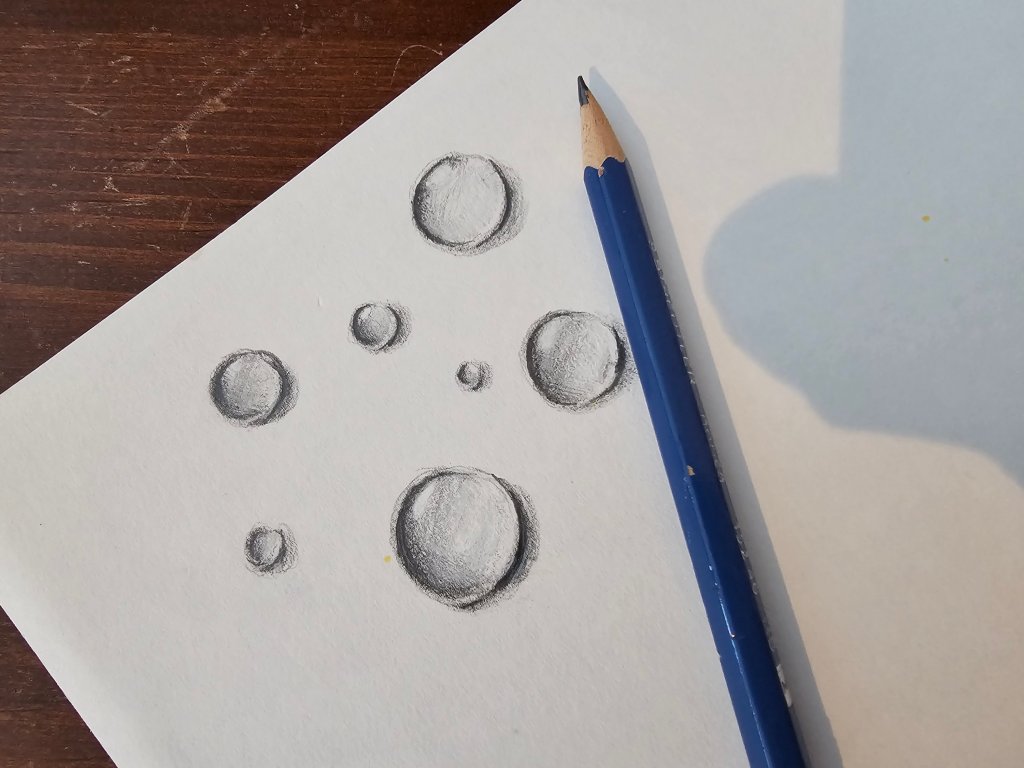
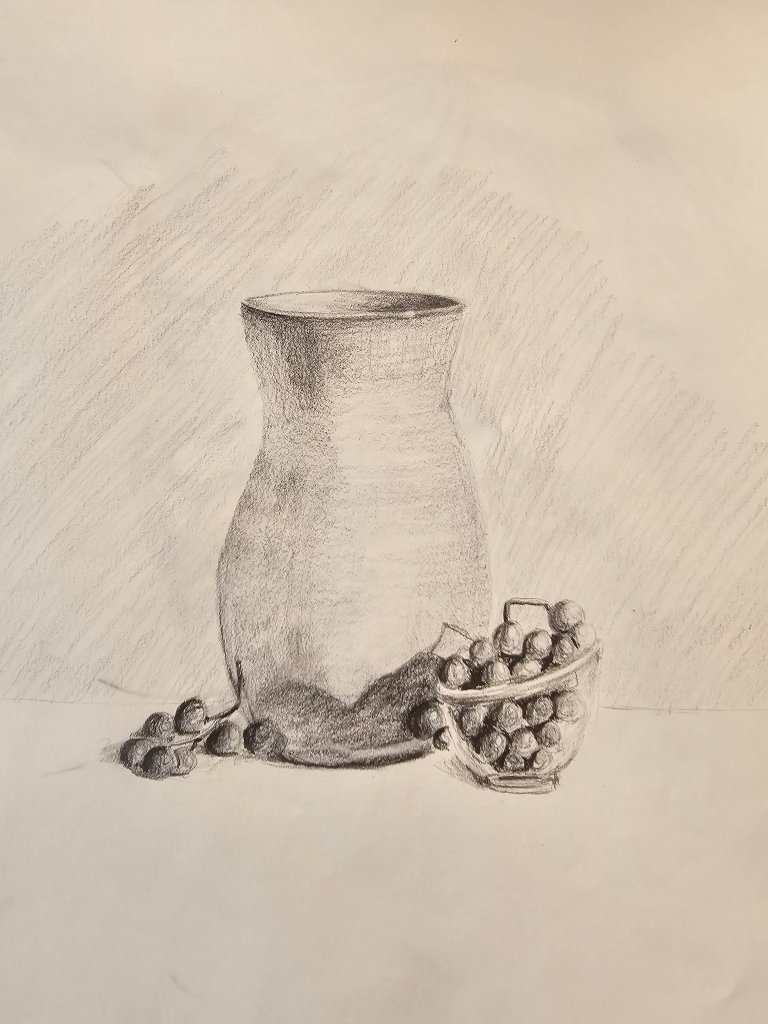
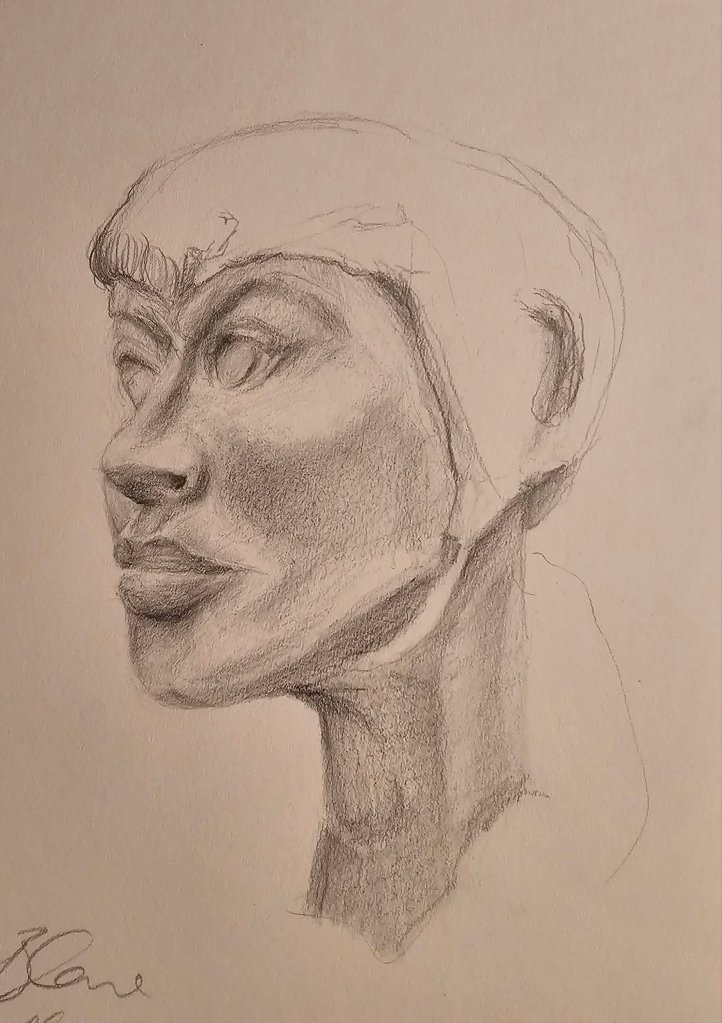
Classic Pencil on Paper
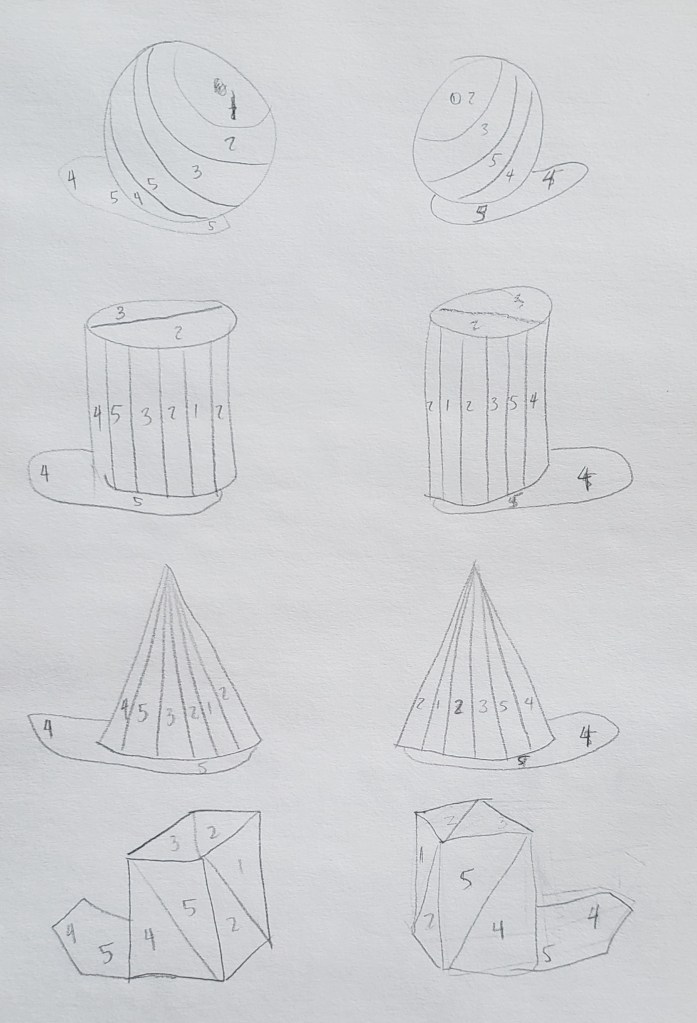
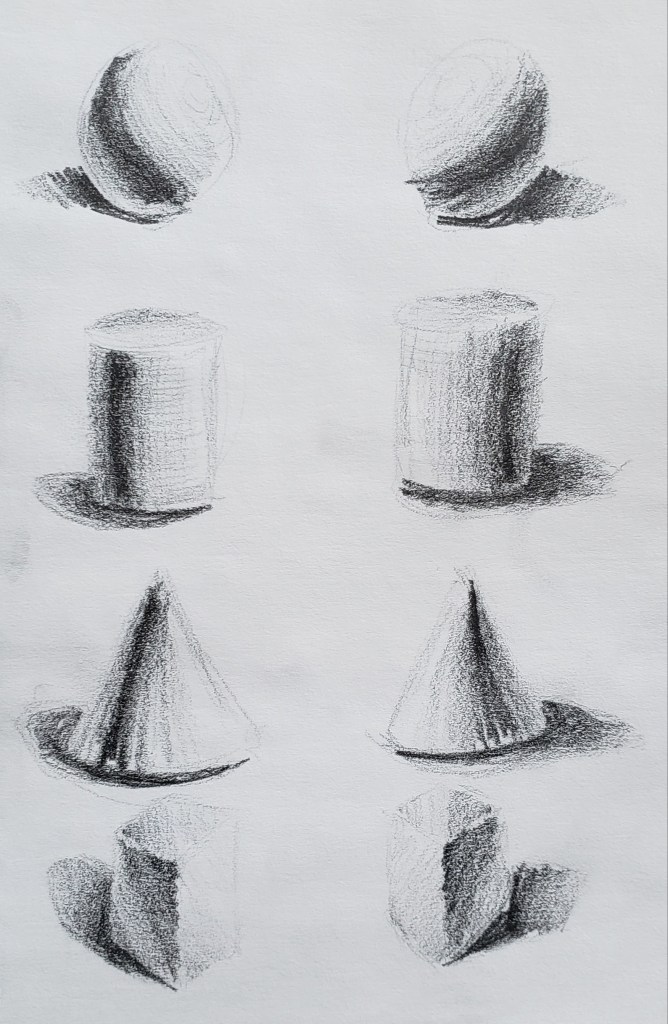

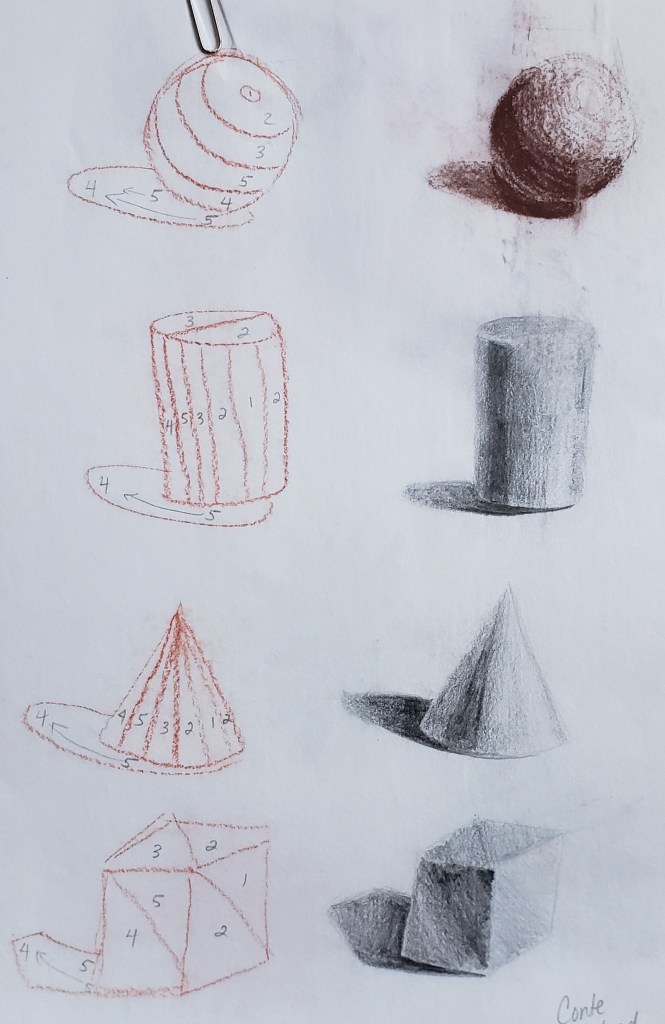
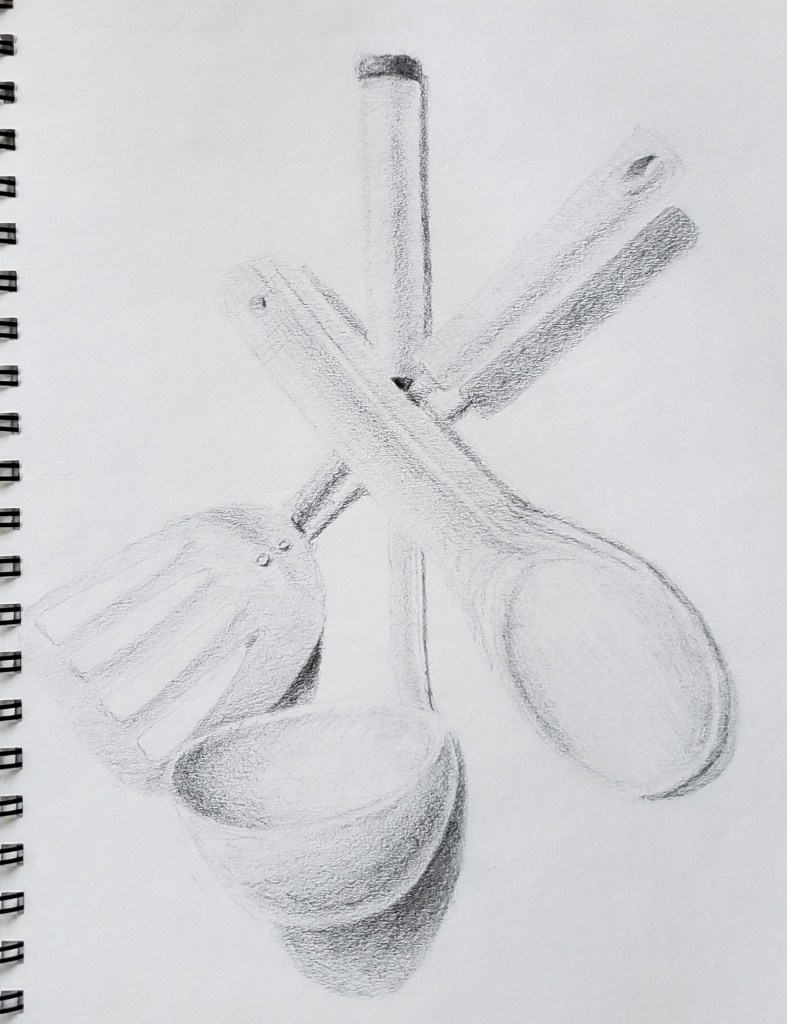
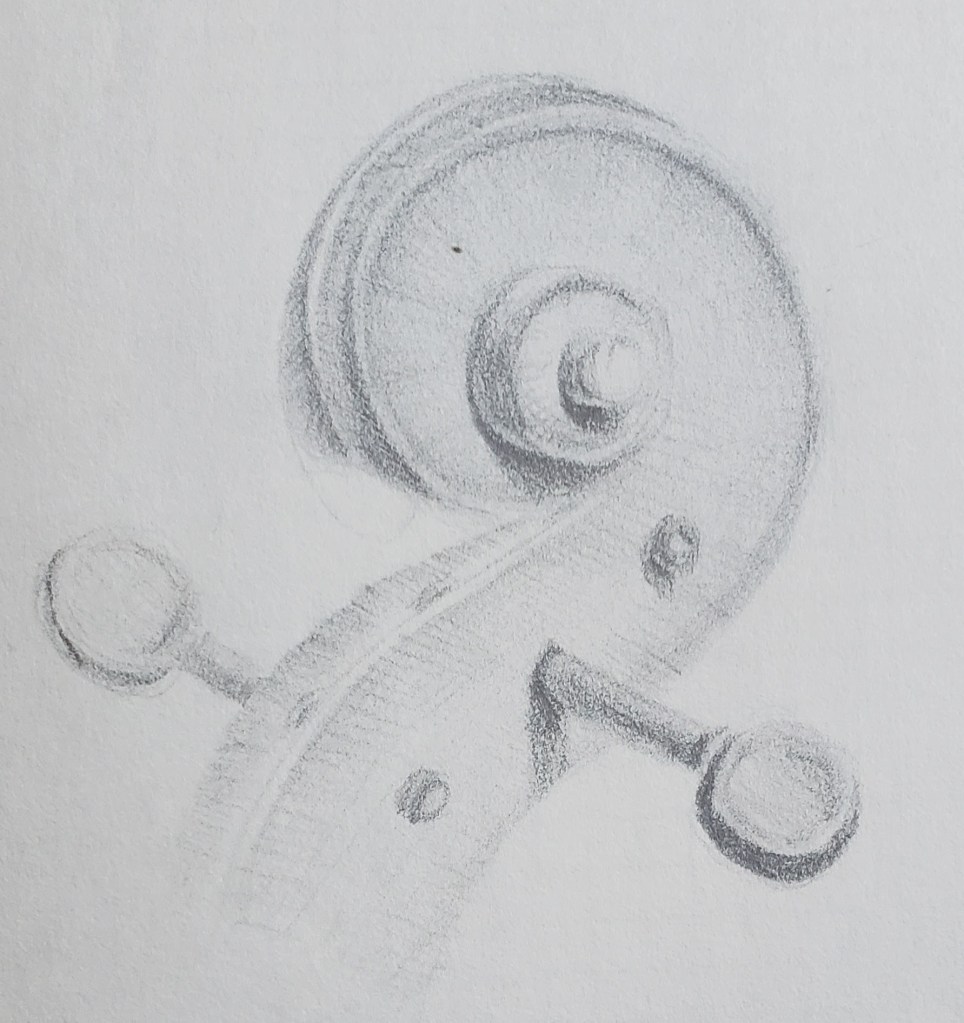
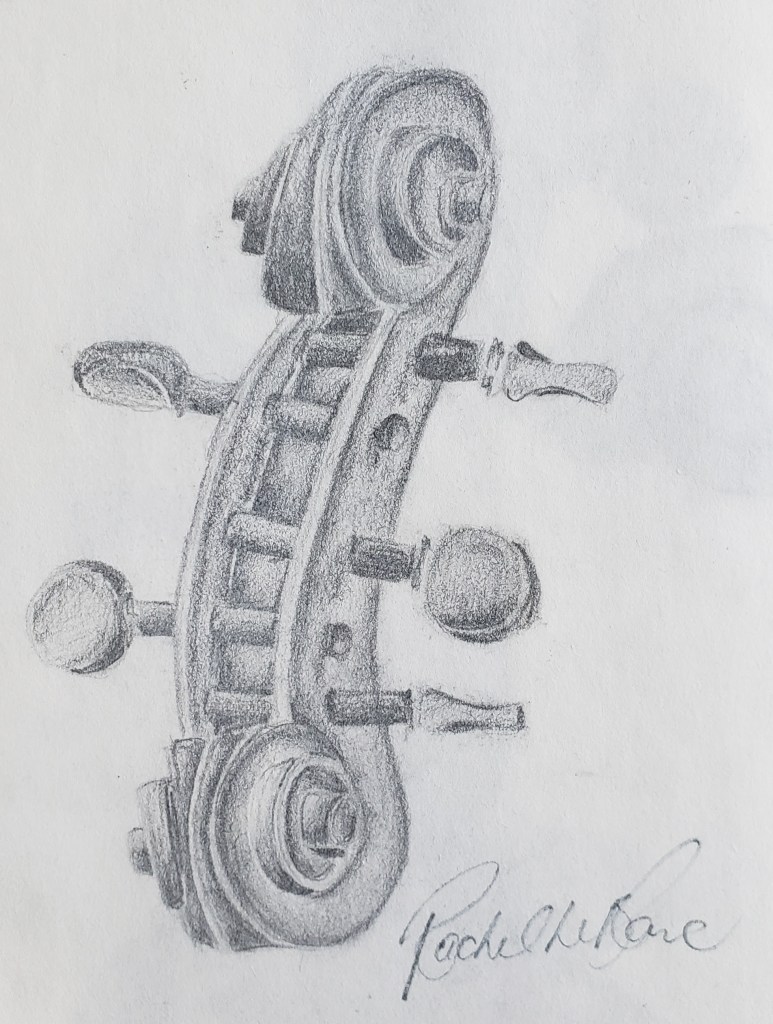
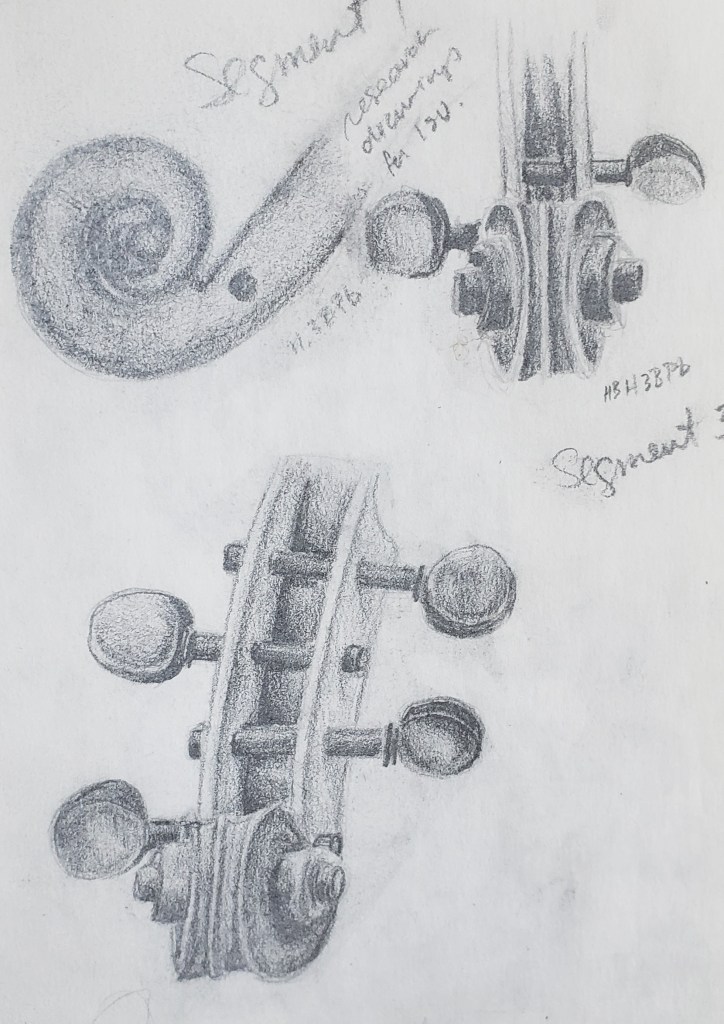
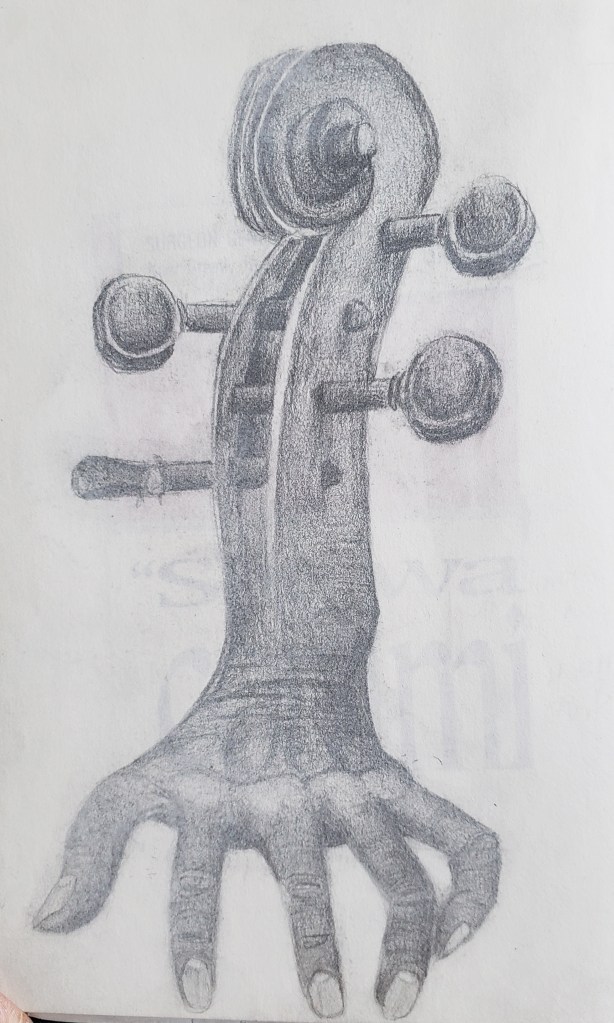
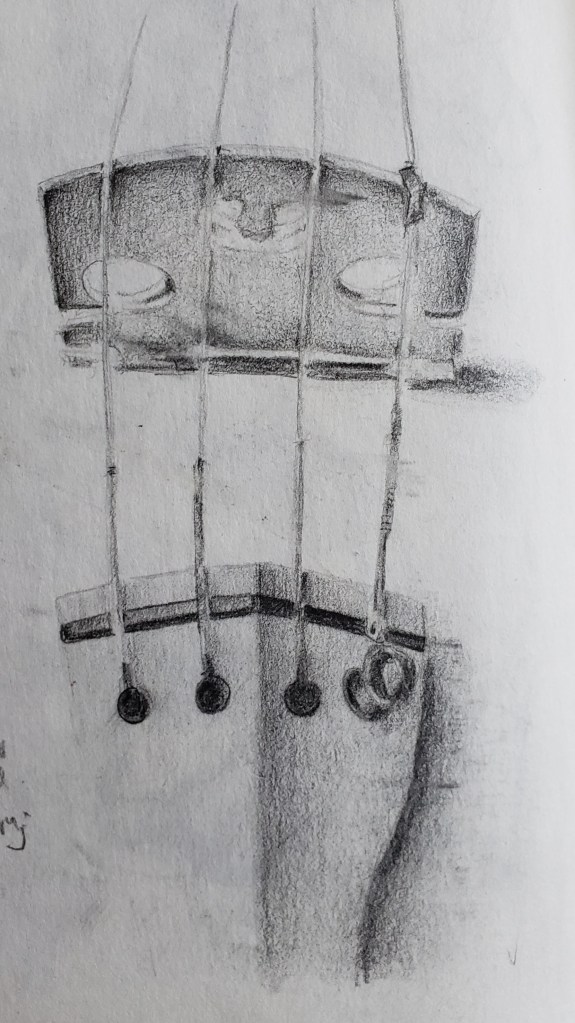
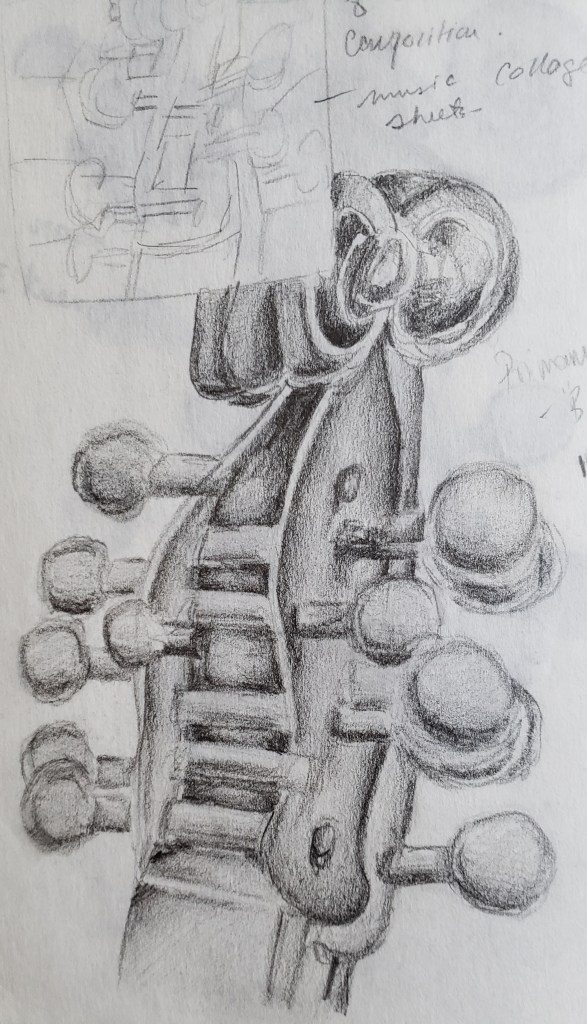
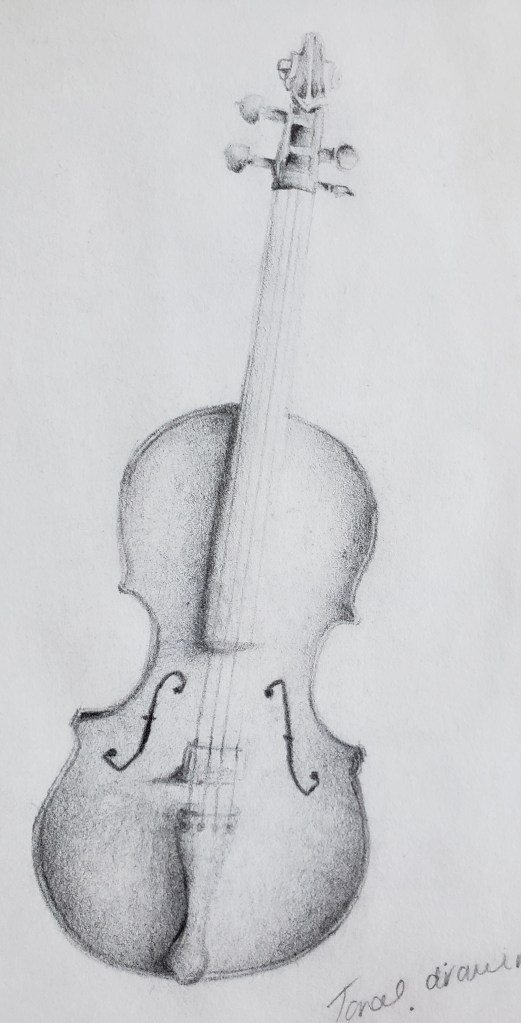
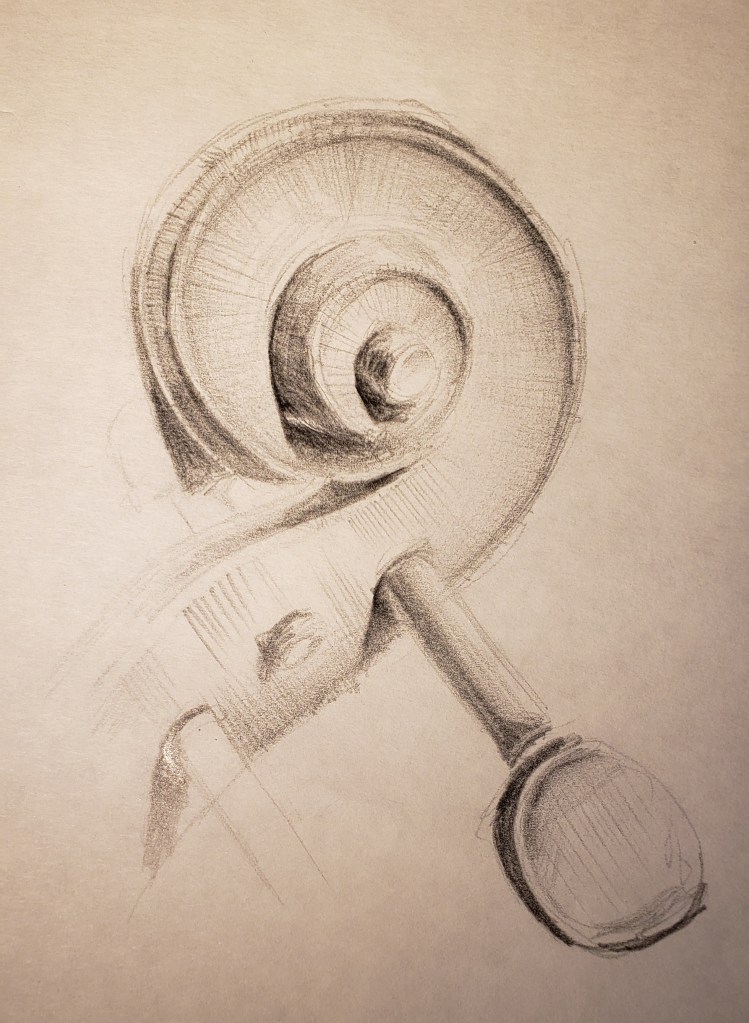
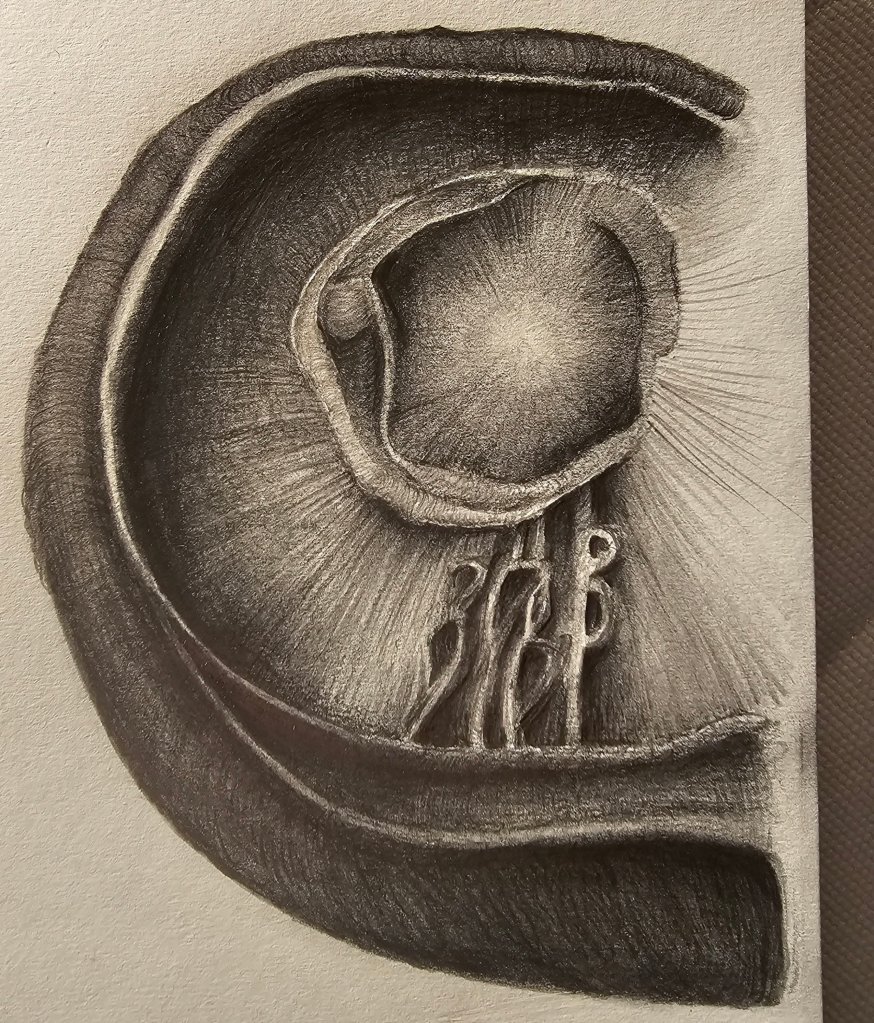
Be weird. If your pencil decides to go rogue or you made a mistake that has character to it, follow it! There’s no panel of judges behind the next page waiting for your explanation. Draw something for the sake of feeling your pencil make contact with a surface. Tough day? Scribble hard. Feeling creative? Turn the scribble into something delicate. Caption it with a dirty word and put it away. You’ll come across it one unsuspecting day and remember that feeling. Hopefully, you’ll appreciate the gesture you made. 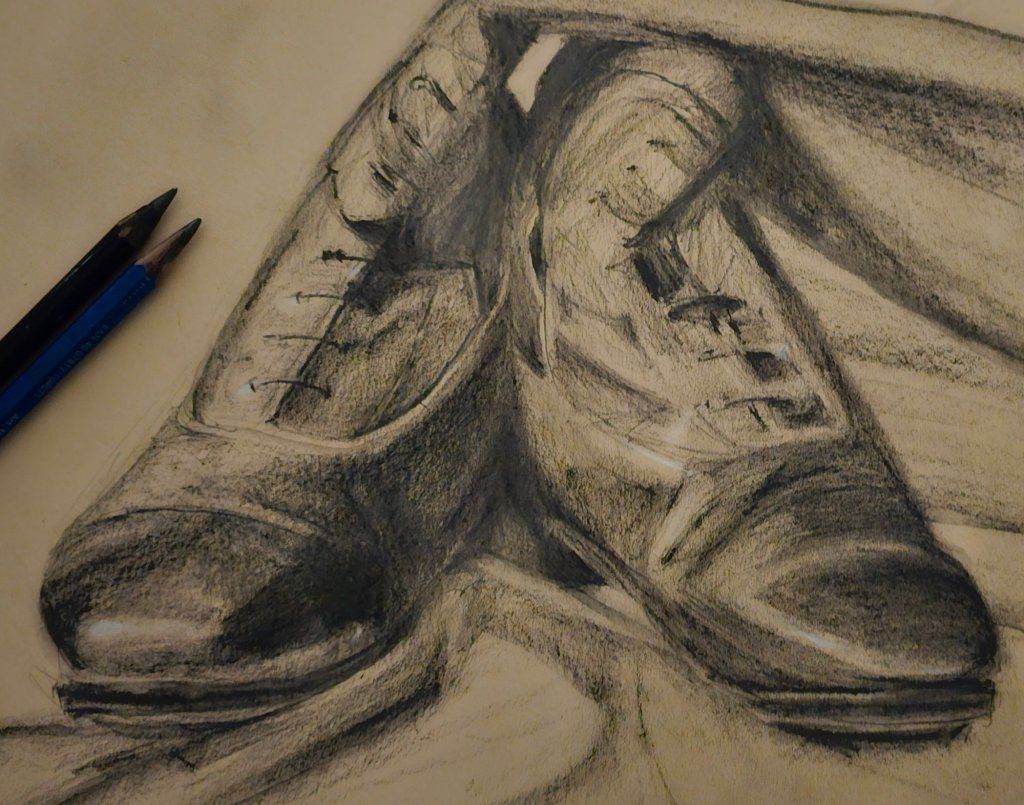
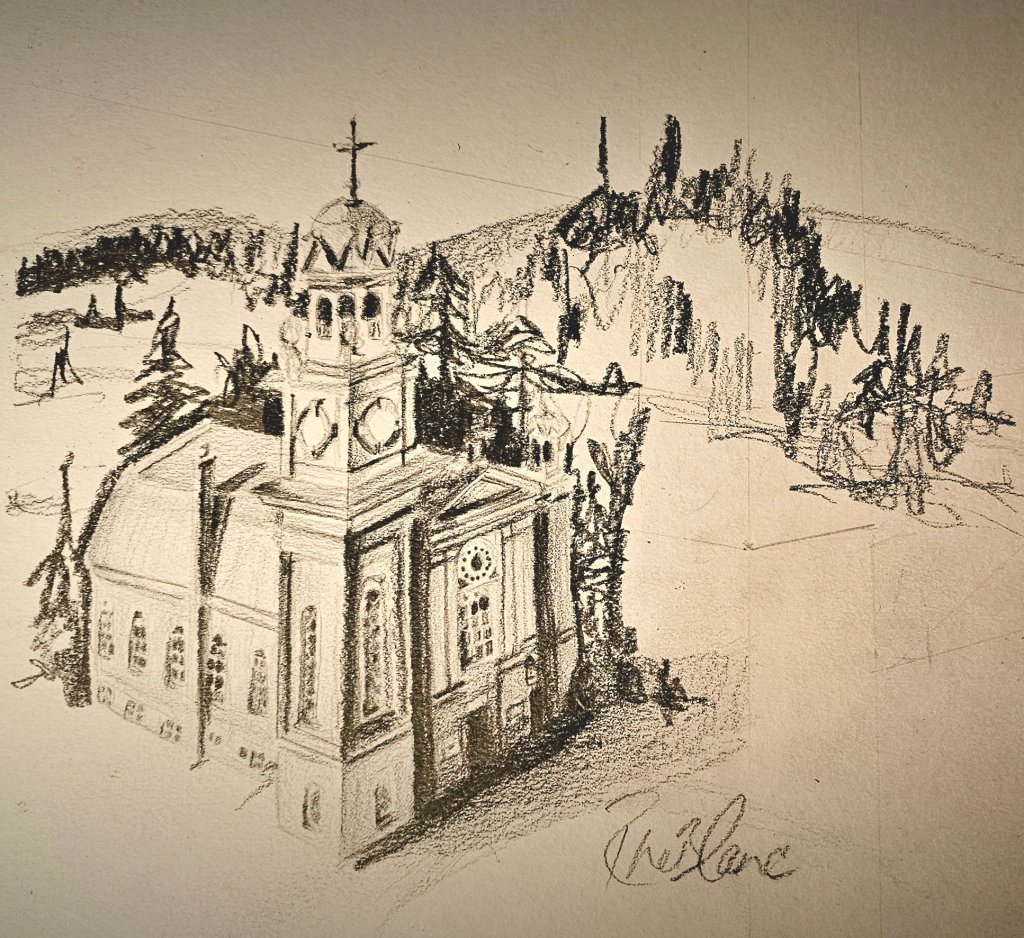
L’église Sainte-Catherine-de-la-Jacques-Cartier, Québec 2023 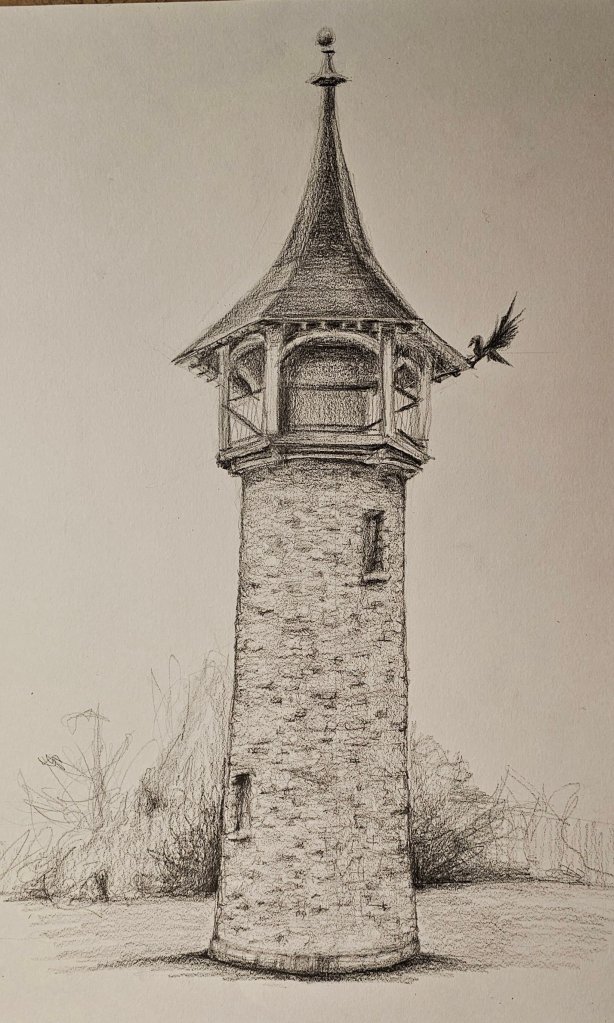
Kitchener Waterloo Pioneer Tower 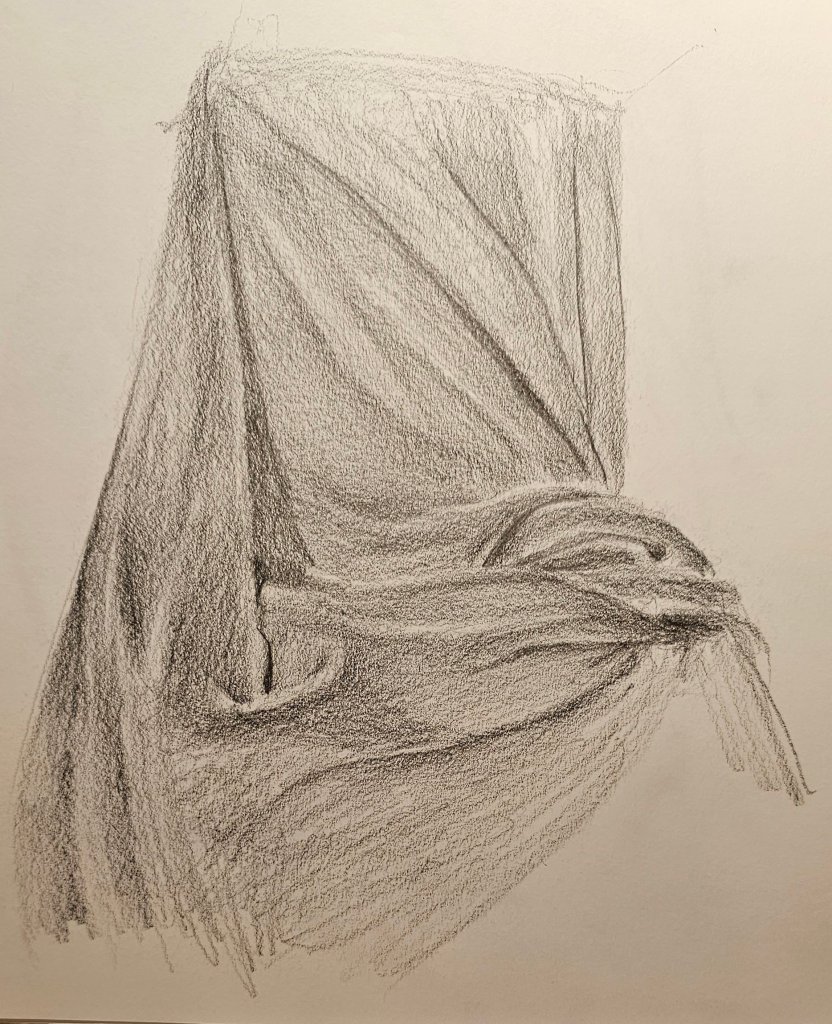

Self-Portrait 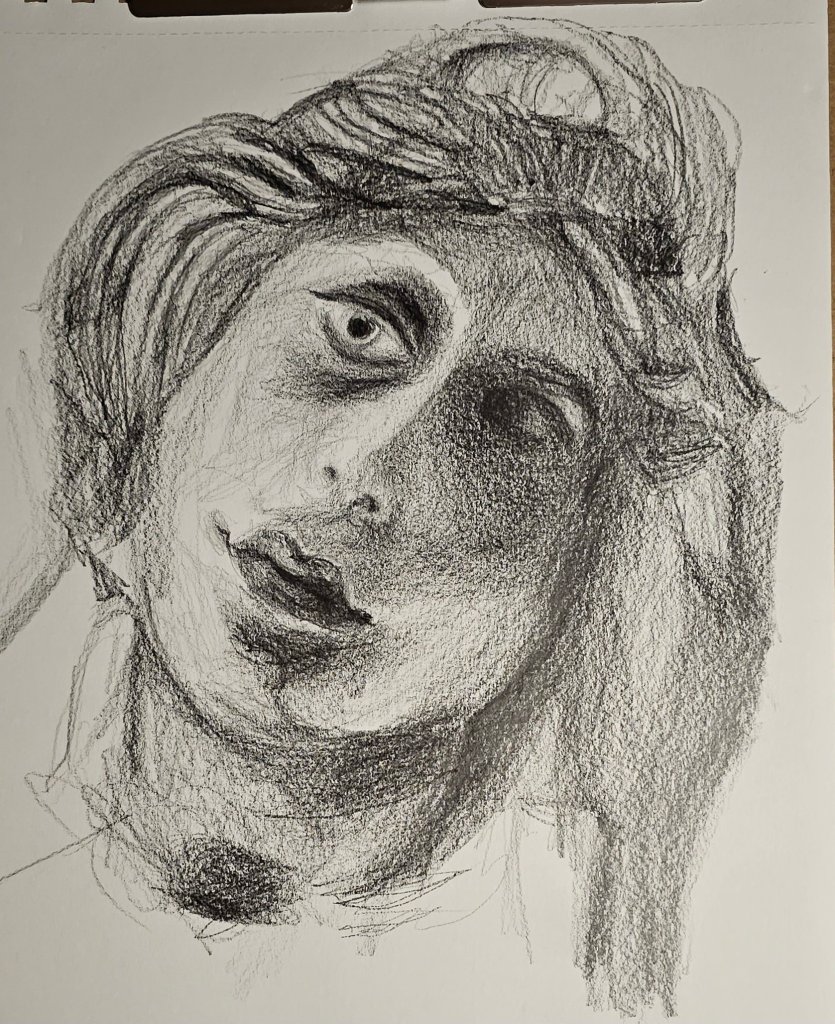
-
Epoxy Resin
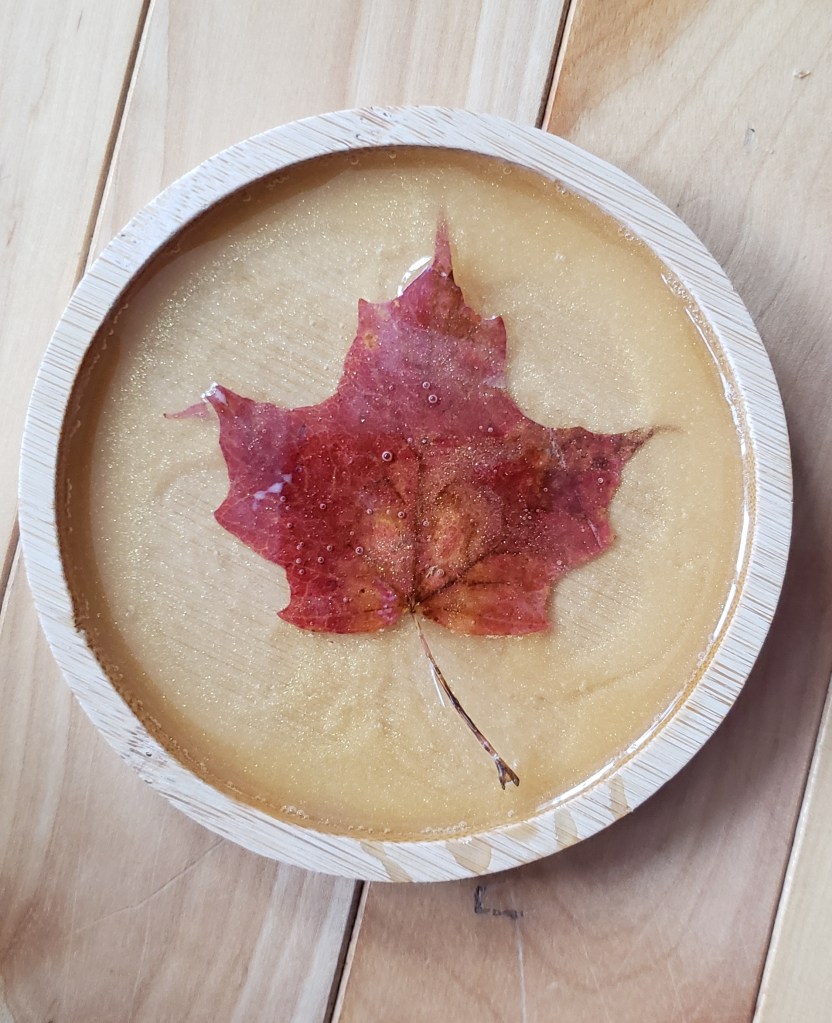
Epoxy, gold acrylic and a real maple leaf 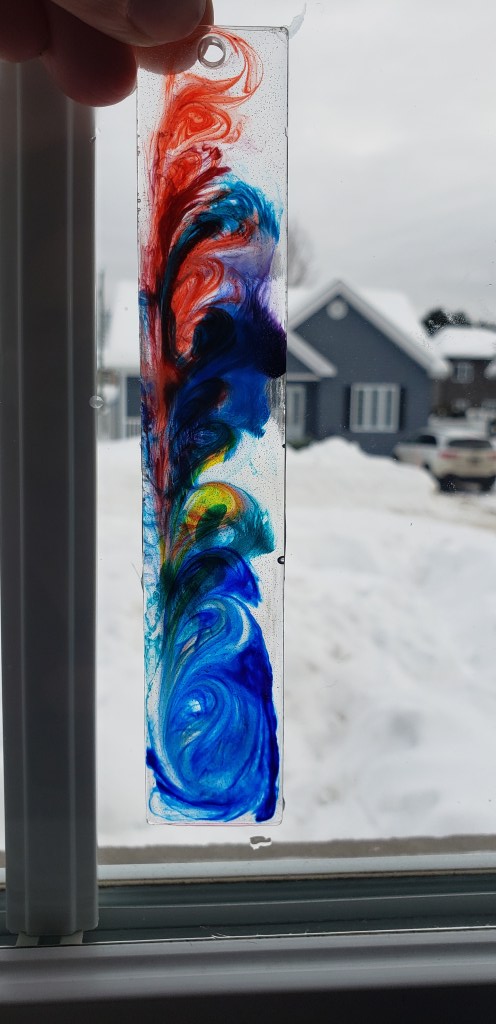
Bookmark, Epoxy with alcohol ink, 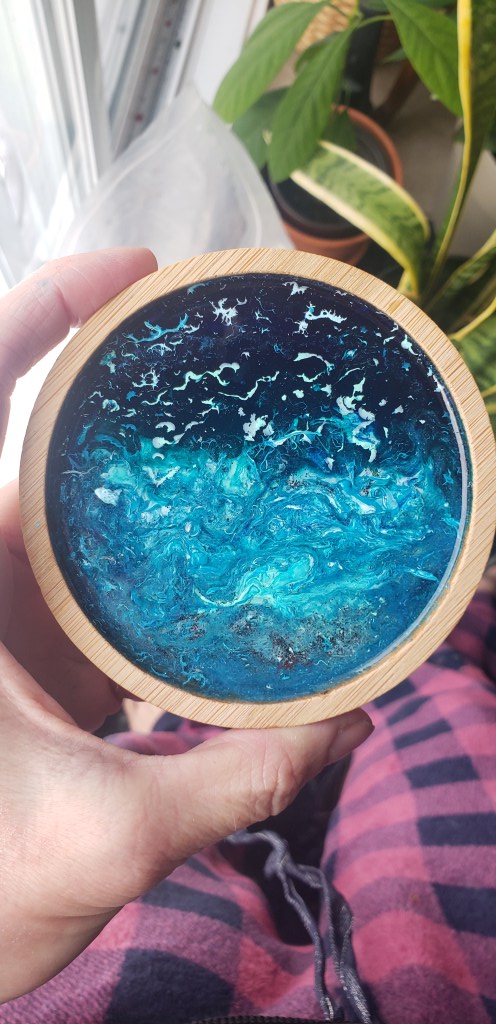
Epoxy and acrylic wooden coaster 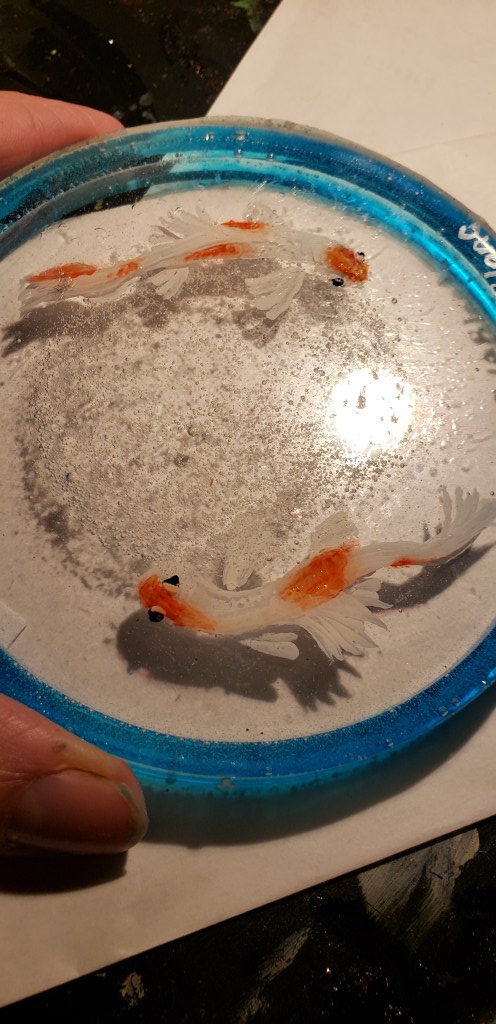
Epoxy with different acrylic layers and techniques. 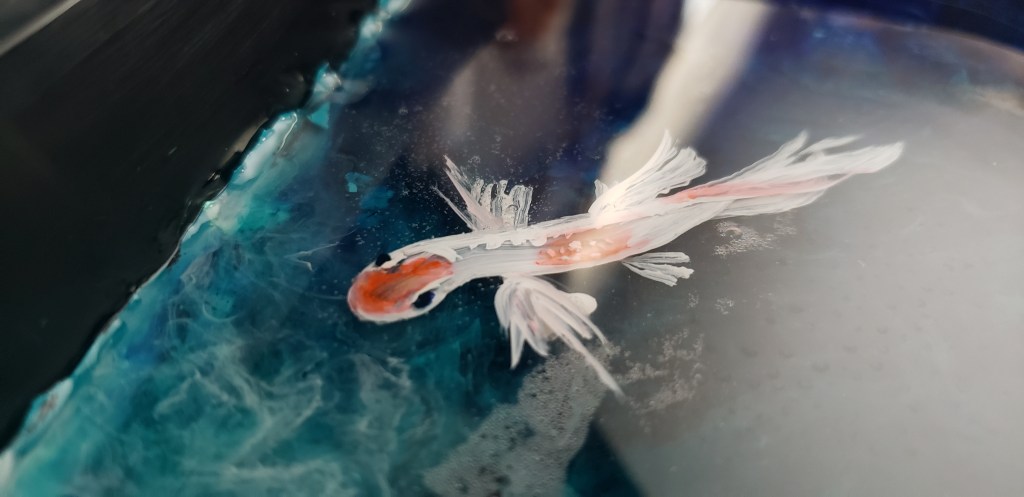
Koi Fish with layered acrylic in a pencil box. 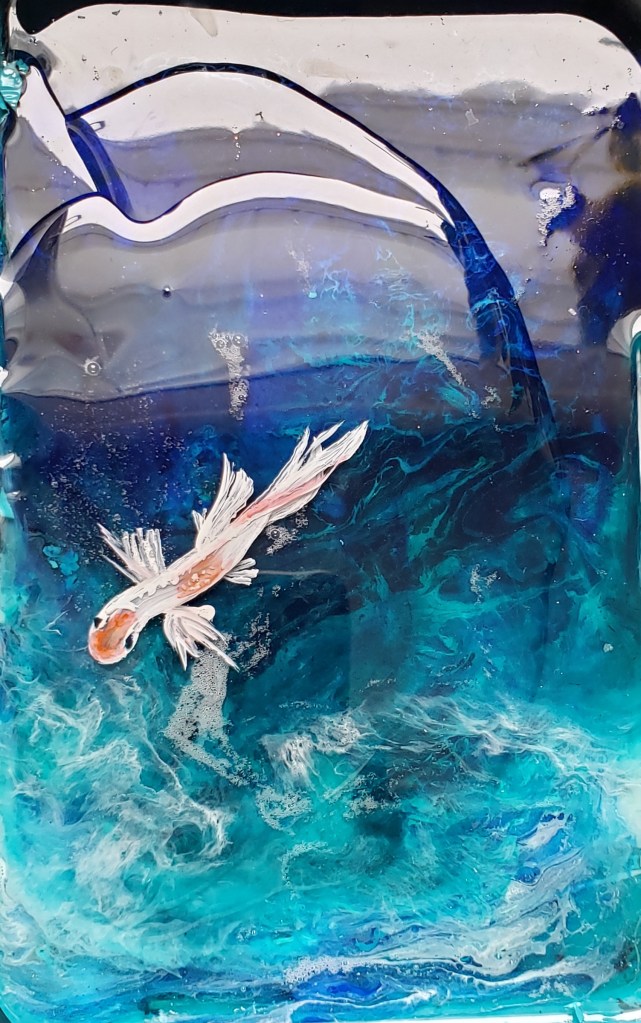
Koi fish Epoxy Resin is by far the most sticky and messy medium I work with. It’s three equal parts prep, execution, and clean up. But don’t put things away too far if your project isn’t a single application. One coat takes 24 hours to dry and harden. Resist the temptation to lose your patience.
My set up always includes a large martyr carpet, dixie cups, a plastic fluid measuring cup, popsicle sticks, acrylics or some type of ink and disposable gloves. Have a hair dryer and/or a blow torch for the finishing touches!
-
Acrylic Paint
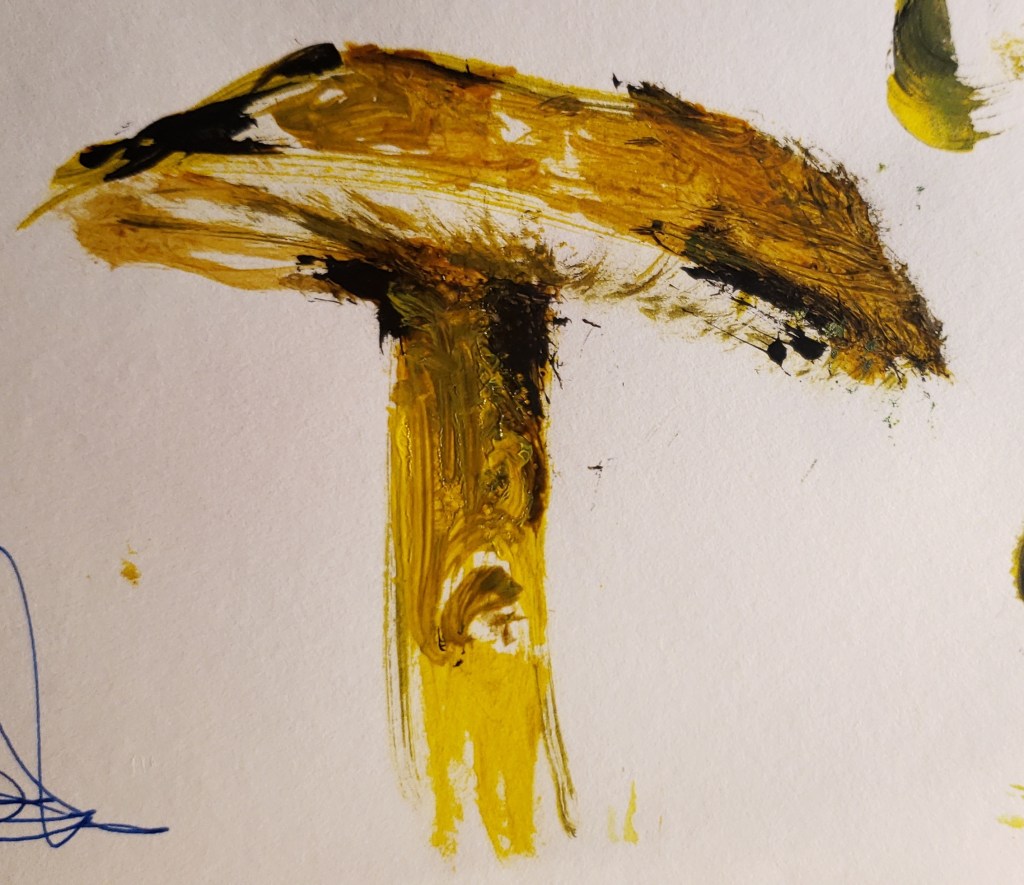
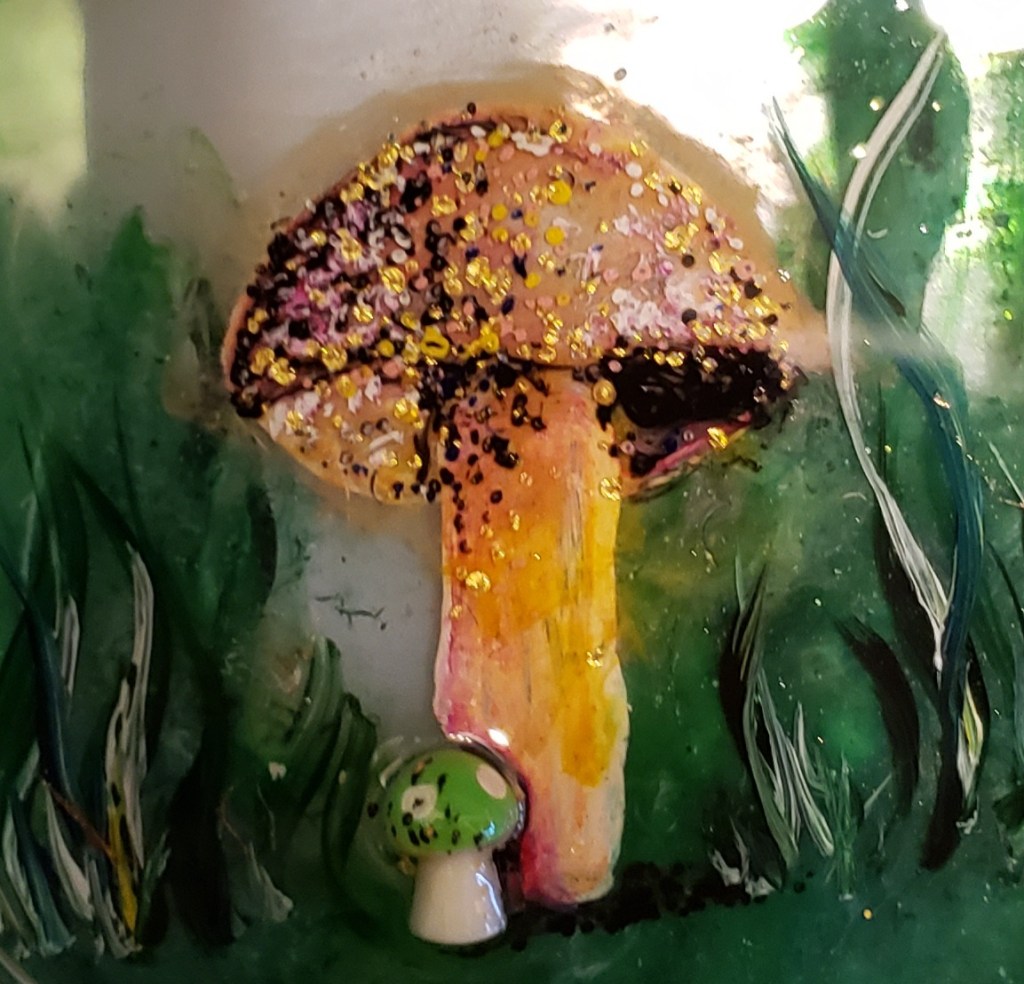
Mushroom study Acrylics are probably the most versatile paint medium I work with. Think of it as your A – Z paint. It can be applied to any surface, it doesn’t have to be super expensive, you can use different techniques of applying it and you can probably find the exact colour you want without having to mix.
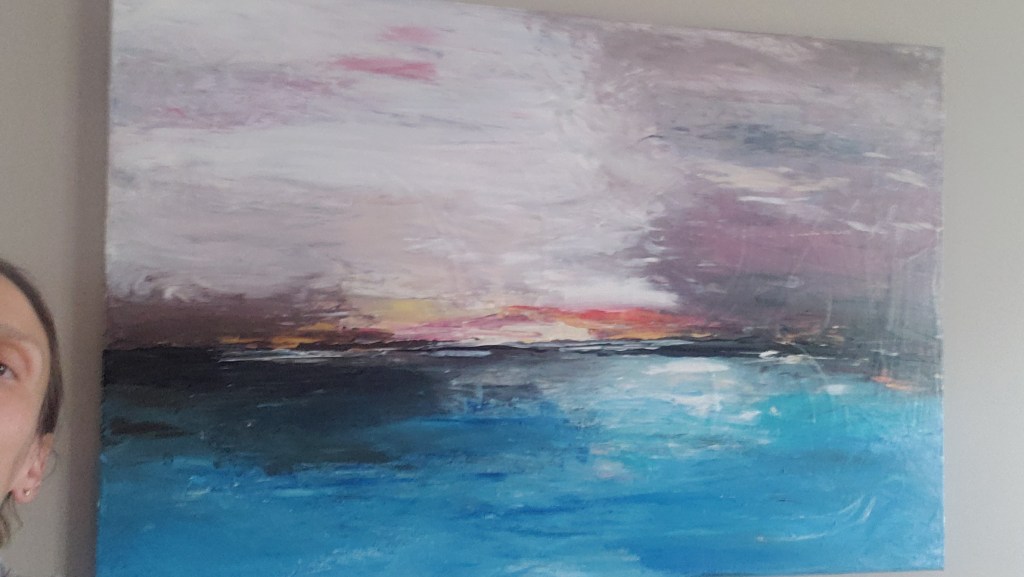
Sky Line, acrylic on canvas, applied with my hands, no brushes. Not including the prep time, this took me about 40 min to make. Sometimes it can be hard to know when to stop. Generally less is more, if you’re not sure, take a break and walk away so you can come look at it again with fresh eyes. If you’re still not convinced of your art, call it an attempt and forget about it. I often keep the duds and recycle the canvas for another day. 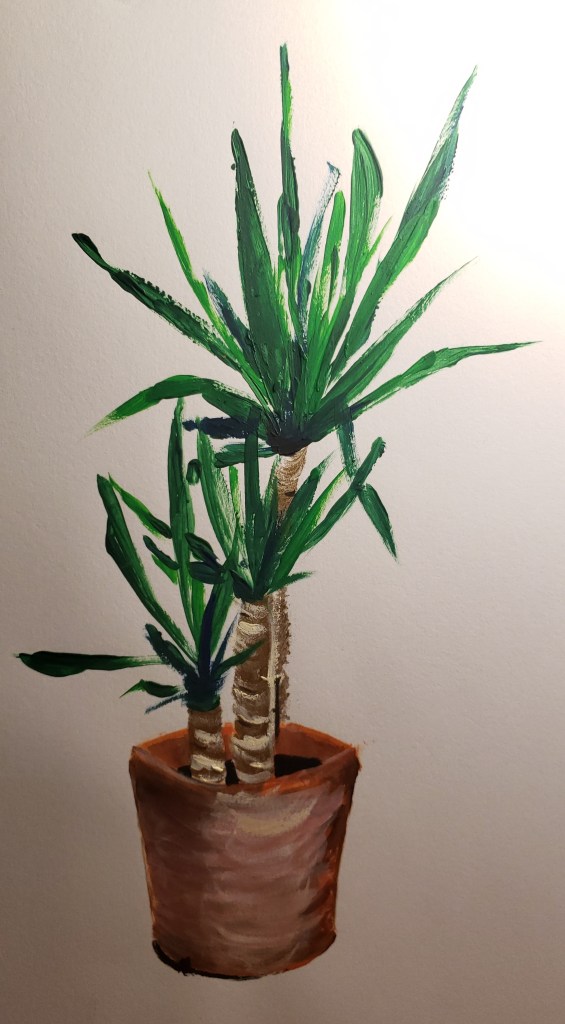
House Pant, acrylic on mixed media paper. -
Clay
Such a satisfying activity. If you liked Play-doh and plasticine when you were a kid, you’ll love clay. I recommend starting with something simple, like a little dish, a pinch pot, or even just a shape like a heart. Squeeze off about a 1/3 cup of clay from a brick of clay (I have both Dollarama and Omer Deseres quality, so far I can’t tell the difference). Keep a damp cloth close by to keep the clay pliable. On that note, once you’ve opened a brick of clay, keep it sealed in a bag with a small damp cloth as well until it’s used again.

Gold rimmed sunshine jewelry dish. Made with clay and acrylics.

-
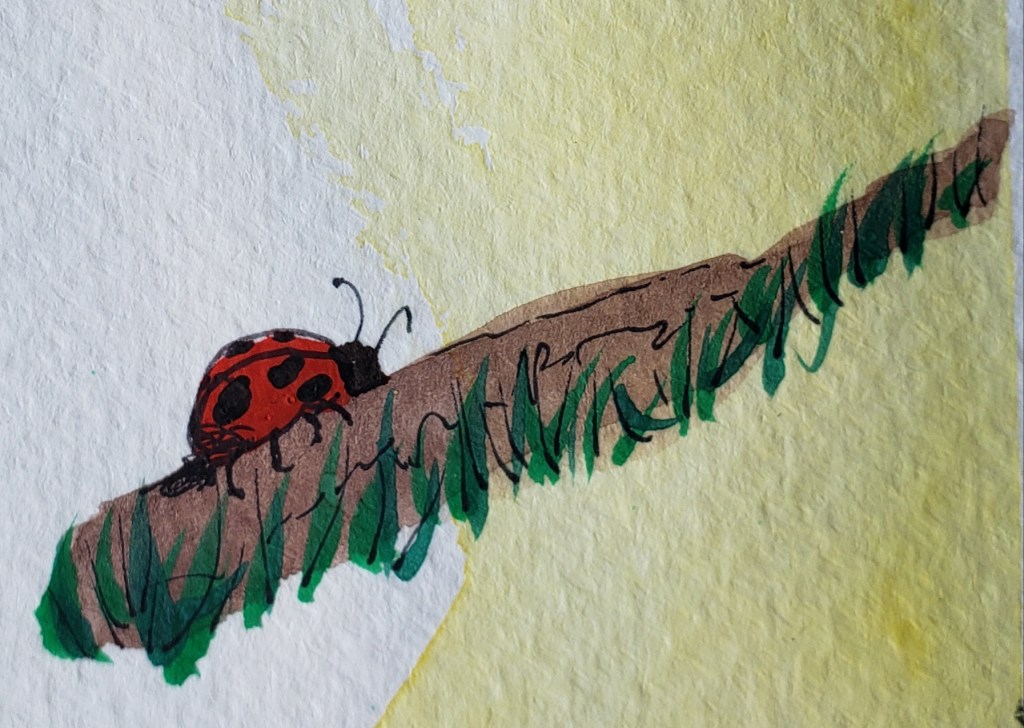
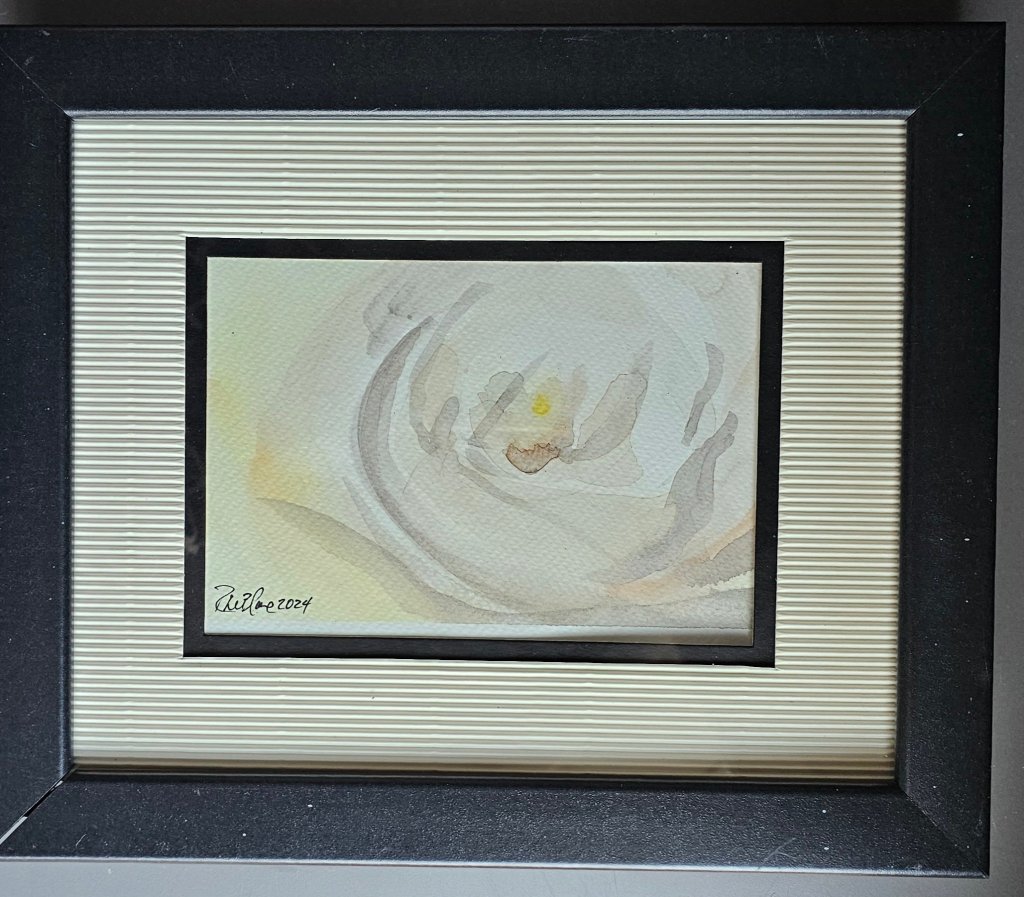
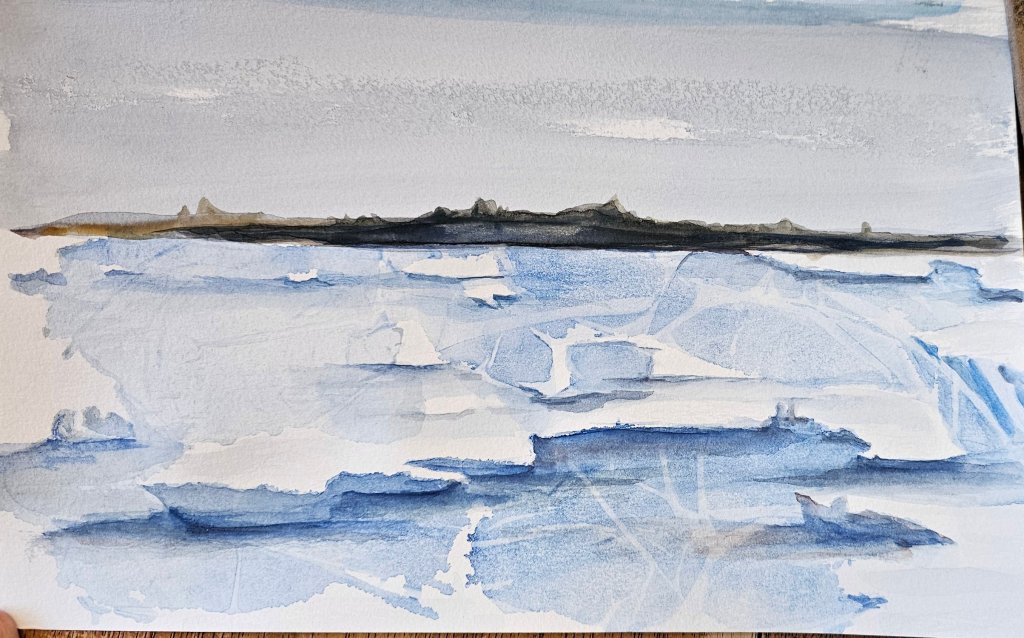
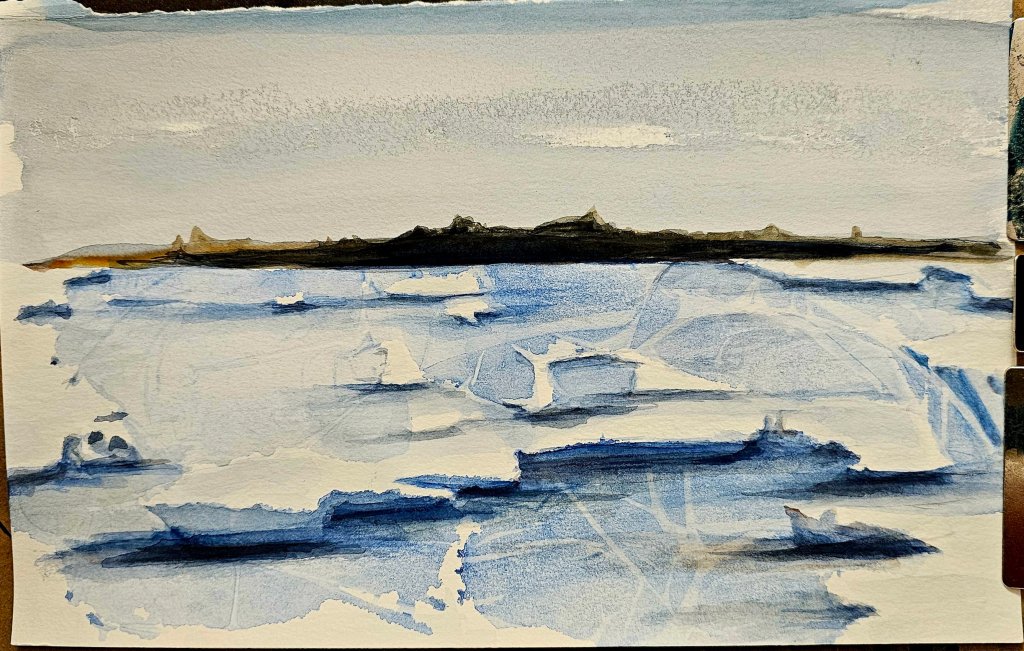
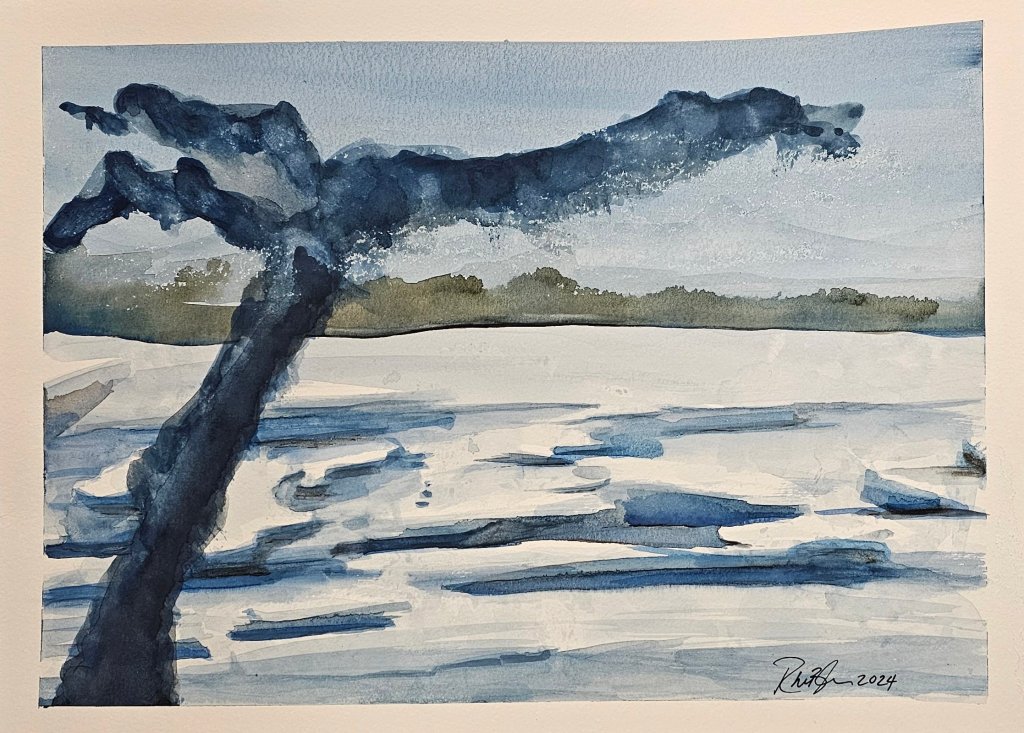
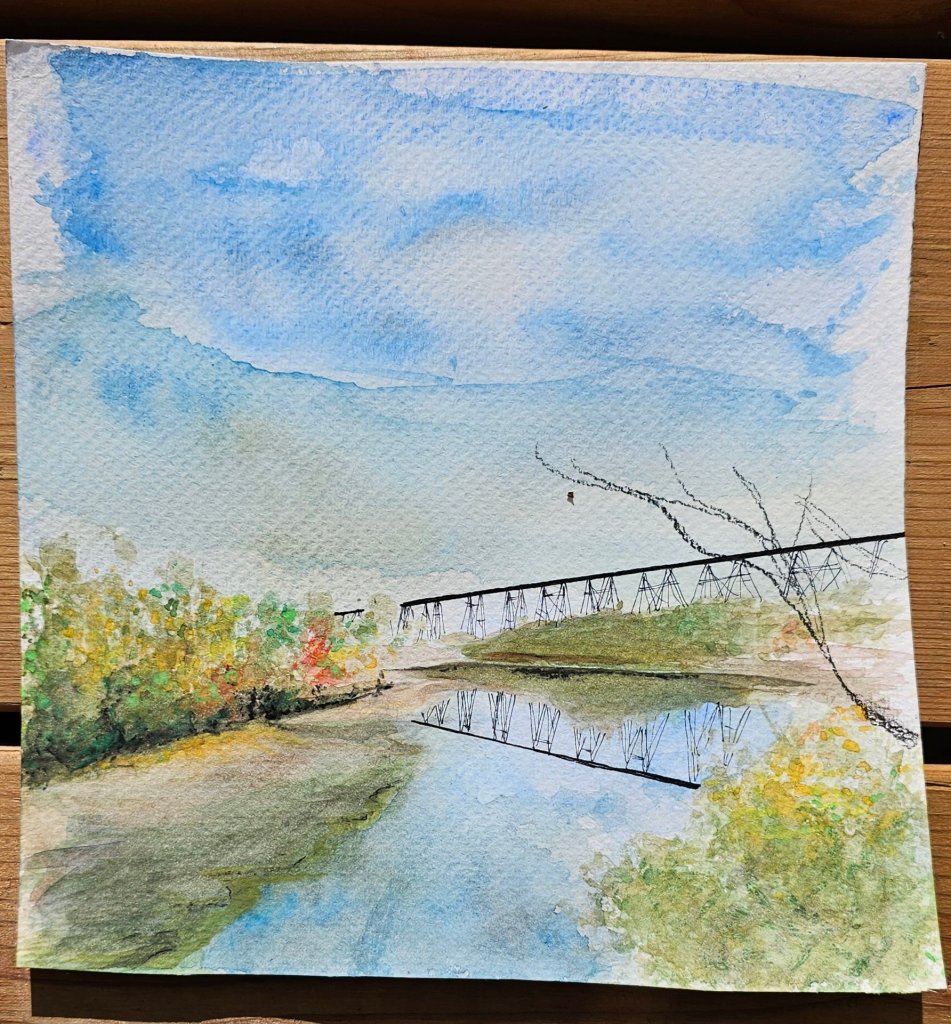
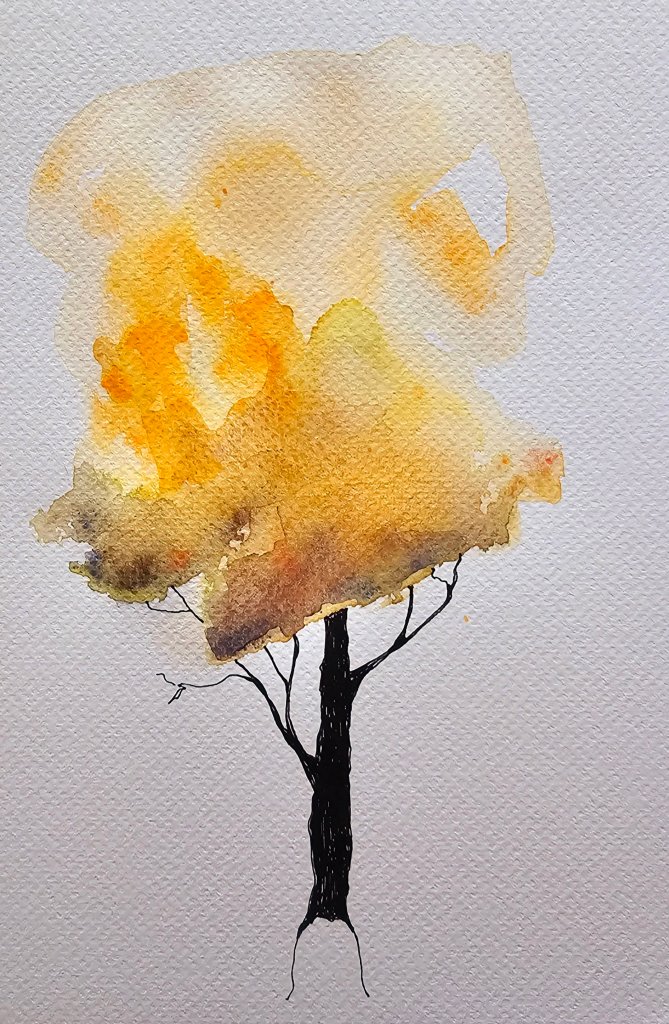
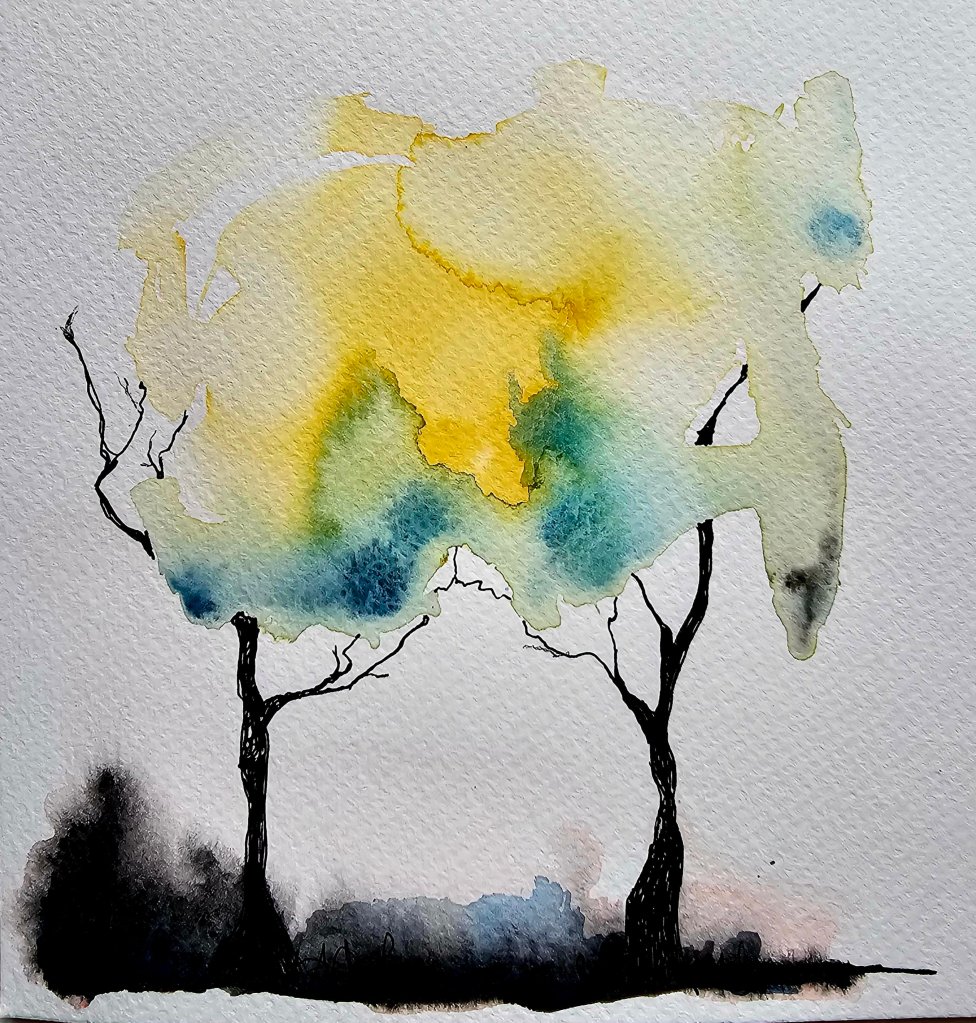
Watercolour
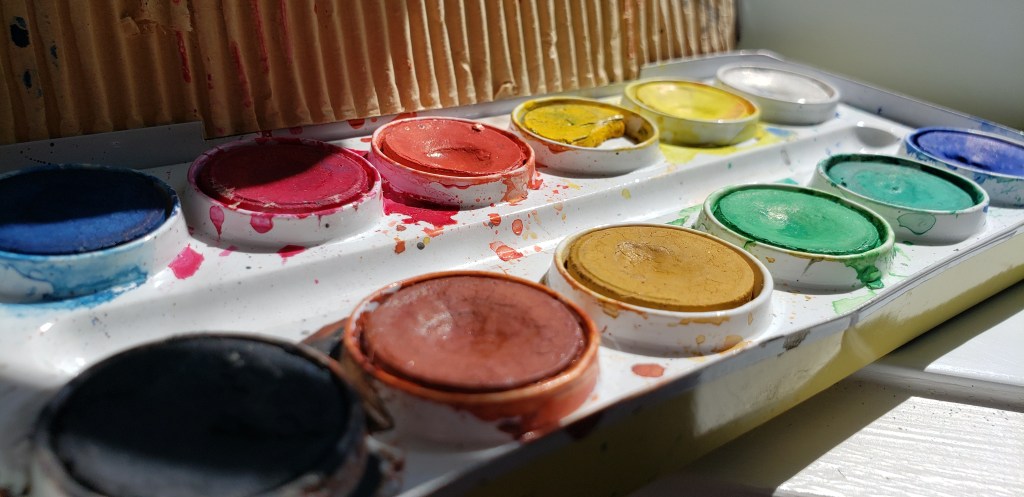
Watercolour painting can be surprisingly easy. If you’re new to this medium, I suggest experimenting with dropping colours beside each other so you can see how they bleed into each other. This will give you an idea of how much is too much, how much paint you actually need, how quick it dries – in turn telling you how long you have to work with what’s in front of you.
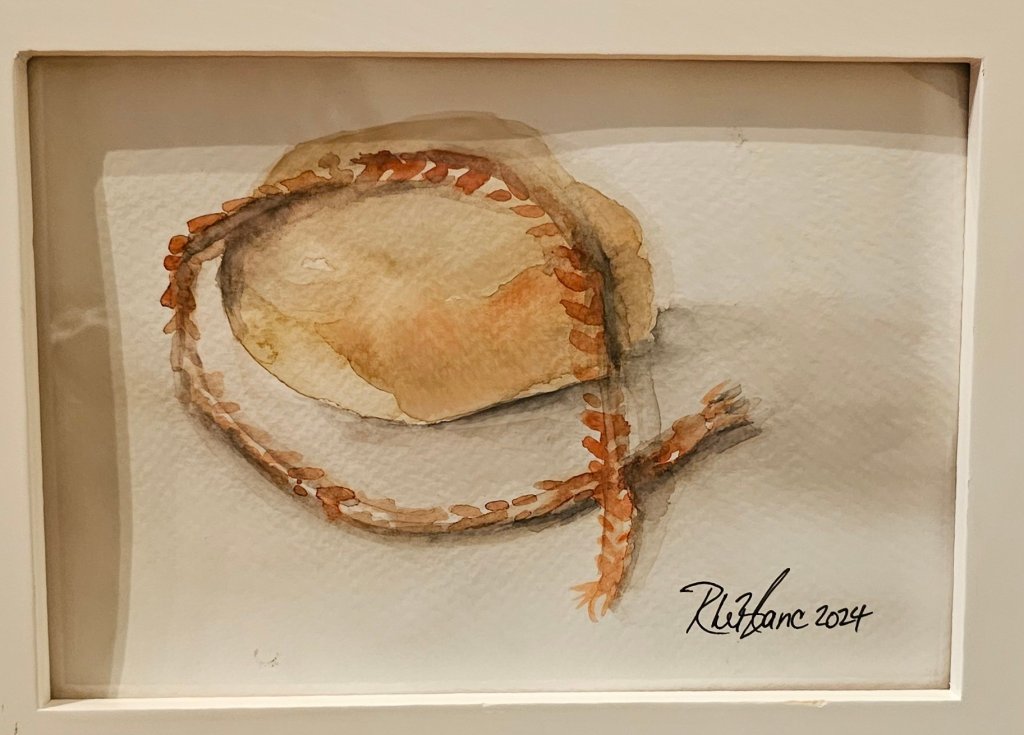
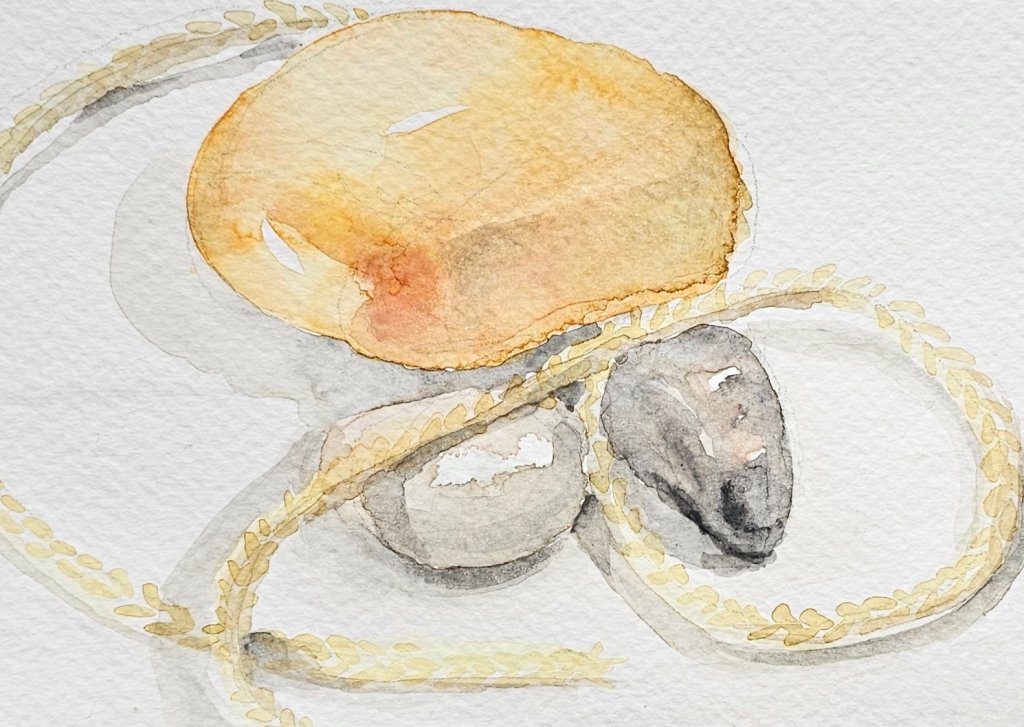
Watercolour paper is important to use in this case. You won’t have much luck with watercolour paint on a canvas or in a sketch book. This is because watercolour paper is made more stable and durable to withstand the humidity, plus they have an irregular textured surface which is the telltale signature of a watercolour painting. I zoomed in on the pictures I posted to show these features, take a close look and you can see that there are some more textured than others. This is because I have different paper sources. The best quality, respectively, is homemade, mold-made, then machine-made. If you’re just looking to start out for fun, get student quality machine-made. The paper can be sold in individual sheets, or in blocks. The higher the weight of the paper, the more texture and better quality. You don’t want something thin and smooth. Once you’ve tried a few different sources, you’ll quickly realize your preference and how you can make the paper work for you.
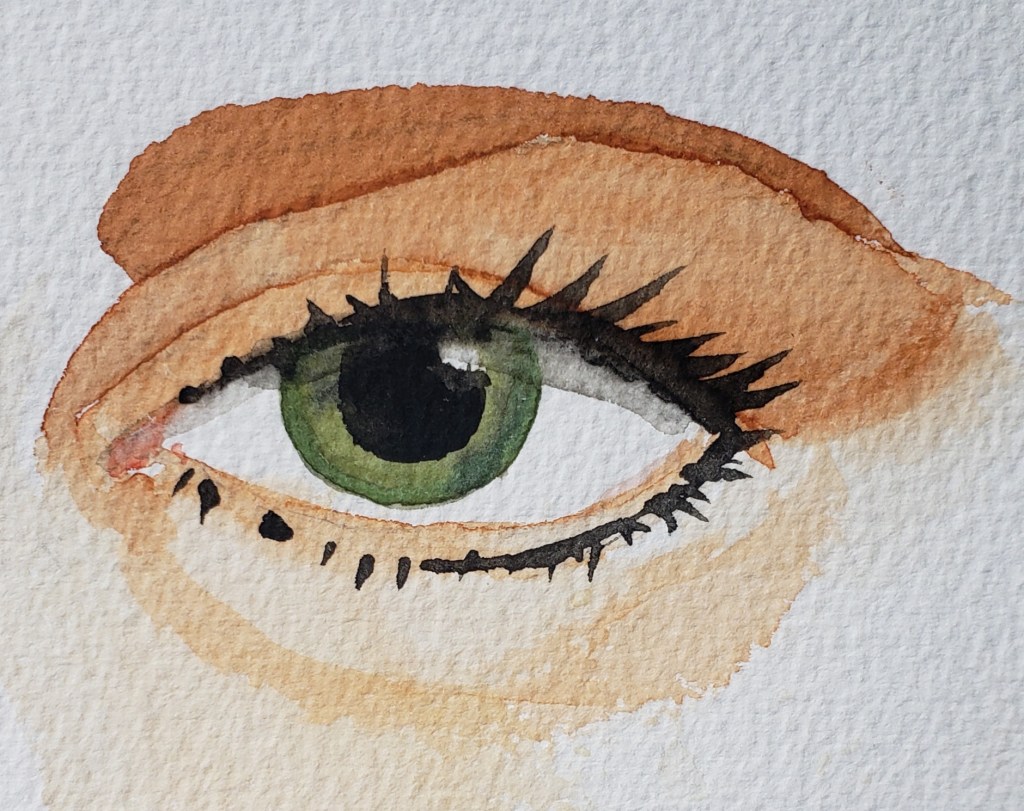
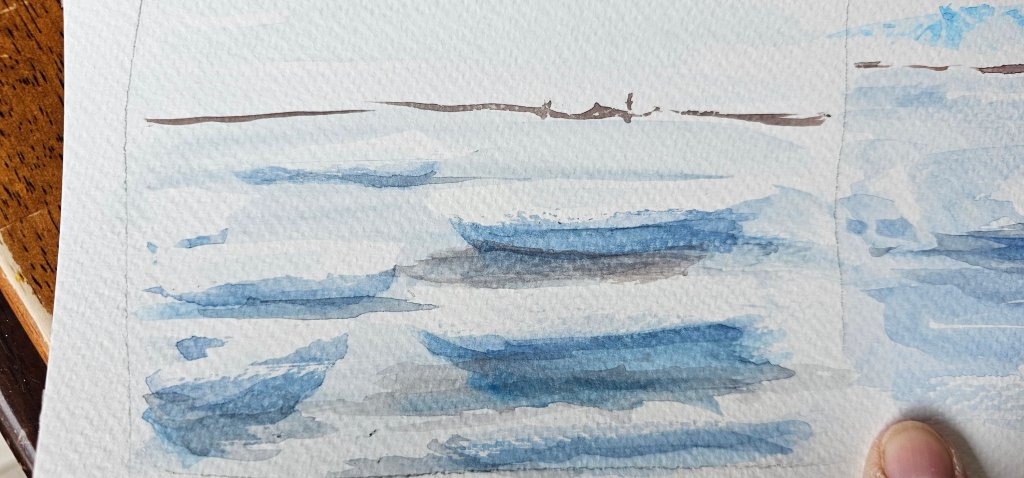
Swing Study. Swing Study. I only used two colours in this picture. I always start with the lighter colour first (as you can see as the base of the seat – the yellow-ish brown). I let the first layer dry before I apply the darker brown so the colours don’t bleed into each other. I want that distinct border that makes the shading pop out. Otherwise it’ll all blend together. If you find yourself in trouble by having your colours bleeding for whatever reason, don’t panic. Simply dab (don’t rub!) the spot where there is an excess of paint or water with a dry cloth or paper towel. If it’s in a tricky place, dab at it with a q-tip. You can even add a bit of water to the place you’re trying to fix if you need to remove a dark pigment. To get that dark brown even darker for the shadowy bits, I simply dabbed my brush with minimal water in the paint and lightly pressed it over the area I want to be more pigmented.
Watercolour on watercolour paper. 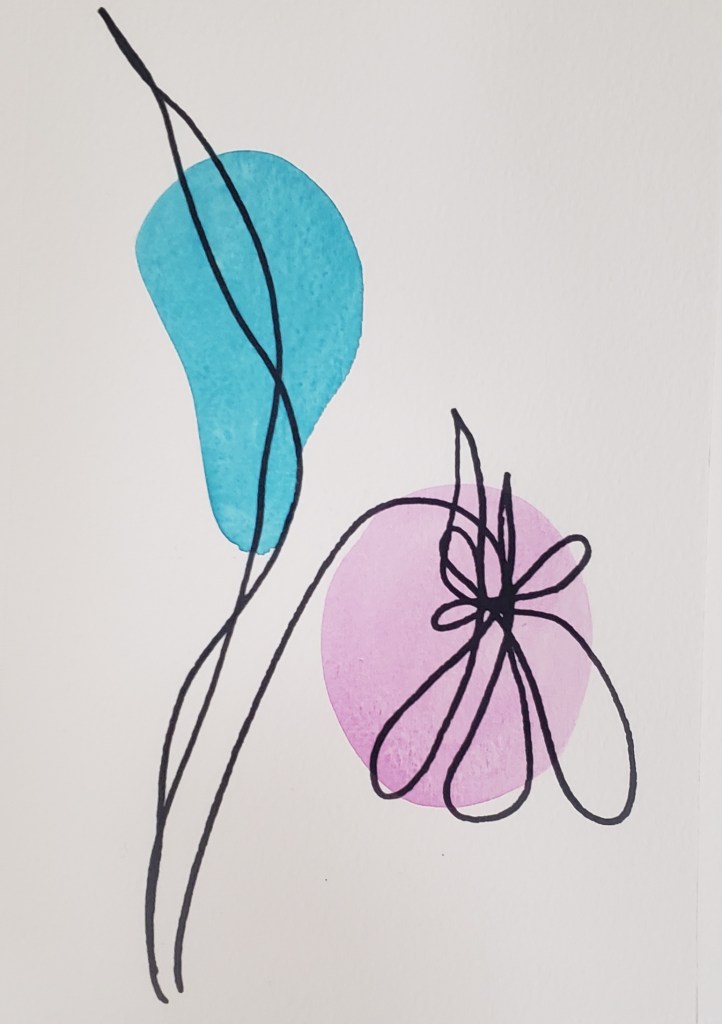
Watercolour on thick paper. Boho Chique, Watercolour and Sharpie. You have an example of watercolour paper (see the texture?) vs. an acid-free heavy weight paper. Ok so yes, it can be done on “other paper”, but the effect isn’t the same. That’s not to say it can’t be done. Art is about experimenting, and having different desired effects is personal preference.
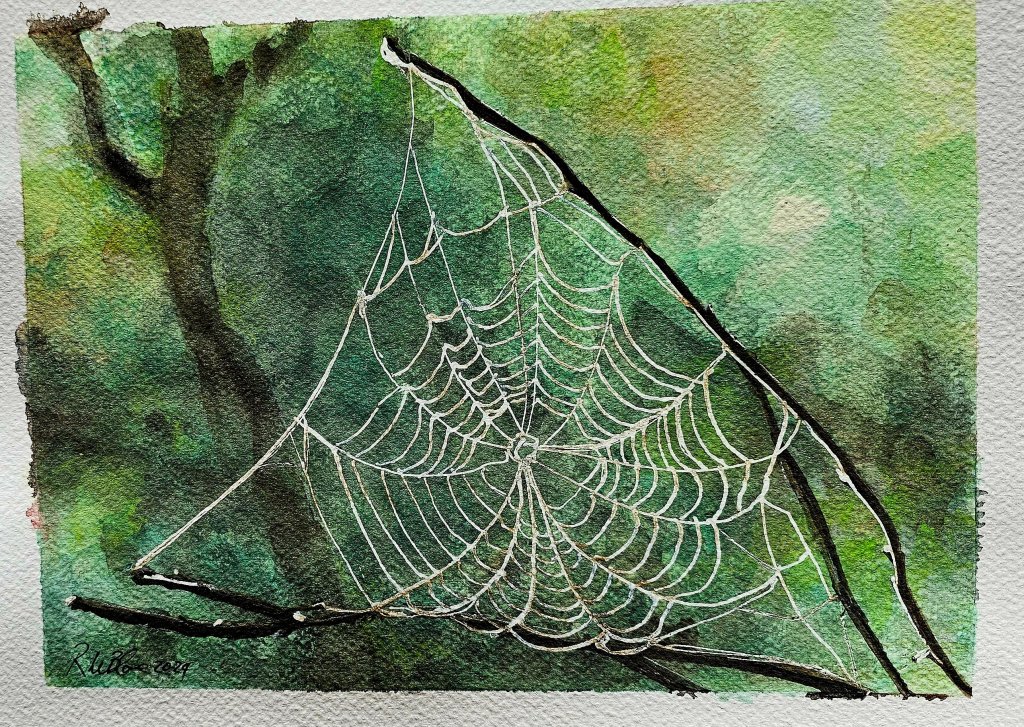
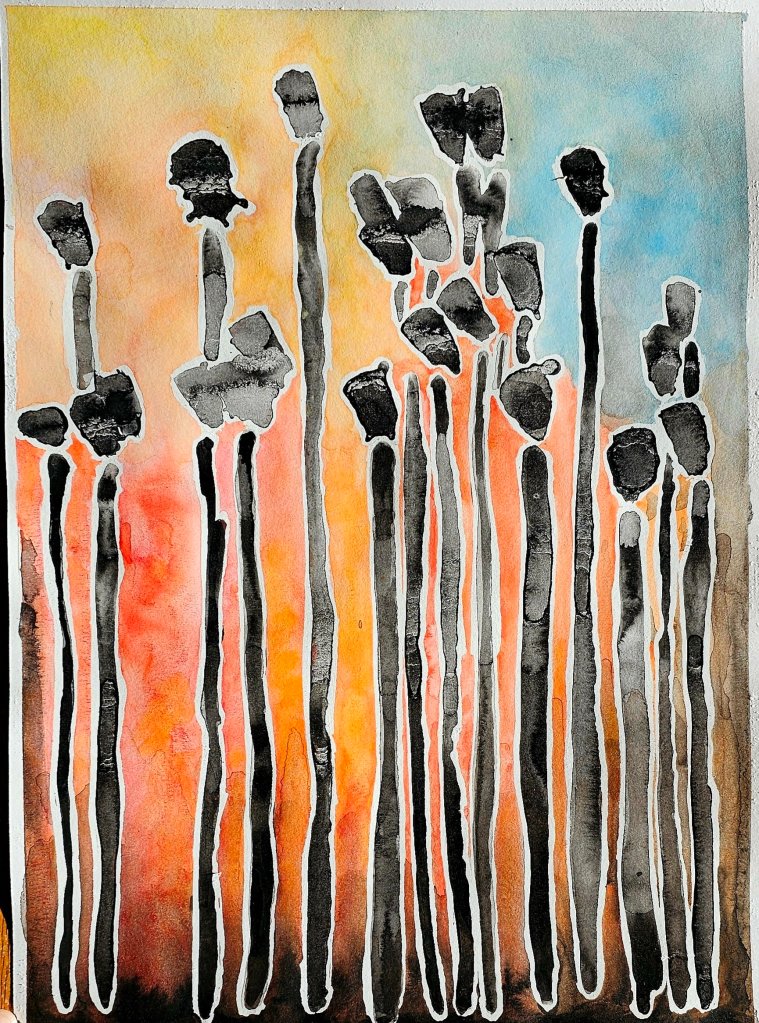
Watercolour and ink 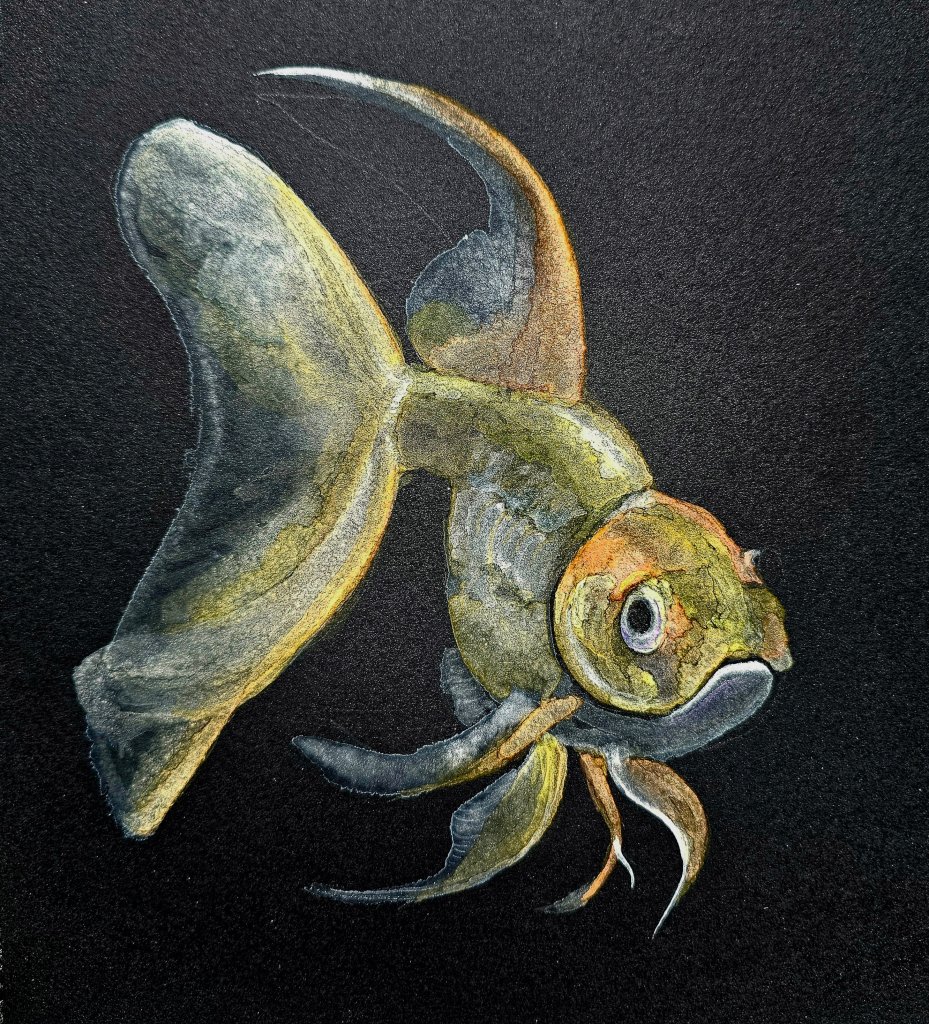
Black Watercolour Paper 


-
Hello World!
Breathe. Let’s make some art together!
Anticipation Are you intimidated “making art”? Just let it happen. You really can’t get it wrong because art is subjective. If you are pleased with what it is, that’s all that matters. Forget about having the perfect brush, or the right brand of paint, those details are trivial for now. Use your own hands or fingers, use Dollarama paint, and that cardboard backing from a poster if you’re feeling sure that your work of art won’t make it up on your wall. Grab whatever you want, don’t be picky, it’s time to make something that’s solely for the purpose of the joy of making.
-
Subscribe
Subscribed
Already have a WordPress.com account? Log in now.
